Tutorial #14
Requested by hatbrat85.
Created in PSE 4.0
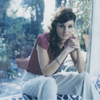
Go from
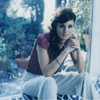
to
Tutorial #14
1. This is a simple colouring tutorial using THIS picture
of Sarah Wayne Callies.
2. This is the base.
3. Fill layer with #8BE0FD and set to Soft Light 60% opacity.
4. Fill layer with #C9DBEB and set to Color Burn 60% opacity.
5. Fill layer with #E2A5A0 and set to Overly 30% opacity.

6. Fill layer with #E9AF6A and set to Soft Light 60% opacity.

7. Stamp a new layer (Ctrl+Alt+Shift+E) and then sharpen it.
Fade opacity to 40%.

8. Go to Layer -> New Adjustment Layer -> Hue/Saturation.
Adjust Saturation settings accordingly:
Master +43
Yellow -39

9. Go to Layer -> New Adjustment Layer -> Brightness/Contrast.
Adjust Contrast settings to +16.

10. Fill layer with #53BBE1 and set to Saturation 20% opacity.

11. Go to Layer -> New Adjustment Layer -> Levels.
Adjust RGB settings accordingly:
22 ~ 1.39 ~ 247

12. Fill layer with #7B8A31 and set to Soft Light 39% opacity.

~~>
13. Stamp a new layer (Ctrl+Alt+Shift+E) and set to Soft Light 45% opacity.
And, we're done!
Cross-posted at elementheads & icon_tutorial.
Hope you enjoyed the tut. Comments are ♥... thanx!
Created in PSE 4.0
Go from
to
Tutorial #14
1. This is a simple colouring tutorial using THIS picture
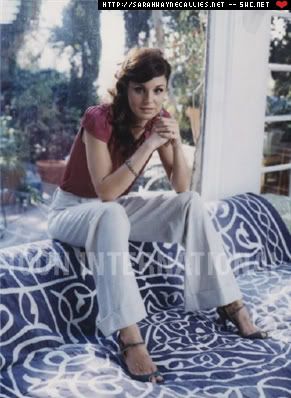
of Sarah Wayne Callies.
2. This is the base.
3. Fill layer with #8BE0FD and set to Soft Light 60% opacity.
4. Fill layer with #C9DBEB and set to Color Burn 60% opacity.
5. Fill layer with #E2A5A0 and set to Overly 30% opacity.
6. Fill layer with #E9AF6A and set to Soft Light 60% opacity.
7. Stamp a new layer (Ctrl+Alt+Shift+E) and then sharpen it.
Fade opacity to 40%.
8. Go to Layer -> New Adjustment Layer -> Hue/Saturation.
Adjust Saturation settings accordingly:
Master +43
Yellow -39
9. Go to Layer -> New Adjustment Layer -> Brightness/Contrast.
Adjust Contrast settings to +16.
10. Fill layer with #53BBE1 and set to Saturation 20% opacity.
11. Go to Layer -> New Adjustment Layer -> Levels.
Adjust RGB settings accordingly:
22 ~ 1.39 ~ 247
12. Fill layer with #7B8A31 and set to Soft Light 39% opacity.
~~>
13. Stamp a new layer (Ctrl+Alt+Shift+E) and set to Soft Light 45% opacity.
And, we're done!
Cross-posted at elementheads & icon_tutorial.
Hope you enjoyed the tut. Comments are ♥... thanx!