TUTORIAL #1


Just a short FYI I'm on a new account I used to be whenitsquiet
just in case anyone was confused:)
I've decided to give screenshots of my settings instead of just text, since I usually prefer visual instructions, so hopefully it isn't confusing.
mystic_rose7
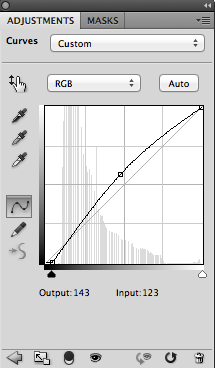
Step 4: Curves Layer: I use this first curves layer to lighten the cap more and give it a bit of contrast.
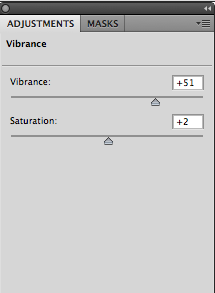
Step 5: Vibrance, I've started using this instead of the hue/saturation tool, I find it a bit easier to control.
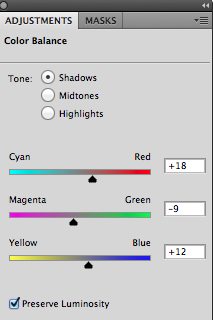
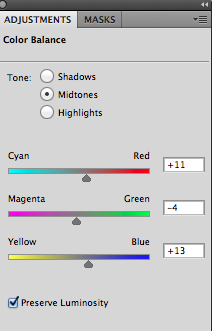
Step 6: Colour Balance, just shadows and Midtones this time.
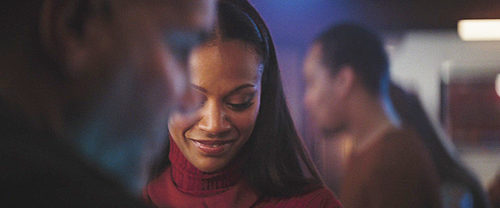
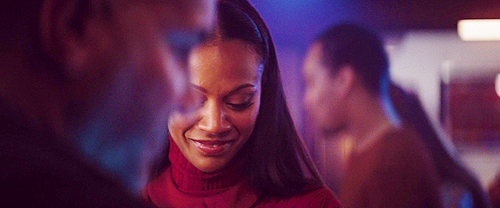
The cap looks like this now:
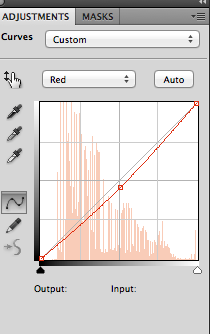
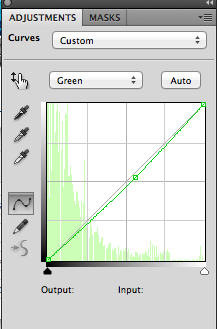
Step 7: Curves Layer!
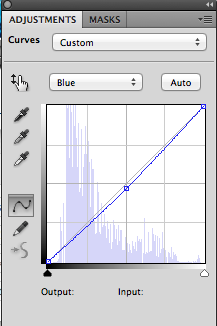
Step 8: Selective Colour, I only played with the reds for this one.
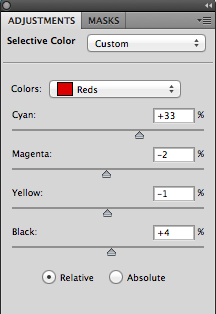
Step 9: Brightness & Contrast, a really great way to brighten without duplicating the layer again, which I find can wash out the cap.
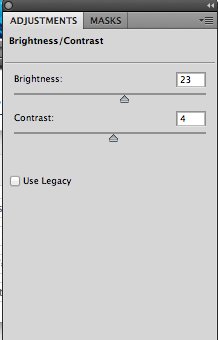
And it looks like this:

Step 10: I then flatten the layers and crop using the cropping tool with these settings:

Step 11: I duplicate the base and sharpen again about 20%, always put this sharpen fairly low or the layer will oversharpen and become pixel-y.
Step 12: Use the Brighten & contrast tool again and just brighten by 26%
Step 13: Use this texture:
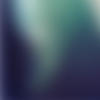
by cielo_gris set to soft light 100%
And voila:

You can still ask any questions at my Maker thread here:

Ask The Maker || My Thread