Tutorial #1: Kaoru icon
Tutorial #1: Kaoru from Dir en Grey
From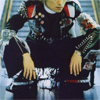
to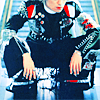
Made in Photoshop CS2. I'm afraid it's not translatable because this tuts involve selective coloring & hue/saturation layer. Beside, I've never touched any other photoshop program in my life xDD
1. Prepare your base. Crop/resize them like you want them to be like. I usually sharpen my icon after I get all the coloring etc. done. But it depends on your liking. Duplicate your base then set to Screen 100% opacity.
This is what I got: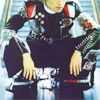
2. Create a new selective color layer. Put the setting like these:
YELLOWS: -62 +15 -100 0
NEUTRALS: 0 -12 -19 0
I got this: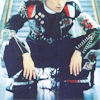
3. Duplicate the first selective color layer.
Then I got this: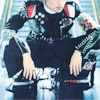
4. Add a new selective color layer. Put the setting like these:
REDS: -100 +100 +100 +100
YELLOWS: +52 0 +27 0
CYANS: -50 0 0 +22
BLUES: 0 0 0 +100
NEUTRALS: +15 +12 +7 0
I got this: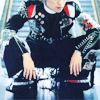
5. Add another selective color layer. Put the setting like these:
REDS: -57 +37 +41 0
NEUTRALS: +8 -7 -6 0
I got this: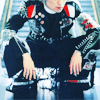
6. Create a new hue/saturation layer. Put the setting like these:
Master: 0 +26 0
Reds: +1 +14 0
Cyans: 0 +6 0
I got this: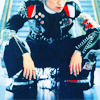
7. Lastly, flatten your image then sharpen/smart sharpen them. You're done!
I'm done with this:
Feel free to ask if you have something in your mind. And I'd love to see your result ^^
From

to

Made in Photoshop CS2. I'm afraid it's not translatable because this tuts involve selective coloring & hue/saturation layer. Beside, I've never touched any other photoshop program in my life xDD
1. Prepare your base. Crop/resize them like you want them to be like. I usually sharpen my icon after I get all the coloring etc. done. But it depends on your liking. Duplicate your base then set to Screen 100% opacity.
This is what I got:

2. Create a new selective color layer. Put the setting like these:
YELLOWS: -62 +15 -100 0
NEUTRALS: 0 -12 -19 0
I got this:

3. Duplicate the first selective color layer.
Then I got this:

4. Add a new selective color layer. Put the setting like these:
REDS: -100 +100 +100 +100
YELLOWS: +52 0 +27 0
CYANS: -50 0 0 +22
BLUES: 0 0 0 +100
NEUTRALS: +15 +12 +7 0
I got this:

5. Add another selective color layer. Put the setting like these:
REDS: -57 +37 +41 0
NEUTRALS: +8 -7 -6 0
I got this:

6. Create a new hue/saturation layer. Put the setting like these:
Master: 0 +26 0
Reds: +1 +14 0
Cyans: 0 +6 0
I got this:

7. Lastly, flatten your image then sharpen/smart sharpen them. You're done!
I'm done with this:

Feel free to ask if you have something in your mind. And I'd love to see your result ^^