Icon Tutorial #02
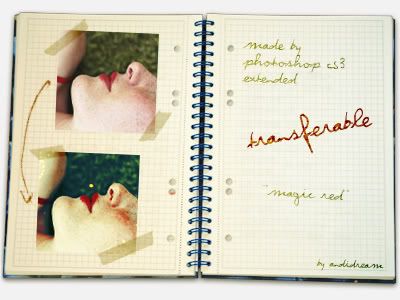
Many requests were for this tutorial, so I decide to do it for YOU ♥
Layers are from this great tutorial by the_morning_dew, but I changed settings ;)

<- Base
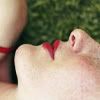
01. add new adjustment layer Curves:
RGB: (should look like this)
1st point: input 12 output 0
2nd point: input 122 output 129
3rd point: input 193 output 193
RED: (should look like this)
1st point: input 60 output 44
2nd point: input 130 output 124
3rd point: input 196 output 195
GREEN: (should look like this)
1st point: input 128 output 124
2nd point: input 192 output 194

02. add new adjustment layer Solid Color #fffc00, set to Soft Light, opacity 100%.
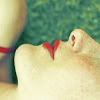
03. add new adjustment layer Selective Color, opacity 62%:
RED: -37 / 0 / +100 / +100
YELLOWS: +70 / +100 / 0 / -27
WHITES: 0 / 0 / 0 / -50
NEUTRALS: +50 / -60 / -100 / +70

04. add second adjustment layer Selective Color:
RED: -27 / +100 / +100 / +100
YELLOWS: -10 / +10 / -57 / +32
GREENS: +100 / +100 / -50 / +100
CYANS: 0 / +100 / 0 / -20
BLUES: +100 / +100 / +100 / +100
MAGENTAS: 0 / 0 / 0 / +100
NEUTRALS: +20 / 0 / -3 / -5

05. add third adjustment layer Selective Color, set to Color Burn, opacity 50%:
RED: 0 / +100 / +100 / +100
YELLOWS: -100 / +100 / +100 / -100
WHITES: -56 / +42 / -18 / 0
NEUTRALS: -100 / +40 / +100 / -64
BLACKS: 0 / 0 / 0 / +100
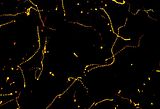
06. add light texture, set to Screen, opacity 100%.
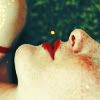
and it's done!
other examples:
- NO HOTLINKING
- NO EDIT
- CREDIT ME