THE MAKING OF EVA UNIT 01 PART 2
SOME MORE!
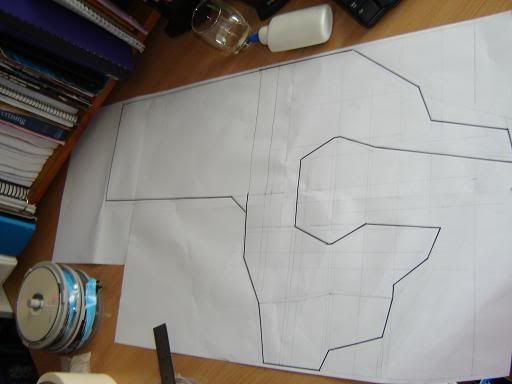
I put off doing the shoulders FOREVER because they were the most noticable bit, and thus, one of the hardest. Look at that blueprint's tiny pencil lines. Yikes.
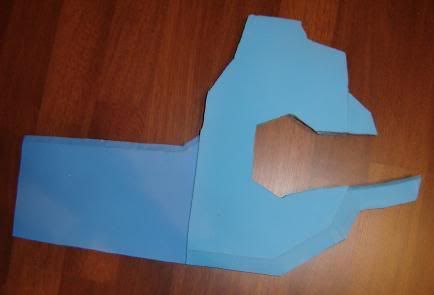
An Eva's shoulders are actually not one huge block with the same thickness. Which was a source of constant mental anguish. I ended up making it out of two thick pieces of foam, and attaching the two thin pieces as the main rectangle bit, with a piece of cardboard in between so it didn't flop down like a sad, wilting flower. Then the sides had to be cut into to create the curves and the little bit in front which actually has a hole.
... These shoulders made me want to cry.
I want to point out, I had dulled over TWELVE goddamn stanley knives at this point cutting the foam. I went through three packs of blades alone. That is because foam is sticky, and cannot be cut with dull knives. If you try (and I did) it becomes hamburger-like.
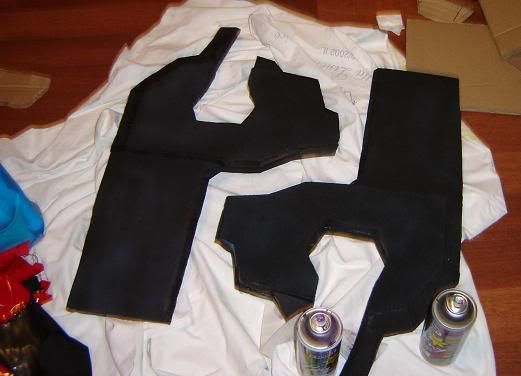
Spray painted!
Seriously, for these TWO MONTHS of production, everytime I blew my nose I was snorting out purple or black paint.
When they cut me up because of the inevitable cancer, they will just see PURPLE on my lungs. And I will go down as the first cosplay-related death. Dying for my art, yo.
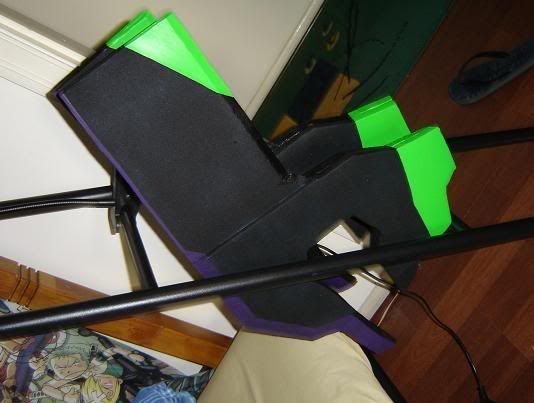
Few coats of neon green and purple detailing. I let it hang on my bed ladder.
THE UPPER ARM BITS:
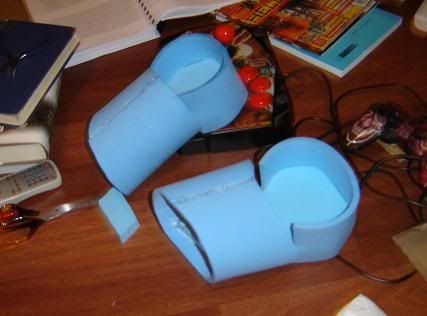
Had to redo these several times, first because if they went straight down like a TUBE, they looked retarded, I had to curve it in.
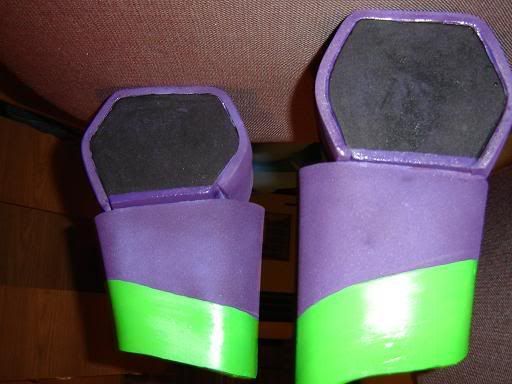
Then I had to paint them with the Eva one symbols and such.
Of course the first time I put them on. They BROKE.
And again when I attached them to the shoulder wings.
And again when I tried that on. Right down the stitches in the back.
I had to do so many emergency patches for them. I hope they last. D:
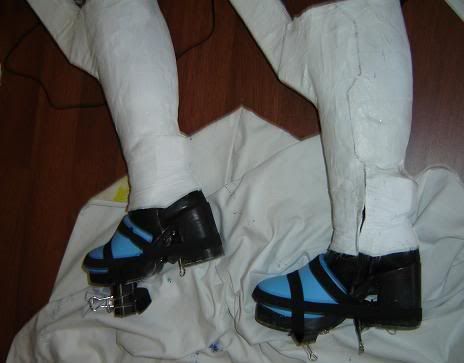
I actually tried to paint the toe bit first. But that turned out downright stupid looking. So I had to mold a piece of foam to the front with several elastics. It worked out surprisingly well. PVA glue is your best friend.
Pieces so far:
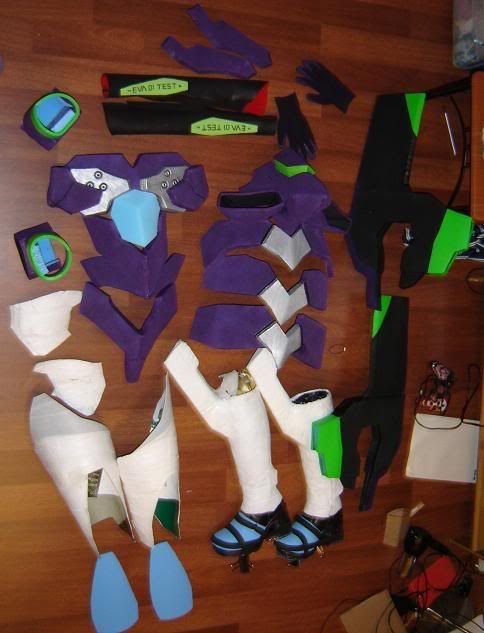
Yes. I am insane. Just looking at that, I marvel at how HUGELY I underestimated what I had to make for this costume. It all looks so SIMPLE in anime. Not so much when applied to real life.
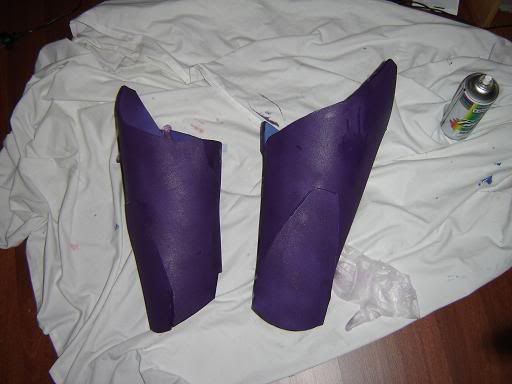
Remember what I said about teh NEVER USE PLASTER CAST FOR ANYTHING? I followed it through, by matching the cast I had made with pieces of foam. In a way, I guess, you would need to plaster cast just to make a good fit for your legs, but if you're clever enough, it IS possible to avoid that pain. I also fucked up with the spray paint there. It's uneven, and any attempt to fix it failed hard.
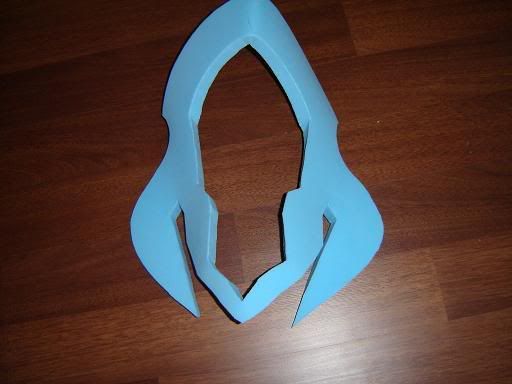
I left the helmet to last, like I did with Gundam, just because it would be hardest to figure out and the thing most people will look at the closest. That's the outer ring of the head.
My first UTTER FAILURE attempt to do the main part of the head.
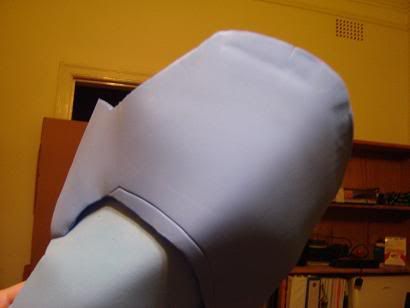
I squashed it too much while waiting for it to glue. Impatience and frustration killed it.
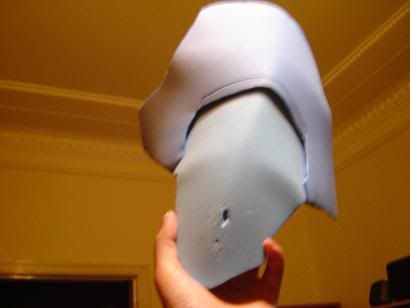
It didn't help that I had cut the thing wrong on the inside, so the angles were off, it became this hideous asymmetrical squashed pancake. Which was too big.
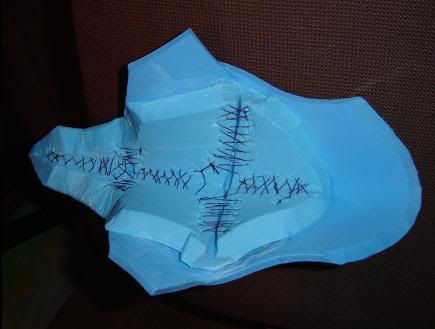
Second attempt. See how neat the stitching inside had to be? Yeah. It was hard.
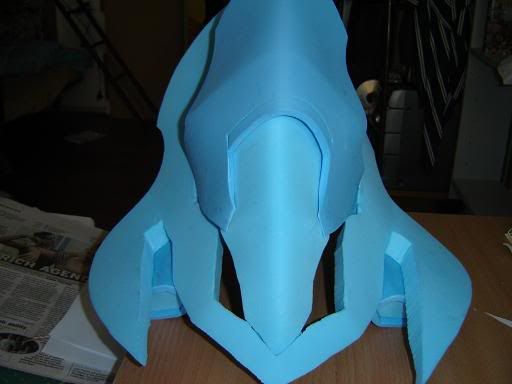
TADA, put together.
I tried to make the helmet to scale, but MY GINORMOUS HEAD didn't want to fit inside. So I am really worried it ended up looking like Predator from Alien Vs Predator more than anything.

The jaw is also insanely hard to blue print and fit to my chin.
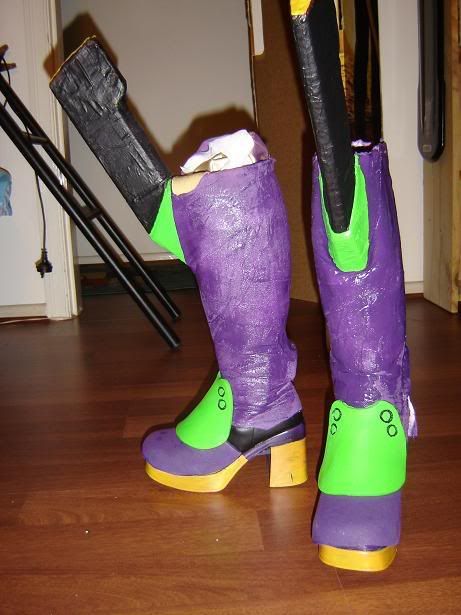
The completed boots! This also had spraypaint problems, but no one notices these thinsg except me. Which is lucky. I particularly like my green boot wing bits. Since they're so useless no matter how you see it.
TOP HALF!
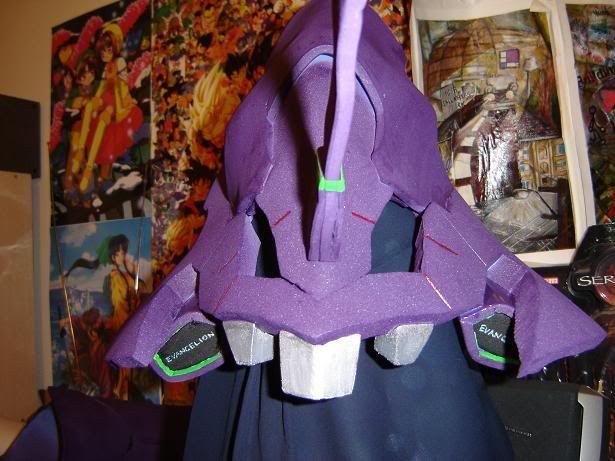
The blobs under the main ring had to be shaped separately. Notice the little EVANGELION detailing and the green on the inside ring. The horn was made erect and proud by a piece of wire through it, which was hell to get in without it poking through anywhere.
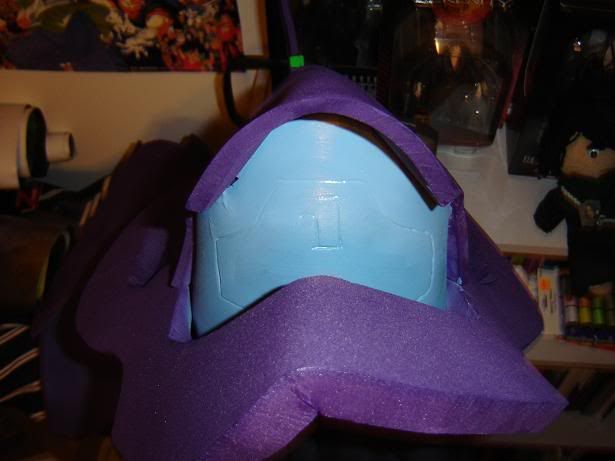
I even did the little embossed "1" detail on the back :D
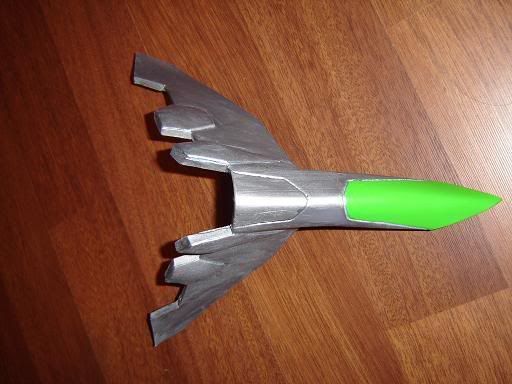
Ze jaw. I attached it by using actual screws and cogs to the other bit.
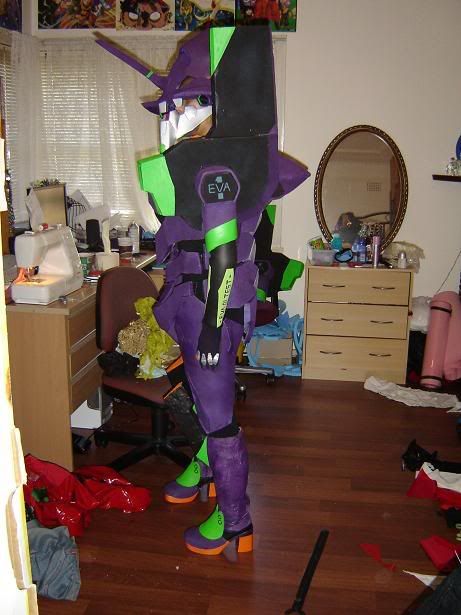
Costume rehearsal!
Where the shoulder bit ripped.
Where I discovered that I might die of heat exhaustion inside.
And that was just five minutes in this thing.
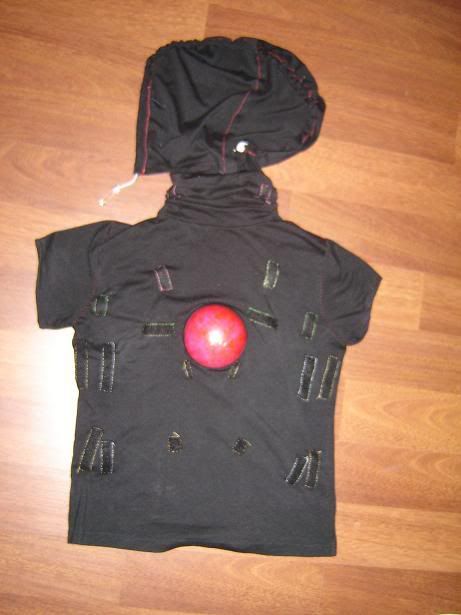
Everything was attached by velcro to this shirt. It's hard to sew velcro in. This makes the cosplay WASHABLE so I won't stink like a men's locker room the next time I'm in it. The angel globe was sewed on by cutting out a circle, pasting that on the styrofoam ball, and sewing that on the shirt.
Cosplay tip: NEVER. USE. STICKY. VELCRO. It ruins needles, scissors, your fingers and the bit you're attaching it to. Don't use it unless you have no time and it's the last resort... which we ended up doing. And now I am sans one pair of scissors. And hands.
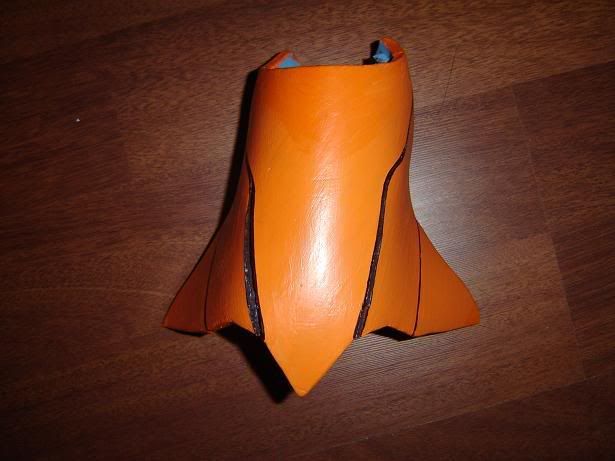
The neck bit. Oddly difficult to make since it doesn't like to stay in one shape.
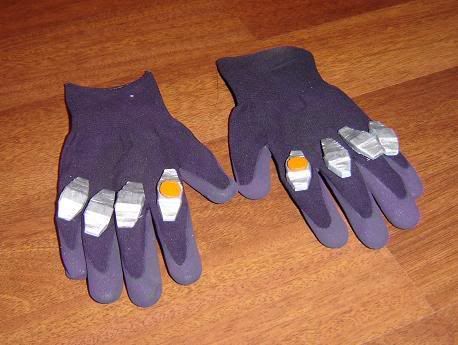
Gloves. All the little knuckle bits had to be sewed on individually. THIS TOOK LONG ENOUGH TO OVEN COOK A ROAST DINNER.
My back! ♥ Have I said how proud I am of this bit?
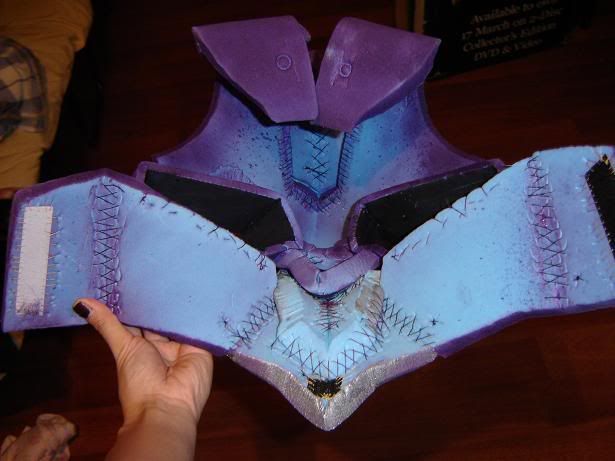
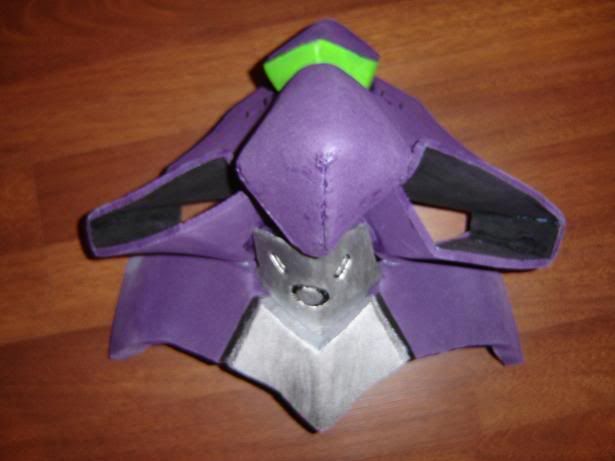
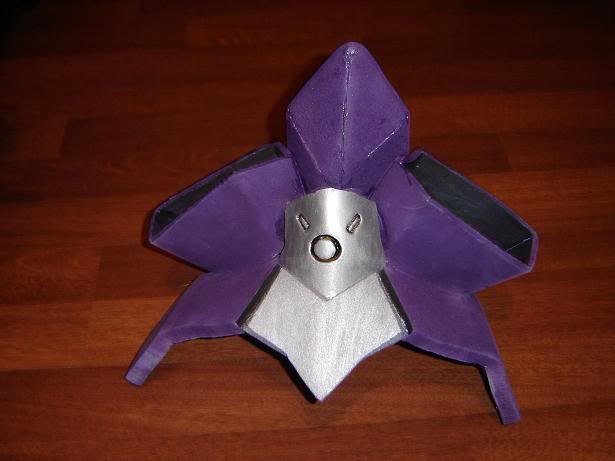
I added the plug socket at the last moment because before that it looked a little sad. I wanted to also do the plug for the Eva, but had no time... and where exactly would the chord go? It would be hilarious though, if I did one, and had a picture of it plugged into a wall socket or something.
MEANWHILE:
THE NIGHT BEFORE. At 3 AM. TO MY WOE.
Arleh starts her Angel costume:
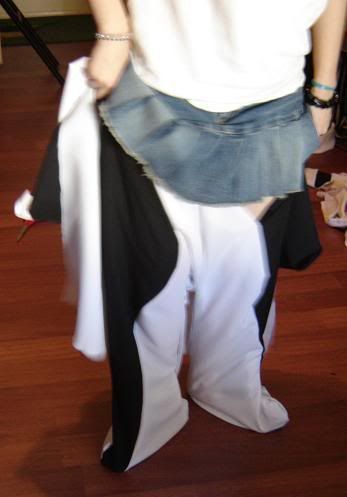
While I had to help her and complete her happy Angel head:
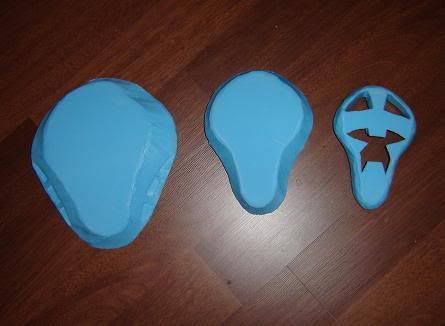
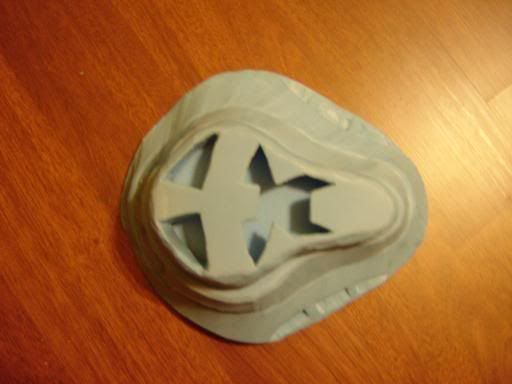
Three layers of foam. But it didn't curve. And Arleh's head does. It also has no eye holes. We kind of failed here. But THAT'S WHAT HAPPENS AT 5AM IN THE MORNING.
Arleh meanwhile was spending a BAZILLION YEARS doing INVISIBLE stitches and spending TWO HOURS sewing her feet to her shoes when we had T-minus five hours left. And no Angel costume completed. I nearly strangled her.
She also made the most hilarious rudimentary gloves.
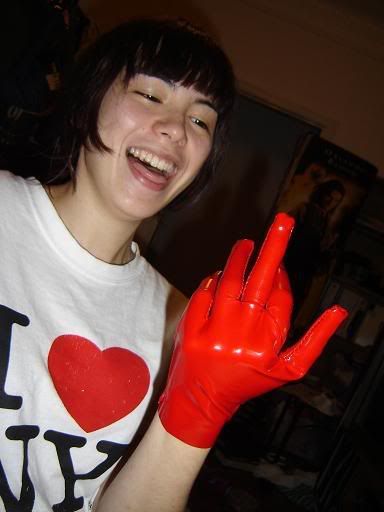
The kind made by tracing your hand twice and sewing it together. :D
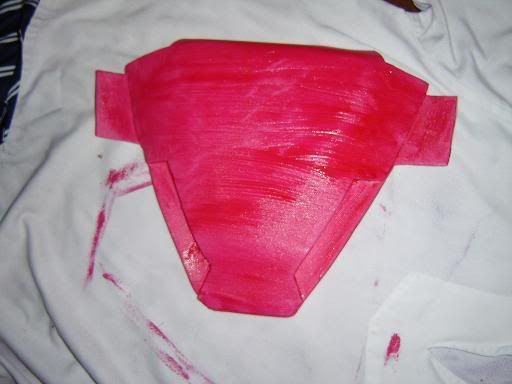
I also did Arleh's plugsuit back. Asuka's back is another thing with no reference pictures.
To match it to the PVC, the best way to create the 'shine' is to mix acrylic paint with impasto gel, and several layers of paint later, it will look like it's made of plastic.
Here's a picture courtesy of Bubby from the forums:
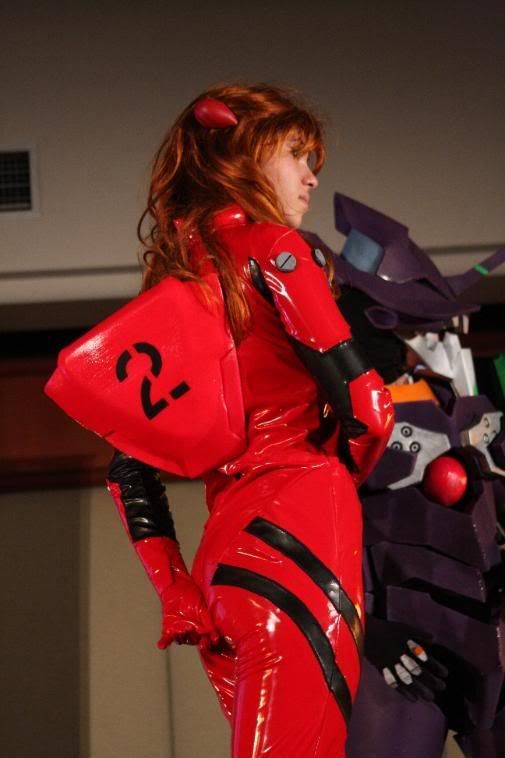
HAHA it's falling off. Dear god we fail at keeping these parts together.
I also happened to do Arleh's plugs for her plugsuit. She was ready to ditch those, which would've been dumb since what's the point of a plug suit WITHOUT PLUGS?!
We were sewing the Angel costume well into 11am. Just getting the shoulder bone bits to the Angel done. (More later on the Angel costume once it's fixed up and ready to play) That's with no sleep, and no food for 24 hours.
Then I had to drive in that condition (nnnngh) And suffer more no sleep and no food at the convention, as well as heat exhaustion and dehydration. Nearly died.
But it was worth it. We were epic desu ne? (I glued the cello for eyes in the last minute too)
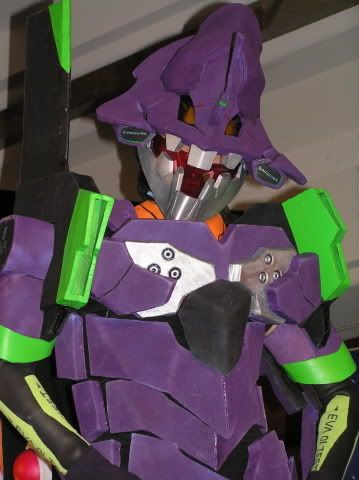
(Courtesy of machv
Thank you for supporting us everyone!
If you have any questions or comments, don't be afraid to ask! ♥
- Alita