Tutorials 3 & 4
For valliegurl.
*Note: These are the settings in PSCS2. They may change from program to program.
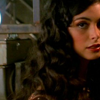
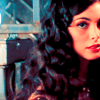
-->
1. Crop your image to the desired size.

2. Duplicate layer and set to Screen.

3. Layer > New Adjustment Layer > Selective Color
Reds: (-50, -15, 100, 0)
Yellows: (-100, 0, -100, 0)
Neutrals: (-15, -15, -10, -5)

4. Once again do a Selective Color layer
Reds: (-50, 0, 40, 0)
Yellows: (-20, 0, 40, 0)
Neutrals: (15, 0, -10, 0)

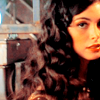
5. Layer > New Adjustment Layer > Brightness/Contrast
Brightness: 12
Contrast: 18
6. Layer > New Adjustment Layer > Hue/Saturation
Saturation: 8
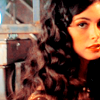
7. And one more Selective Color Layer
Reds: (-40, 25, 100, 10)
Yellows: (100, 0, -100, 0)
Neutrals: (100, 0, -20, 0)

And your done.
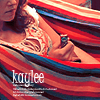
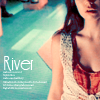
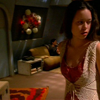
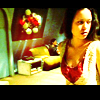
Other examples of this effect:

-->
1. Crop your image to the desired size.

2. Layer > New Adjustment Layer > Curves
Input: 67
Output: 191
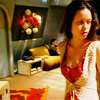
3. Layer > New Adjustment Layer > Color Balance
Midtones: (-52, 34, 58)
Shadows: (-27, 33, 65)
Highlights: (24, 48, -29)
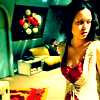
4. Create a new layer, fill with #e2e3c4 and set to color burn
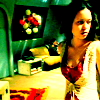
5. Create a new layer, fill with #dbf4ff and set to color burn
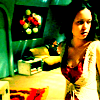
6. Duplicate base 3x and set all to screen. (This step may need to be changed depending on how dark/light your image is)
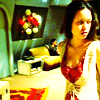
7. Create a new layer and use a fuzzy round brush tool with the color #c3070b and set to lighten.
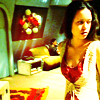
8. Last in a new layer add black bars to create a frame.

And your done.
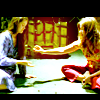
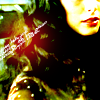
Other examples of this effect:
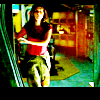
*Do not copy image exactly.
*Feel free to friend me if you like my work.
*Note: These are the settings in PSCS2. They may change from program to program.

-->

1. Crop your image to the desired size.

2. Duplicate layer and set to Screen.

3. Layer > New Adjustment Layer > Selective Color
Reds: (-50, -15, 100, 0)
Yellows: (-100, 0, -100, 0)
Neutrals: (-15, -15, -10, -5)

4. Once again do a Selective Color layer
Reds: (-50, 0, 40, 0)
Yellows: (-20, 0, 40, 0)
Neutrals: (15, 0, -10, 0)

5. Layer > New Adjustment Layer > Brightness/Contrast
Brightness: 12
Contrast: 18

6. Layer > New Adjustment Layer > Hue/Saturation
Saturation: 8

7. And one more Selective Color Layer
Reds: (-40, 25, 100, 10)
Yellows: (100, 0, -100, 0)
Neutrals: (100, 0, -20, 0)

And your done.
Other examples of this effect:


-->

1. Crop your image to the desired size.

2. Layer > New Adjustment Layer > Curves
Input: 67
Output: 191

3. Layer > New Adjustment Layer > Color Balance
Midtones: (-52, 34, 58)
Shadows: (-27, 33, 65)
Highlights: (24, 48, -29)

4. Create a new layer, fill with #e2e3c4 and set to color burn

5. Create a new layer, fill with #dbf4ff and set to color burn

6. Duplicate base 3x and set all to screen. (This step may need to be changed depending on how dark/light your image is)

7. Create a new layer and use a fuzzy round brush tool with the color #c3070b and set to lighten.

8. Last in a new layer add black bars to create a frame.

And your done.
Other examples of this effect:
*Do not copy image exactly.
*Feel free to friend me if you like my work.