Tutorial 02
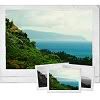
A tutorial for these icons was requested a while ago by anolinde. This was made using PSP8, but should translate easily (assuming I make any sense, whatsoever) to other programs.
Result:

Open up a new canvas, 250x250, and flood fill with white. Copy and paste this thing (made by iconistas), once onto the blank canvas, and again as a separate image.
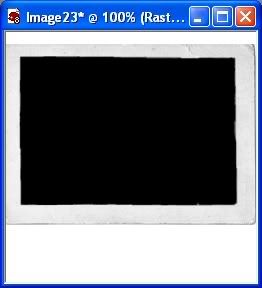
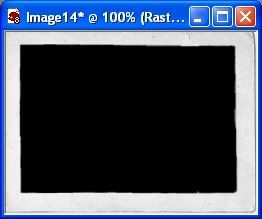
Take your picture, I’ll be using this one (taken by me), and color it however you see fit. For this particular one, I had the original, resized to 218x293, duplicated it three times, and did as follows (from bottom layer to top): base, screen, overlay, softlight, and a light yellow layer set to multiply.

Merge it, and paste as a new layer once into the big canvas, and once onto your canvas with just the photo border, then set it to lighten on both. Erase the parts that cover the border.
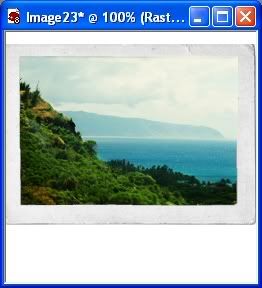
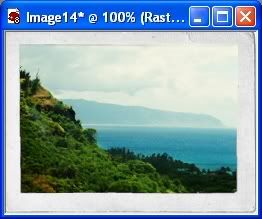
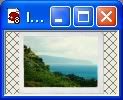
Merge and resize the smaller one to 85x62 (or thereabouts).
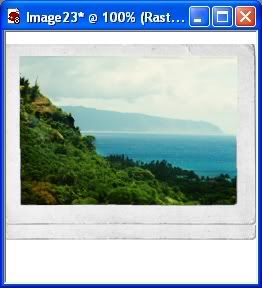
On your 250x250 canvas, duplicate the photo border, and move it down a bit so that it overlaps.
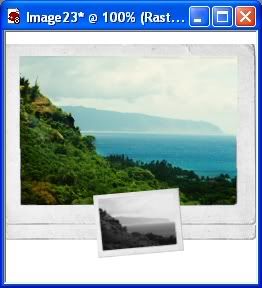
Copy and paste your resized photo onto the large canvas. Desaturate and rotate it 5 degrees to the left. Move it to the bottom of the large photo.
Repeat, but rotate to the right instead.
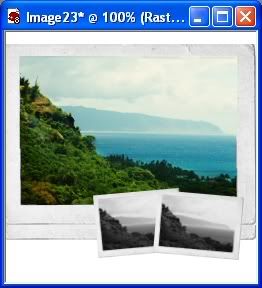
Paste one more small one and put it on top of the gray ones.
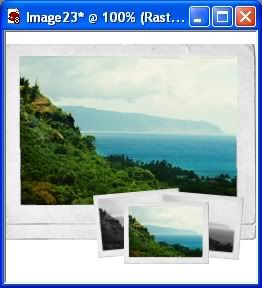
Flatten the image, resize to 100x100, sharpen, then pat yourself on the back 'cause you’re done.

I know I'm terrible at explaining things, so feel free to ask questions if anything needs clarification.