#67 tutorial
First of all I should say that I've never written any tutorials before so I apologize in advance for any mistakes XD
Asked by applepips16
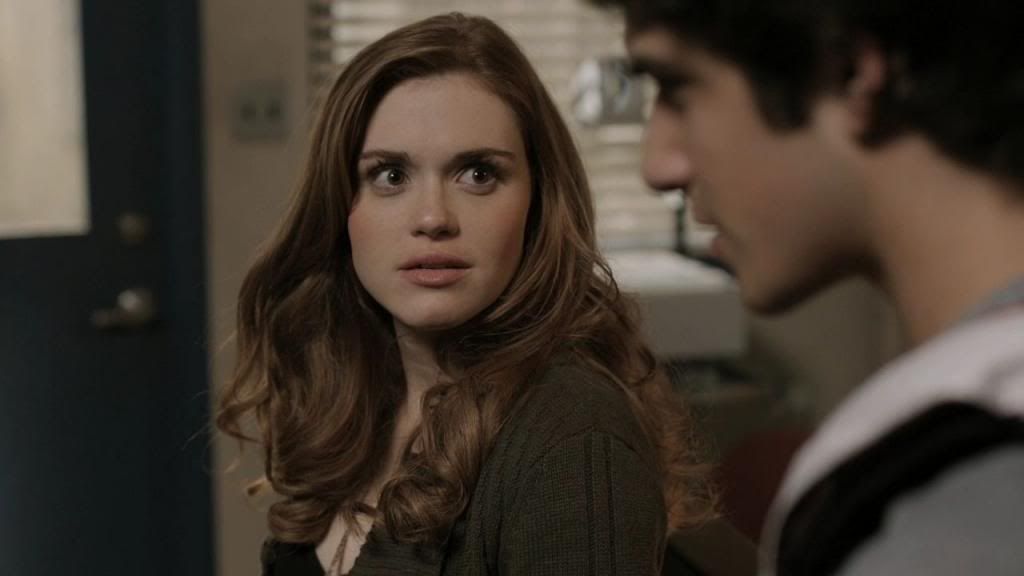
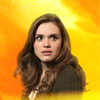
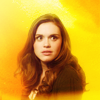
From this cap:
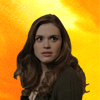
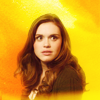
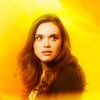
to this:

Ok, lets start with our base. We have very beautiful Lydia screencap. I love Lydia and I love to icon her even more :D
1) First of all we need to cut out Lydia of the original background, because I decided to use a fake one. There are many different ways to cut out the image of the background but I prefer to use Pen Tool (P). It's really easy and saves a lot of time. Here is a good tutorial how to use it. But you can use any way you like to cut her out of background.
2) Then we create 100x100 canvas put the image on it and resize it the way I like using Free Transform (Ctrl+T). For the background I used this texture by burnedbreads
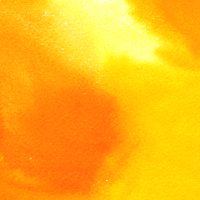
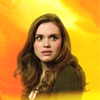
3) Well, we can see Lydia looks too dark so I used Auto Contrast to make her a bit brighter. Also I I created the Layer Mask and used brush tool with 15-30 % opacity to smooth the edges on her hair.
4) Then I decided it still not enough XD and took a brush with 15-20% opacity and painted around her head with yellow and orange on the new layer. Then I added this texture by mm3butterfly rotated it and set on the Screen.
5) Now the coloring part. Actually some time ago I found amazing multifandom psd (by ??? help me guys) which with some changes show a perfect example how to color Teen wolf screencaps if you want to make orange coloring (I almost not using it on my recent icons anymore but I used it some times as an inspiration on my older ones).
5.1) Create Selective Colors layer.
Reds: Cyan - 0 , Magenta - +12, Yellow - -24, Black - 0
Neutrals: Cyan - 0 , Magenta - 0, Yellow - +20, Black - 0
5.2) Create Curves layer.
RGB: Input - 138 , Output - 176
5.3) Another Curves layer
RGB: Input - 64 , Output - 54.
Now we have more bright and contrast image
=>

=>
5.4) Add a Vibrance layer: Vibrance - +32, Saturation - +7.
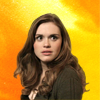
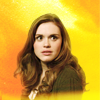
5.5) Color Fill time yay! Create #c73070 layer and set it on Screen with Opacity around 30% and Fill around 60-70%. It will give image more soft orange look. Then create #fef6e2 and set it to Multiply. And you will have something like this:

Looks much better! Now is my fav part:
6) Merge all the layers (Alt+Ctrl+Shift+E) go to Filter - Blur - Gaussian Blur and set Radius between 3-4 pixels. Set the layer on Soft Light and lower the Opacity to 50%. It will give you more vibrant and glowy look. To add more contrast I duplicate this layer and desaturate it:

=>
7) I need moaaar glow. So create new layer pick a soft brush with opacity around 50% or less and start painting over the background and a little on her hair and body, set this layer on Soft Light (you can also use Gaussian Blur on it)

8) Now I want to change the way light falls on Lydia. Create brown and white (or sometimes b&w) Gradient Fill (angle 153, scale: 100) and set it on soft light (100%). Duplicate Layer from Step 7 and set it to Normal (Opacity: 10%). To make light more visible create another yellow Gradient Fill layer with next settings:
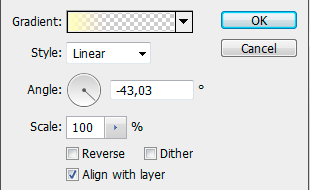
As a result you'll have something like this:
9) Merge all the layers, desaturate it, use Gaussian Blur again. Set it on Soft Light Opacity 20% to add more glow and contrast. Create a Vibrance layer (Vibrance - +44, Saturation - +6). And here we done with coloring!
10) The last step is sharpening. To sharp icons I use High Pass. Merge all the layers, go to Filter - Other - High Pass, set Radius to 1,0 and set this layer to Soft Light.
And that's it! I really hope this tut would be useful and thank you so much for making a request ;)
And sorry again for many mistakes, it seems like I'll never improve my English, ugh!

Ask The Maker 5.0 || My Thread