Chameleon - Printmaking
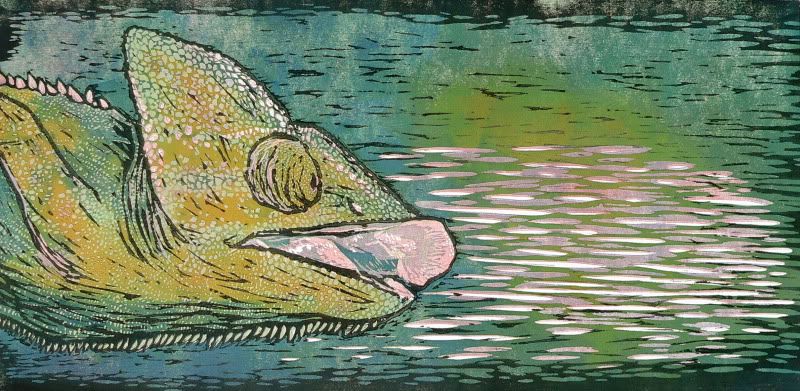
This is my woodcut print for my Intro to Printmaking class last semester. I think I uh... went over and beyond the minimum requirements. I tend to do that. Oops.
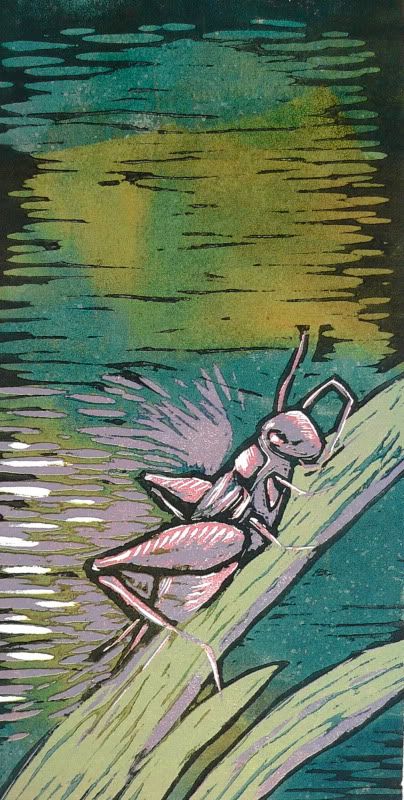
Anyway, this is a rather complicated process for those that aren't versed in how a woodcut works. I'll try to explain it. So I started with a 12'' by 24'' piece of MDF board and traced the loose image onto it. The cricket is an entirely separate woodcut, so technically this is a dyptic (or however you spell it). Then you begin by going light to dark.
So the first thing you do before ANY printing is cut away any white in the image. In this one there is very little, only in the horizontal movement lines and a few spots on the tongue. Then you print the lightest color, which was that pinkish purple of the tongue. This covers the entire sheet of paper and looks really weird because there are just random spots of white and the rest is pink. Now, the best bet for printmaking is to make lots of prints just in case you mess up down the line. I believe I made four of these... or six. I can't remember. All of them look slightly different. Then I cut away all of the pink on the wood and then printed the next color, which was a darker purple. Printed again, cut, then moved on to the light green for all of the scales. Which took FOREVER by the way. Then because of time constraints I printed the blue and orange together on the same print (which I rather like, to be honest) then cut away everything minus that black border (it's very heartbreaking to cut away all of what you spent hours on.... but the end result is usually worth it) and printed that and DONE. Long process is long. But really fun. I found I quite enjoyed working with woodcuts once you understand it.

