For the photoshop challenged
My Header!
My first tutorial so don't freak!
From this to this.
WARNING IMAGE HEAVY. Cause it's really for those who have no idea what levels are. :/ XD
Made using PHOTOSHOP ELEMENTS 3.0
Take your base. And set it to any way you want. Shrink it, sharpen it.
I like using an unsharp mask set at;
Amount 50%
Radius 2.0 pixels
threshold 2 levels
Rotate it around if you want that's what I did.
So this is what I'm basically starting out with.
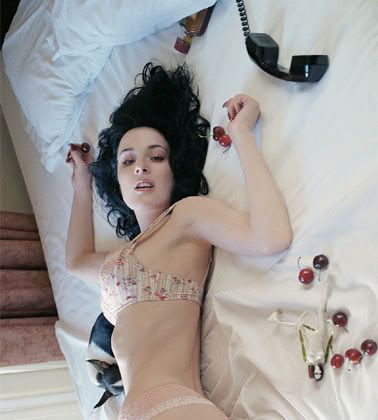
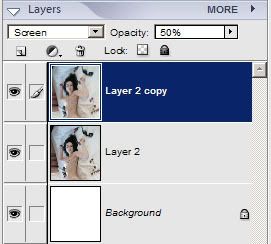
I then duplicate the base.
Layer> Duplicate base
I then set it to screen opacity 50%
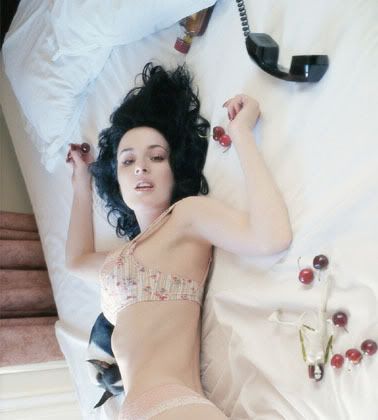
Then I go to filter>blur>gaussian blur
Then I put it's strenght to 2.0
This is what it looks like.
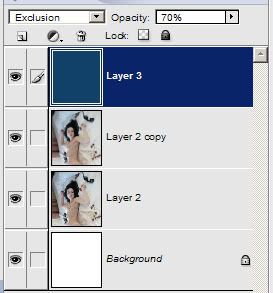
I add a new layer. This button in blue:

Fill layer with this color: #114168; Set to exclusion, at 70%.
Now this is where it gets tricky.
Your going to click on the button highlighted in blue

A menu will appear. Go down and click levels.
This is Levels:
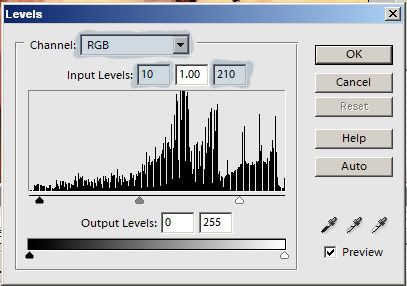
The areas in blue are the ones we are going to change. Where it says RGB gives to a small menue
RED; GREEN; BLUE
now those boxes in blue with the numbers. the one on the left is usually at zero and the one at the right is usally at 255.
The boxes on the bottom are not used in this But they are the same as the top.
So any way here are the setting. I hope your still with me.
RGB:
input; 10 ::: 210
output; no change 0 ::: 255
RED:
input; 15 ::: 230
output; no change 0 ::: 255
GREEN:
input; 30 ::: 255
output; no change 0 ::: 255
BLUE:
input; 40 ::: 255
output; no change 0 ::: 255
You should have this:
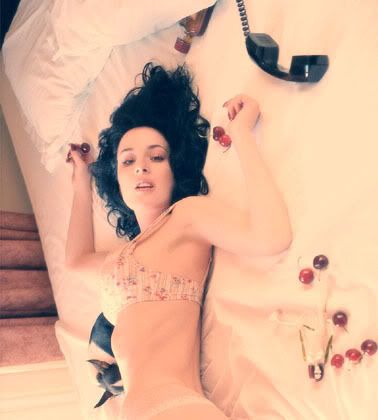
Duplicate your adjustment levels layer and set it to multiply, leave the opacity at 100%
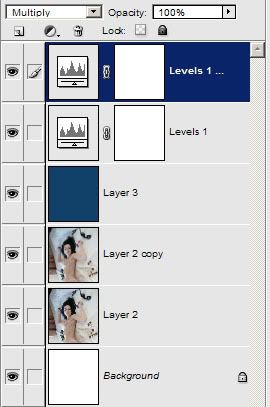
It should look like this now.
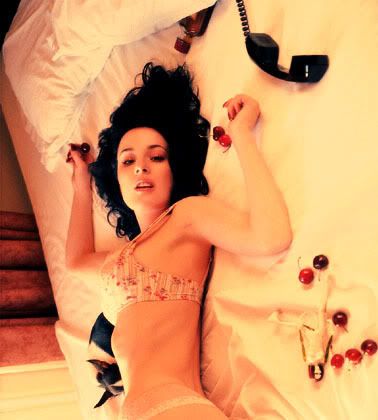
And that's it. You just ad your bruses and shuch.
Or you could get mask brushes from

ewanism

77words
The one I use is by ivy_poison but I think she moves taking her brushes with her.
Choose your mask brush. Open a new layer and fill with eather black or white. Whichever you choose, when you paint the brush on that layer use the oppiset color.
I used black and I panted the brush on in white. Then I set the layer to multiply.
If you do the oppisent of me use white and pain black, set it to screen. Like so:
White on Black

Black on White:

Other colors:
Any other color can't easily be done like that. So add a new layer and fill with the color of your choice.
Open you eraser brush and select the mask brush your using. And erase the area of the the color layer you want.
Like so:

I didn't merge all layers, I saved it in photoshop as it's defualt photoshop program, then when I was ready I merged all layers and saved as Jpg.
Saving in t's defualt program is for future referece, but if it takes up too much space for you just merge and save as jpeg.
So in the end you should have something like this:
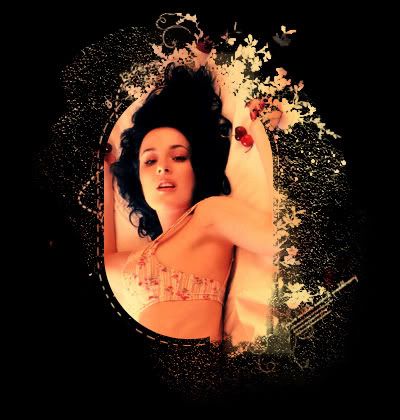
Whew! The End.
Any questions?
Just ask :D
♥
-Katy
PS: Holey shit it took me 3 hours to make this. I started at 10pm and finished at 1am!!