dream catch me when i fall
Step by step colouring tutorial,
Going from this: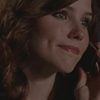
to this: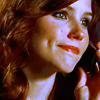
JOIN cherryxsodaxsky
PSD included. Involves selective colouring and curves.
Okey dokey guys and gals. I was asked how I got my colouring on my last icon batch, so I figured I’d write a tutorial for it =). So here we go…
Side notes:
Made in photoshop 7.0
Uses selective colour and curves.
1) Find your cap. (My particular one of Brooke is quite dark, but yours doesn’t have to be! Tweaking info will be included at the end).
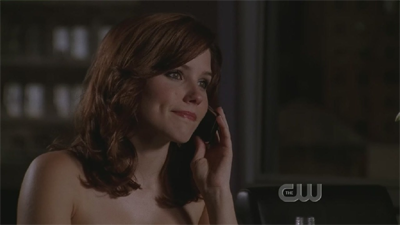
2) Duplicate your layer twice (CTRL J) and set both to screen at 100%.
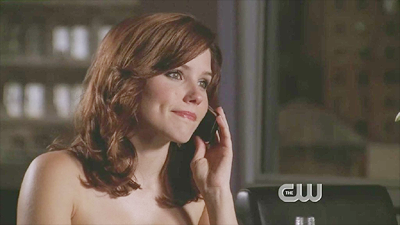
3) Create a new colour balance layer and use the following settings:
Midtones:
+26, 0, -29
Highlights:
+11, 0, -11
Shadows:
+14, 0, -13
If you’re seeing a very red Brooke right now, not to panic, all is well ;).
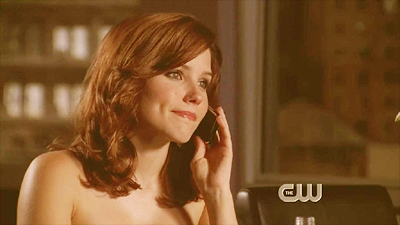
4) A selective colour layer set to the following:
Reds:
-25
0
+27
+18
Whites:
0
0
0
-80
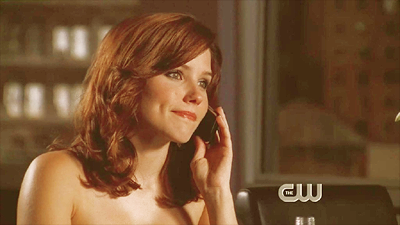
5) Again, we have another colour balance layer =)
Midtones:
-8, +15, -8
6) Curve time! Create a new curve using the following settings:
Blue:
Input: 173
Output:231

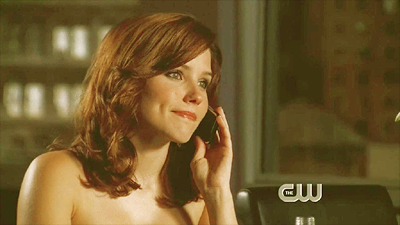
Your cap should start retaining more of a balance within colour again, now =).
7) Again we have another curve layer:
Blue:
Input: 168
Output:208
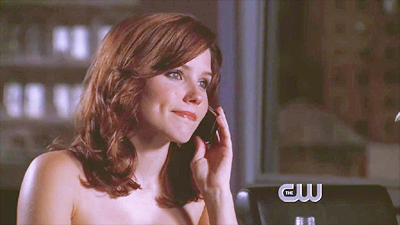
8) Create a new layer and fill it with a burnt yellowy colour. I used #EDE28B. Set it to multiply at 50%.

9) Another selective colour layer - I bet you’re getting bored now =(, stick with it, not long to go:
Reds:
-91
0
+46
0
Yellows:
0
0
+41
0
Whites:
0
0
-100
0
Neutrals:
+24
+23
+24
-12
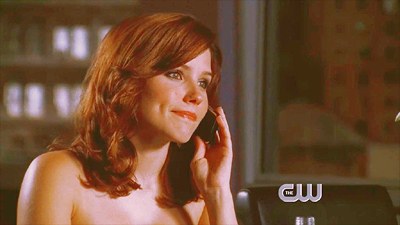
Now it should be a bit more vibrant =).
10) One last bit of selective colouring to do:
Whites:
0
0
-100
0
Neutrals:
0
0
-10
0
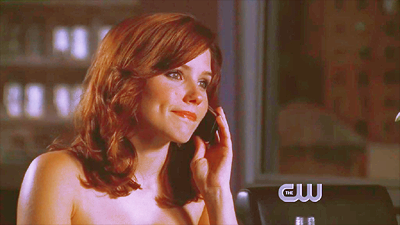
11) To make the colouring really pop, we’re gonna use another curve:
Red:
Point 1 -
Input: 12
Output: 2
Point 2 -
Input: 199
Output: 194
Point 3 -
Input: 247
Output: 255
Green:
Point 1 -
Input: 2
Output: 4
Point 2 -
Input: 207
Output: 255
Blue:
Point 1 -
Input: 6
Output: 3
Point 2 -
Input: 176
Output: 255
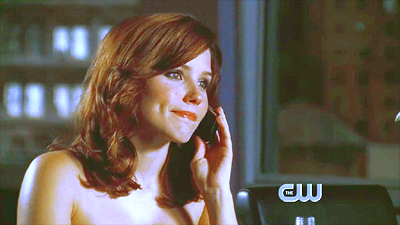
12) Now, to add depth to the colouring, add a levels layer:
RGB:
Input levels:
38, 0.85, 255
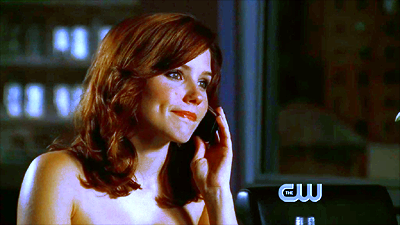
13) You’re done! Tootaloot! Crop and jazz up your art to your little hearts content =)
If you actually went through all that then extra praise for you. For those that would rather not endure all that, I’ve included the PSD ;)

PSD
Other examples using slightly different settings:
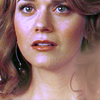
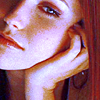
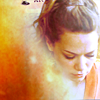
Play around with it =), see what you can come up with.
Tweaking tips:
Okay…so not so much a tips, but extra side notes:
Depending on the lightness/darkness of your cap, you may want to alter the number of screen layers. Usually I just use two.
Again, because this cap was particularly dark, I used an extra colour balance layer. Usually I don’t include the first one, but to enhance the colours, I did with this particular picture.
Okay, that’s it from me. Any questions/ queries, feel free to ask! =)
~Ellie
Going from this:

to this:

JOIN cherryxsodaxsky
PSD included. Involves selective colouring and curves.
Okey dokey guys and gals. I was asked how I got my colouring on my last icon batch, so I figured I’d write a tutorial for it =). So here we go…
Side notes:
Made in photoshop 7.0
Uses selective colour and curves.
1) Find your cap. (My particular one of Brooke is quite dark, but yours doesn’t have to be! Tweaking info will be included at the end).

2) Duplicate your layer twice (CTRL J) and set both to screen at 100%.

3) Create a new colour balance layer and use the following settings:
Midtones:
+26, 0, -29
Highlights:
+11, 0, -11
Shadows:
+14, 0, -13
If you’re seeing a very red Brooke right now, not to panic, all is well ;).

4) A selective colour layer set to the following:
Reds:
-25
0
+27
+18
Whites:
0
0
0
-80

5) Again, we have another colour balance layer =)
Midtones:
-8, +15, -8

6) Curve time! Create a new curve using the following settings:
Blue:
Input: 173
Output:231

Your cap should start retaining more of a balance within colour again, now =).
7) Again we have another curve layer:
Blue:
Input: 168
Output:208

8) Create a new layer and fill it with a burnt yellowy colour. I used #EDE28B. Set it to multiply at 50%.

9) Another selective colour layer - I bet you’re getting bored now =(, stick with it, not long to go:
Reds:
-91
0
+46
0
Yellows:
0
0
+41
0
Whites:
0
0
-100
0
Neutrals:
+24
+23
+24
-12

Now it should be a bit more vibrant =).
10) One last bit of selective colouring to do:
Whites:
0
0
-100
0
Neutrals:
0
0
-10
0

11) To make the colouring really pop, we’re gonna use another curve:
Red:
Point 1 -
Input: 12
Output: 2
Point 2 -
Input: 199
Output: 194
Point 3 -
Input: 247
Output: 255
Green:
Point 1 -
Input: 2
Output: 4
Point 2 -
Input: 207
Output: 255
Blue:
Point 1 -
Input: 6
Output: 3
Point 2 -
Input: 176
Output: 255

12) Now, to add depth to the colouring, add a levels layer:
RGB:
Input levels:
38, 0.85, 255

13) You’re done! Tootaloot! Crop and jazz up your art to your little hearts content =)
If you actually went through all that then extra praise for you. For those that would rather not endure all that, I’ve included the PSD ;)

PSD
Other examples using slightly different settings:


Play around with it =), see what you can come up with.
Tweaking tips:
Okay…so not so much a tips, but extra side notes:
Depending on the lightness/darkness of your cap, you may want to alter the number of screen layers. Usually I just use two.
Again, because this cap was particularly dark, I used an extra colour balance layer. Usually I don’t include the first one, but to enhance the colours, I did with this particular picture.
Okay, that’s it from me. Any questions/ queries, feel free to ask! =)
~Ellie