Wallpaper Tutorial #1-The Forest
At the request of campmotha I have written a tutorial on how to make this:
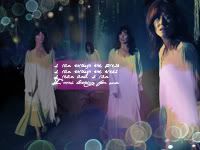
Made with Photoshop CS2 but it might be transferable.
Step 1--Preparing the Base
For this wallpaper I used four pictures that I found at DARK THOUGHTS. The pics I used can be found Here,
Here,
Here and Here.
Then I opened a 1024x768 pixel, plan whit canvas and pasted the images onto it. I then took the 300 pixel soft round brush too (one of the default brushes) and began brushing away the edges of the pictures. here
Once you are finished merge the images together. My end result looked like this. (NOTE: I recreated my base for example above so the base you see here and the one above may have minute changes.)
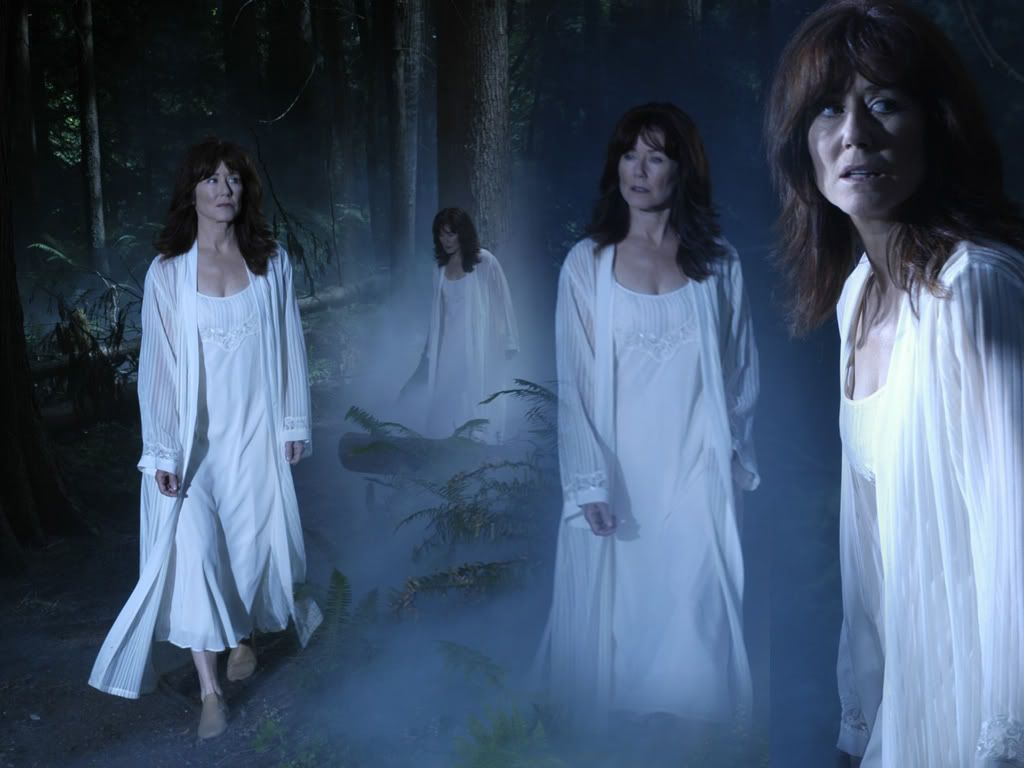
Step 2--Coloring
Duplicate the base twice by using Layer-->Duplicate Layer and set it to screen. Example Here
Add a layer of 041436 and set it to Exclusion 100%
My result:
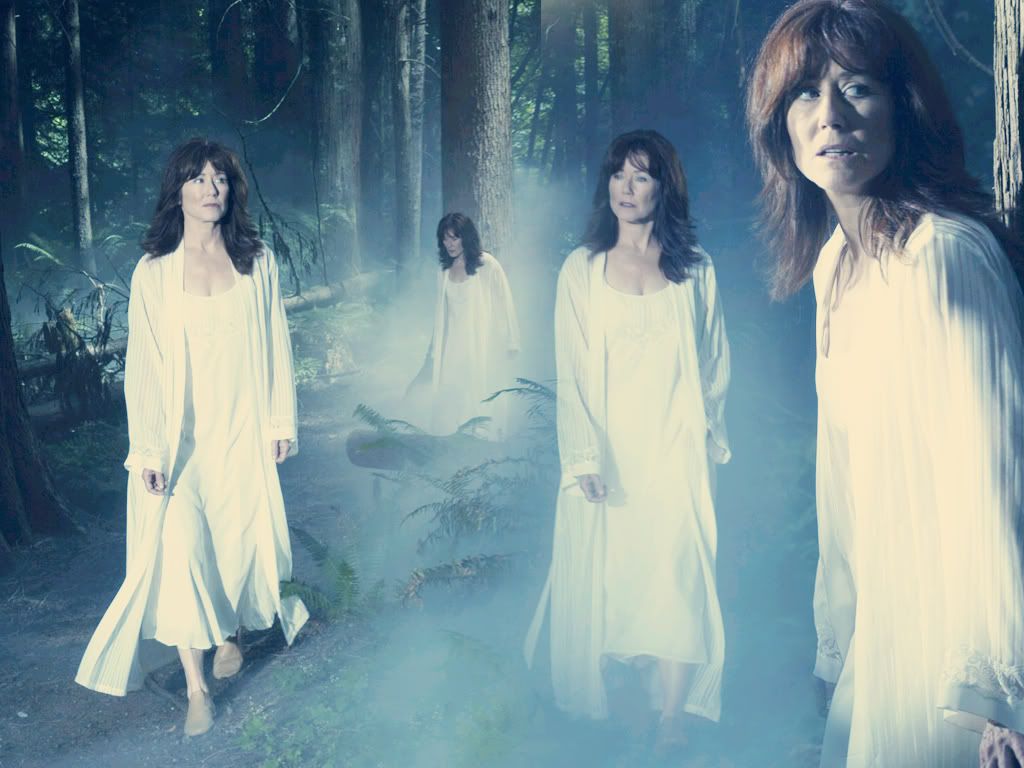
Yeah I know...not very pretty, but just wait it will get better in the next step.
Step 3--Curves
I added one of the evil curves layers MY SETTINGS
RGB:
Input:144
Output:115
Red:
Input:131
Output:115
Green:
Input:141
Output:124
Blue:
Input:135
Output:129
Result of the first curves layer
I then duplicated the curves layer and set it to Multiply 50%.
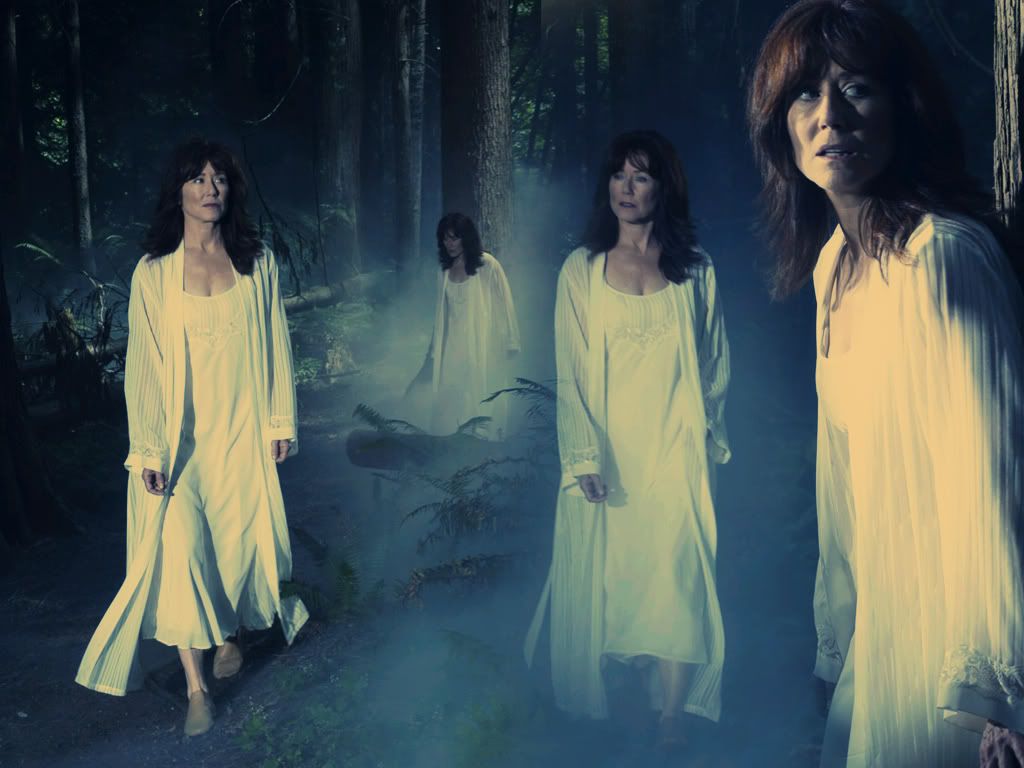
Step 4--The Black and White Portion
To get the black and white portion I hid the second curves layer (the one set to multiply) and then Copy Merged the result. I then Desaturated the copy merged layer and then I restored the second curves layer. (You won't realize you've turned it back on until this next step. The black and white layer should be on top.) Your layer pallet should look like This.
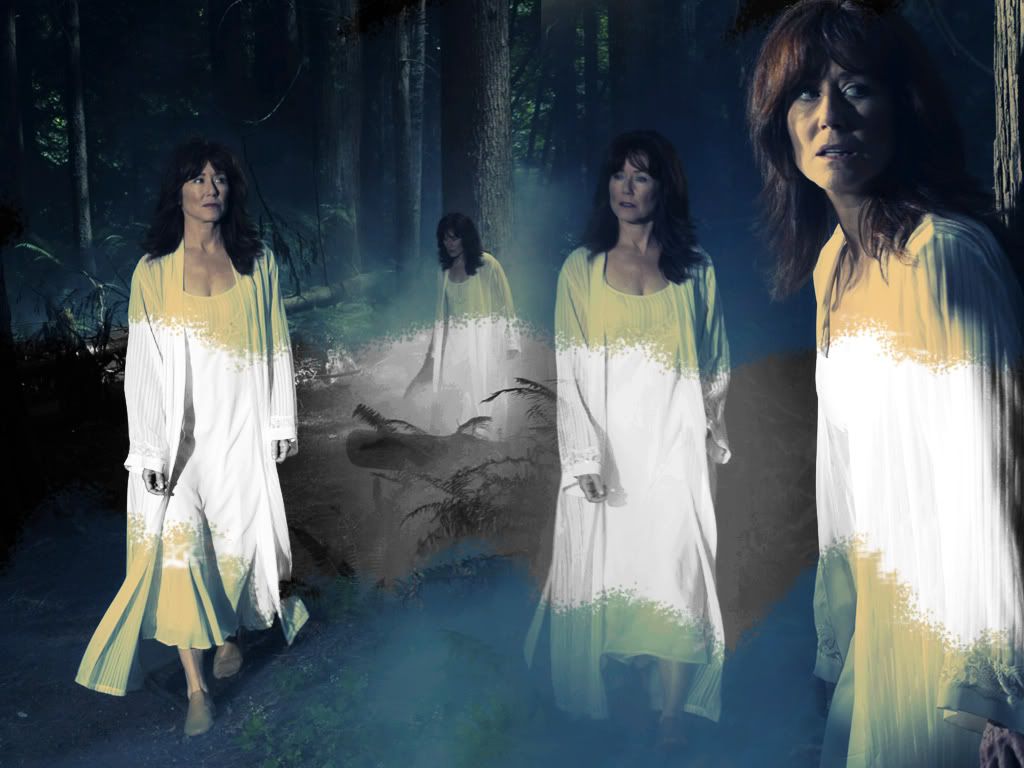
Then using the Heavy Scatter Flow Brush as an Eraser and set the Brush Preset as follows. My settings. Then begin erasing parts of the picture as needed. Example here I wanted Laura's head(s) to be in color so I erased the sections that depicted her head and then the sections that included her feet.
When I was finished I got this Result.
Then I Duplicated the layer and set it to Soft Light at 100%.
My Result:
Step 5--Brightening and Textures
I thought that the image needed a little bit more brightening up so I added a layer of 77b9d4 and set to Saturation 20% and got This.
Then I added This texture that I snagged from a tutorial (the creator's name wasn't mentioned...sorry). And set it to Darken 50% which gave me this.
Then I added this light texture from Stock Xchange and postioned it at the bottom of the picture. I set to Lighten 100% which gave me This.
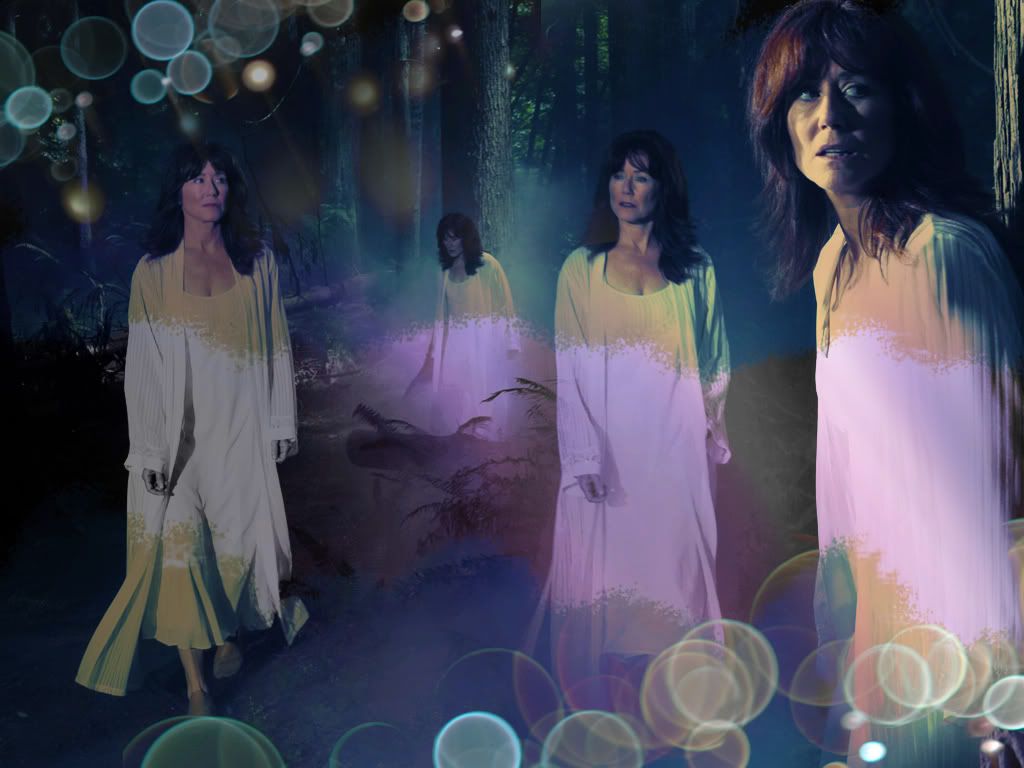
Then I postioned the Same texture in the top left hand corner of the wallpaper. I set that one to Lighten 65%.
My end result.
Step 6--The Rectangle and The Text
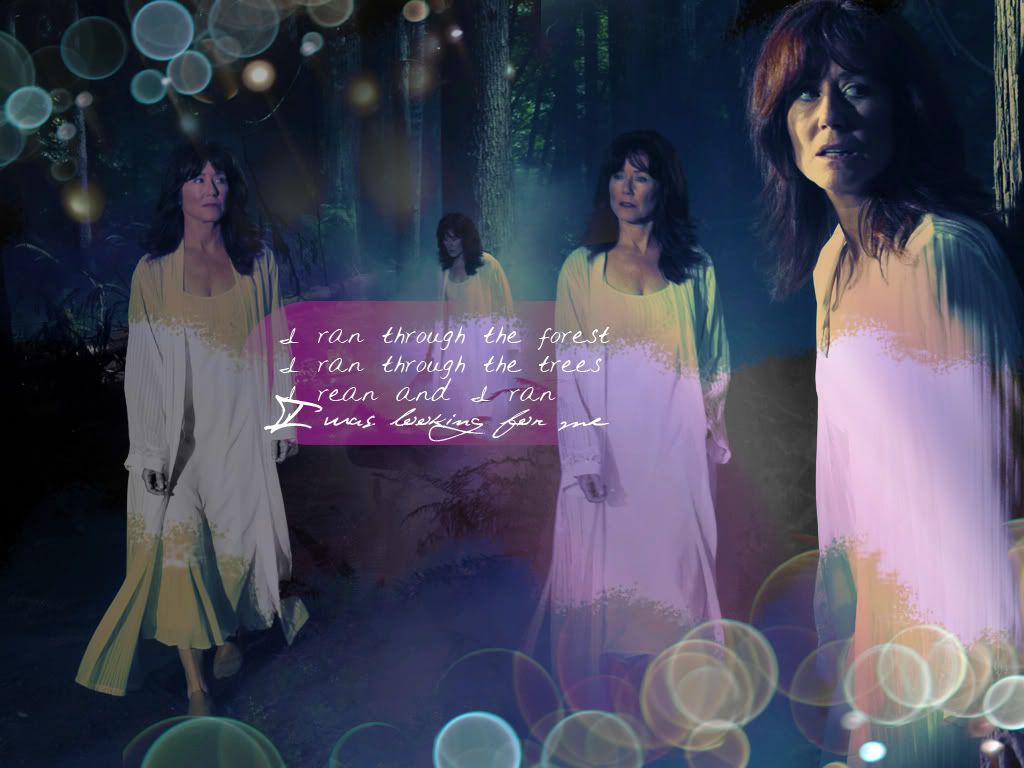
Next I created a New Layer and then selected the Rounded Rectangle Tool from your toolbar and then set the radius to 100px so that you have the edges with extreme curves. Draw a rectangle in 741e6f and set it to Lighten 100% You can move it around if you don't like the way it looks. I settled for this.
Now comes the text. I used lyrics of Madonna's song Mer Girl I typed the first three lines in Rai Size 24 and the fourth line in Jey Size 60.
And You're Done
Any questions/comments please feel free to comment.
PLEASE do not copy this tutorial exactly, feel free to experiment with different colors and settings as you wish.
I would also LOVE to see what you make with this tutorial

Made with Photoshop CS2 but it might be transferable.
Step 1--Preparing the Base
For this wallpaper I used four pictures that I found at DARK THOUGHTS. The pics I used can be found Here,
Here,
Here and Here.
Then I opened a 1024x768 pixel, plan whit canvas and pasted the images onto it. I then took the 300 pixel soft round brush too (one of the default brushes) and began brushing away the edges of the pictures. here
Once you are finished merge the images together. My end result looked like this. (NOTE: I recreated my base for example above so the base you see here and the one above may have minute changes.)

Step 2--Coloring
Duplicate the base twice by using Layer-->Duplicate Layer and set it to screen. Example Here
Add a layer of 041436 and set it to Exclusion 100%
My result:

Yeah I know...not very pretty, but just wait it will get better in the next step.
Step 3--Curves
I added one of the evil curves layers MY SETTINGS
RGB:
Input:144
Output:115
Red:
Input:131
Output:115
Green:
Input:141
Output:124
Blue:
Input:135
Output:129
Result of the first curves layer
I then duplicated the curves layer and set it to Multiply 50%.

Step 4--The Black and White Portion
To get the black and white portion I hid the second curves layer (the one set to multiply) and then Copy Merged the result. I then Desaturated the copy merged layer and then I restored the second curves layer. (You won't realize you've turned it back on until this next step. The black and white layer should be on top.) Your layer pallet should look like This.
Then using the Heavy Scatter Flow Brush as an Eraser and set the Brush Preset as follows. My settings. Then begin erasing parts of the picture as needed. Example here I wanted Laura's head(s) to be in color so I erased the sections that depicted her head and then the sections that included her feet.
When I was finished I got this Result.
Then I Duplicated the layer and set it to Soft Light at 100%.
My Result:

Step 5--Brightening and Textures
I thought that the image needed a little bit more brightening up so I added a layer of 77b9d4 and set to Saturation 20% and got This.
Then I added This texture that I snagged from a tutorial (the creator's name wasn't mentioned...sorry). And set it to Darken 50% which gave me this.
Then I added this light texture from Stock Xchange and postioned it at the bottom of the picture. I set to Lighten 100% which gave me This.
Then I postioned the Same texture in the top left hand corner of the wallpaper. I set that one to Lighten 65%.
My end result.

Step 6--The Rectangle and The Text
Next I created a New Layer and then selected the Rounded Rectangle Tool from your toolbar and then set the radius to 100px so that you have the edges with extreme curves. Draw a rectangle in 741e6f and set it to Lighten 100% You can move it around if you don't like the way it looks. I settled for this.
Now comes the text. I used lyrics of Madonna's song Mer Girl I typed the first three lines in Rai Size 24 and the fourth line in Jey Size 60.
And You're Done

Any questions/comments please feel free to comment.
PLEASE do not copy this tutorial exactly, feel free to experiment with different colors and settings as you wish.
I would also LOVE to see what you make with this tutorial