Tutorial: Vibrant Natural Coloring
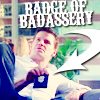
A tutorial was requested for this icon from my latest batch. It uses PS CS and is probably translatable. No curves, just color layers.
01.
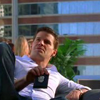
Your 100x100 cropped base. Unsharpened.
02.
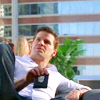
Duplicate base, Screen 100%.
03.
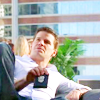
Duplicate base, Screen 100%.
04.

>>
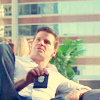
New layer, fill with #01073E at Exclusion 100%.
05.

>>
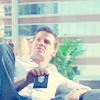
New layer, fill with #9ED9F1 at Soft Light 100%.
06.

>>
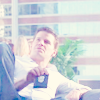
New layer, fill with #FCD2F9 at Soft Light 100%.
07.

>>
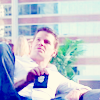
Merge all layers. Duplicate merged layer, Color Burn 100%.
08.

>>
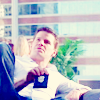
New layer, fill with #DDD8C7 at Color Burn 100%.
09.

>>
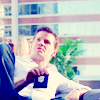
New layer, fill with #E5E5E3 at Color Burn 100%.
10.
>>
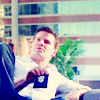
New layer, using a soft round brush (about 45px), color in the top of the icon with black at Soft Light 100%. Erase the parts that darken his head/face. You're really just aiming to darken the background a bit where you're gonna put the text.
11.
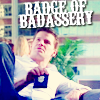
Text: Badge of Badassery is Carnivalee Freakshow in white with a black drop shadow (Blend Mode: Multiply, Opacity: 100%, Angle 142°, Distance: 1, Spread: 0, Size: 2).
12.

The arrow is a custom shape that came with Photoshop. If you have Photoshop and don't see this option when you click on your custom shapes, go to the little arrow in the circle on the top right side and scroll down to "arrows" [see image].
You're done. :)