Icon Tutorial
Requested by twinstrike~
to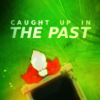
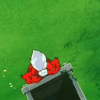
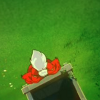
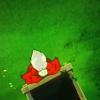
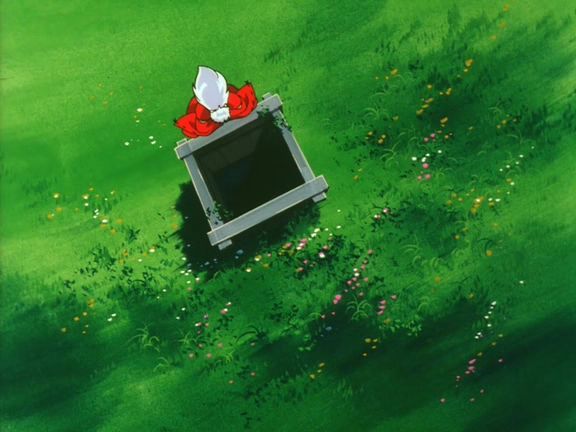
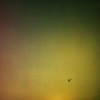
01: I started with my original image, extending the portion of the grass where it cut off.
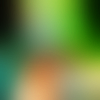
02: Then I added this texture by spooky_window on Hard Light Opacity about 46.5.
03: Next, I used Create New from Visible, and used Gaussian Blur, then darkened the layer a bit with the Curves tool.
04: I put this layer on Overlay at about 55.5 Opacity.
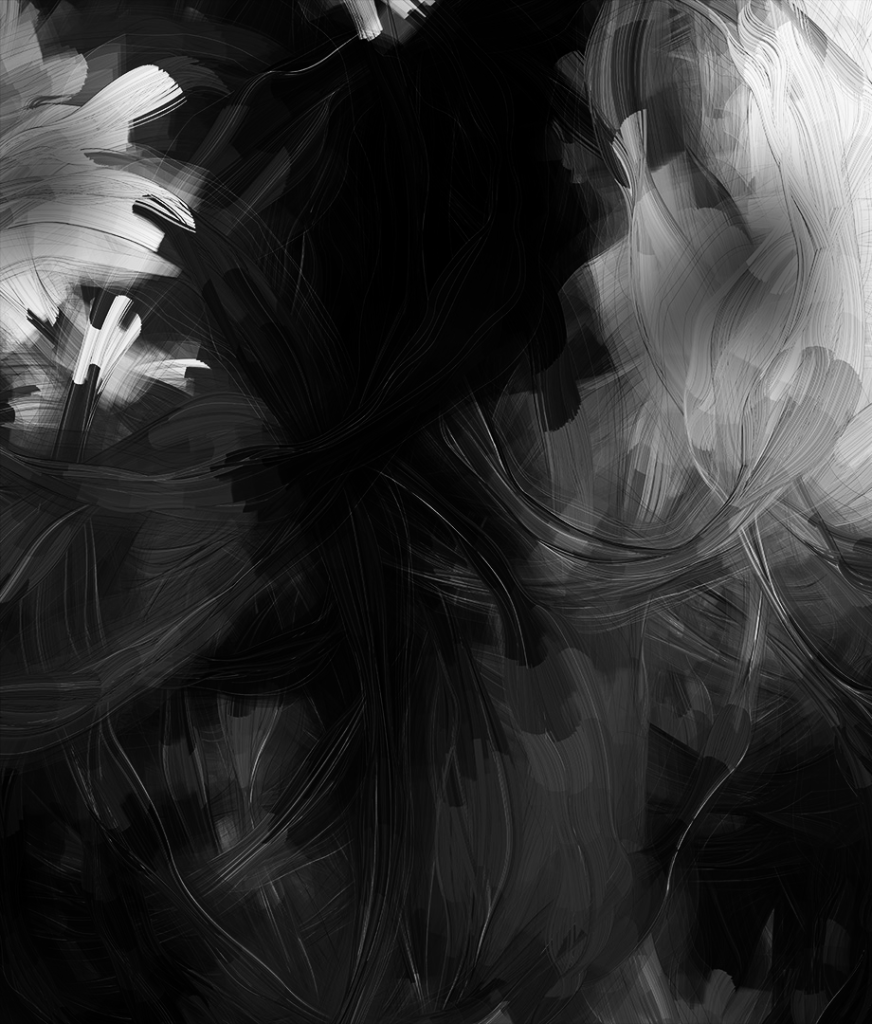
05: Next I add this texture by defaultsettings on Hard Light. I erased some of the areas of the texture where the color doesn't blend well with the image.
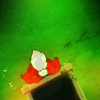
06: And then I add this texture on screen. After figuring out where the texture looks best, I used the Colorize tool to make the lines green instead of white.
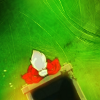
07: Next I add the text. I wanted it to be pretty simple, so I used Terminal Medium Italic. I placed the text underneath the defaultsettings texture layer.

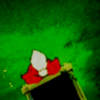
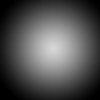
08: And finally I added my favorite for no reason texture by sanctuarylight on Overlay at about 55.5 Opacity.
And that's it!
You itching to know how I made a certain icon? Check out my Ask the Maker thread!

Ask The Maker || My Thread
to
01: I started with my original image, extending the portion of the grass where it cut off.
02: Then I added this texture by spooky_window on Hard Light Opacity about 46.5.
03: Next, I used Create New from Visible, and used Gaussian Blur, then darkened the layer a bit with the Curves tool.
04: I put this layer on Overlay at about 55.5 Opacity.
05: Next I add this texture by defaultsettings on Hard Light. I erased some of the areas of the texture where the color doesn't blend well with the image.
06: And then I add this texture on screen. After figuring out where the texture looks best, I used the Colorize tool to make the lines green instead of white.
07: Next I add the text. I wanted it to be pretty simple, so I used Terminal Medium Italic. I placed the text underneath the defaultsettings texture layer.
08: And finally I added my favorite for no reason texture by sanctuarylight on Overlay at about 55.5 Opacity.
And that's it!
You itching to know how I made a certain icon? Check out my Ask the Maker thread!
Ask The Maker || My Thread