REPOST FORTY FIVE ;; TUTORIAL NUMBER FIVE
simple tutorial psp9.
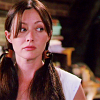
Going from THIS to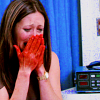
Cap made by me.
Firstly open your program you'll be using. I'm using PSP9.
Open up you screen cap. I'll be using THIS cap of Prue Halliwell from Charmed.
I cropped it to 480x480 just to make a smaller pallate. It works best if you use a large base to start.
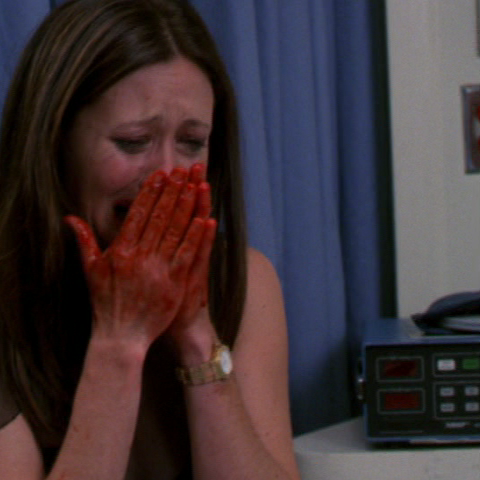
ADJUST >> BRIGHTNESS & CONTRAST >> LEVELS
RGB: 0 / 1.35 / 255
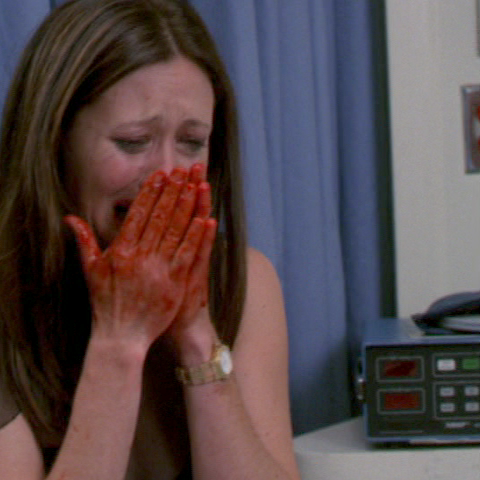
LAYERS >> NEW ADJUSTMENT LAYER >> HUE/SATURATION/LIGHTNESS
I put in the following settings (Only used the Saturation option, I didn't use Lightness or Hue).
Master: 0
Reds: 45
Yellows: 20
Greens: 30
Cyans: 13
Blues: 100
Magenta: 0
Set layer to SCREEN / OPACITY 100
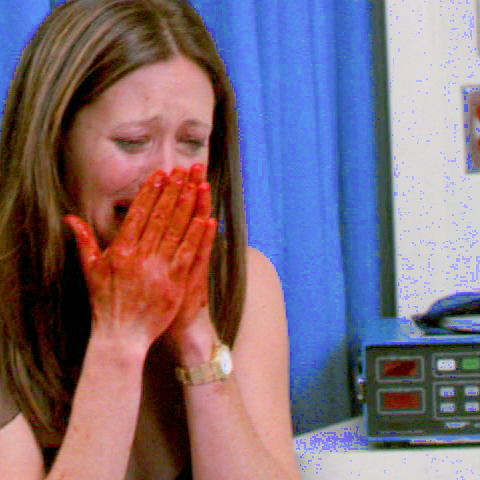
Merge all.
LAYERS >> NEW ADJUSTMENT LAYER >> COLOR BALANCE
Shadows: -15 / -11 / 14
Midtones: -15 / -11 / 14
Highlights: -15 / -11 / 14
Set layer to SOFT LIGHT / OPACITY 100

Merge all.
Resize to 100x100.
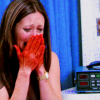
ADJUST >> SHARPNESS >> UNSHARP MASK
Radius: 0.70
Strength: 50
Clipping: 0
& make sure luminance only is UNCHECKED.

Your done. =]
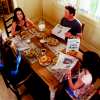
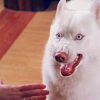
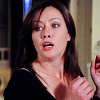
Keep in mind that depending on your base your icon will turn out different and may require different settings. I've also only tried it on Charmed caps, so all the other examples below are from Charmed.
Other Examples:
Going from THIS to

Cap made by me.
Firstly open your program you'll be using. I'm using PSP9.
Open up you screen cap. I'll be using THIS cap of Prue Halliwell from Charmed.
I cropped it to 480x480 just to make a smaller pallate. It works best if you use a large base to start.

ADJUST >> BRIGHTNESS & CONTRAST >> LEVELS
RGB: 0 / 1.35 / 255

LAYERS >> NEW ADJUSTMENT LAYER >> HUE/SATURATION/LIGHTNESS
I put in the following settings (Only used the Saturation option, I didn't use Lightness or Hue).
Master: 0
Reds: 45
Yellows: 20
Greens: 30
Cyans: 13
Blues: 100
Magenta: 0
Set layer to SCREEN / OPACITY 100

Merge all.
LAYERS >> NEW ADJUSTMENT LAYER >> COLOR BALANCE
Shadows: -15 / -11 / 14
Midtones: -15 / -11 / 14
Highlights: -15 / -11 / 14
Set layer to SOFT LIGHT / OPACITY 100

Merge all.
Resize to 100x100.

ADJUST >> SHARPNESS >> UNSHARP MASK
Radius: 0.70
Strength: 50
Clipping: 0
& make sure luminance only is UNCHECKED.

Your done. =]
Keep in mind that depending on your base your icon will turn out different and may require different settings. I've also only tried it on Charmed caps, so all the other examples below are from Charmed.
Other Examples: