Tutorial #1 - Manga Coloring
How to go from this 
to This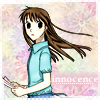
This tutorial was created with Macromedia Fireworks, but should be easily translatable.
1. First choose your base image
I chose this:
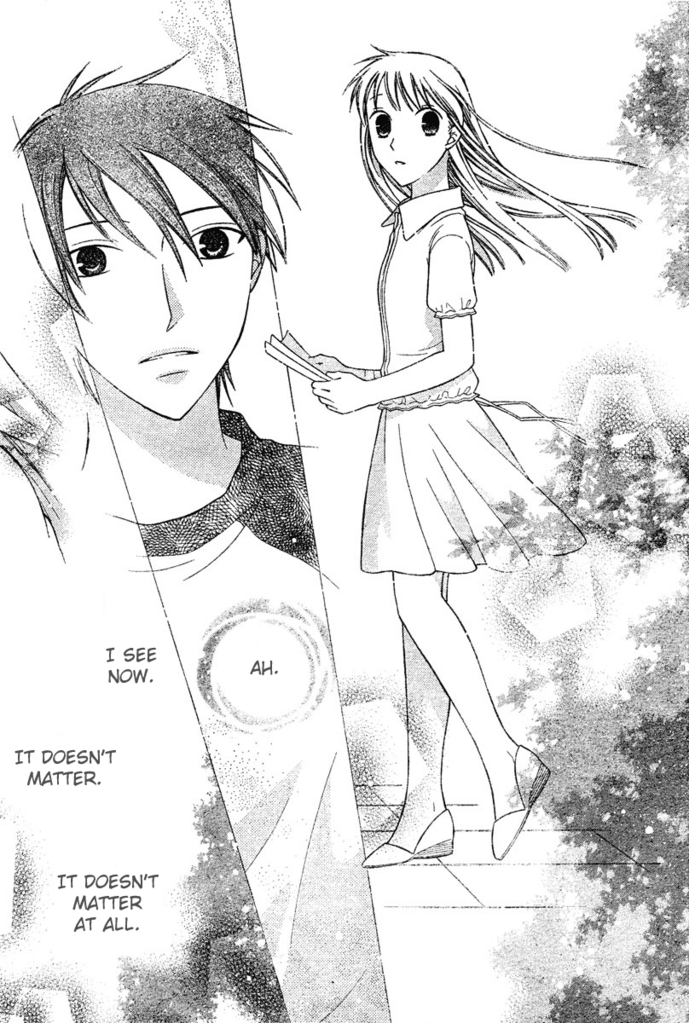
2. Choose the part of the scan you want to use in your icon and crop the image

3. Erase all unnecessary background and extra stuff in the scan, all you want is your man focus, the character.
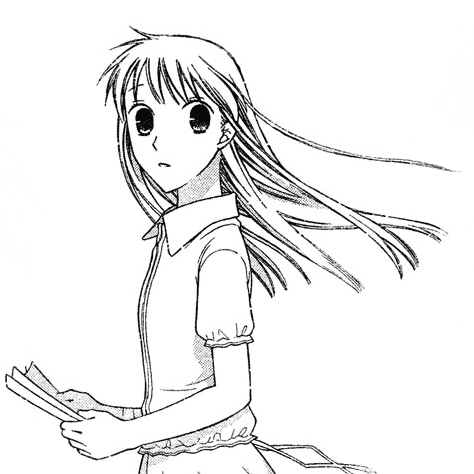
4. If the image needs it feel free to darken up the lines by increasing the contrast/ duplicating the base and setting the top layer on Multiply.
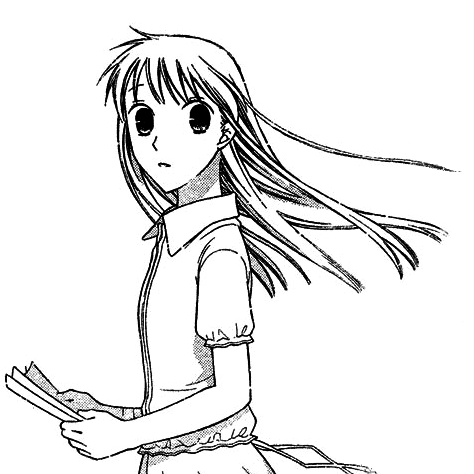
5. Now we are going to color the skin. I use the “polygonal lasso” tool to select the area I want to color. Once you have selected the region you want to color choose you paint brush tool, set it for Air brush and multiply 100% with the color #FFF0E1. Do one layer over the area you want to color.
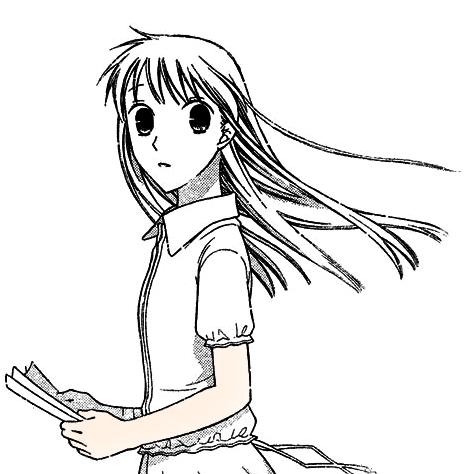
6. This looks too flat, now we want to shade the arm so that it looks 3D. leaving the same area selected set the paint brush on Multiply 34% (same color as step 5) and trace the outline of the arm and in between the fingers to add some depth to the image.
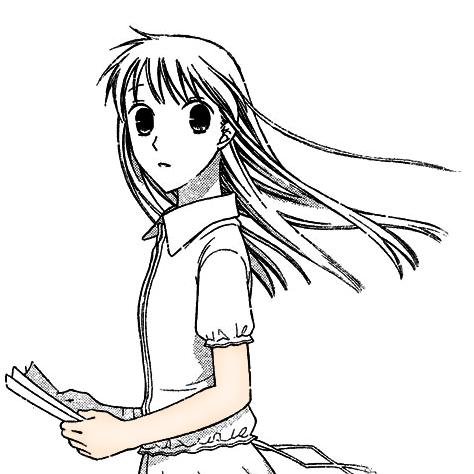
7. Repeat steps 5 and 6 for all the rest of the skin regions. Add shading on places such as the outlines of faces/arms/legs, and under hair where the natural shadows would be. I like to give my characters a bit of a blush. I think it makes them look more alive.
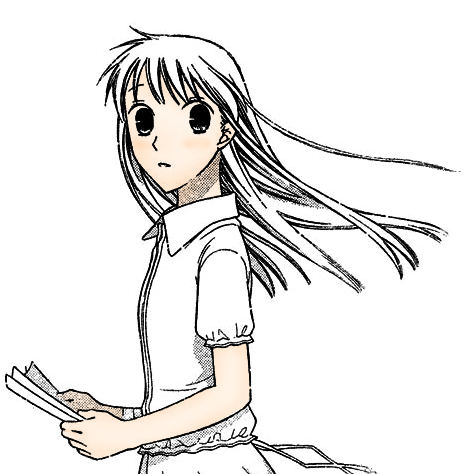
8. As you can see there is skin tone on parts of Tohru’s eye that shouldn’t be. To get rid of this you are going to set your paintbrush on Black and Color 100% (this desaturates the section you colored, so whatever a desaturation setting on your paintbrush tool would be)
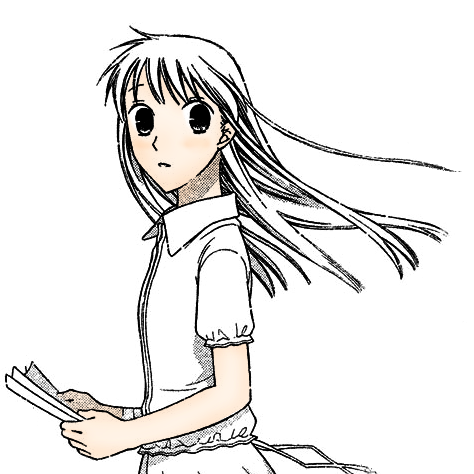
9. Next we color the hair. Again selecting the hair with the “polygonal lasso” tool, add a base layer of #8C7351 paintbrush (set on air brush) at Multiply 100%

10. Again we are going to add shading to make Tohru look alive. The artist has generally given you an Idea of where to shade by the lines they draw. Set your paintbrush for a smaller size slightly bigger than the lines you want to shade and set the paintbrush (on the same color) For multiply 34%. Add shading, once you are done do one more sweep over all of the hair at Multiply 54% to even out your shading, so its not so harsh.
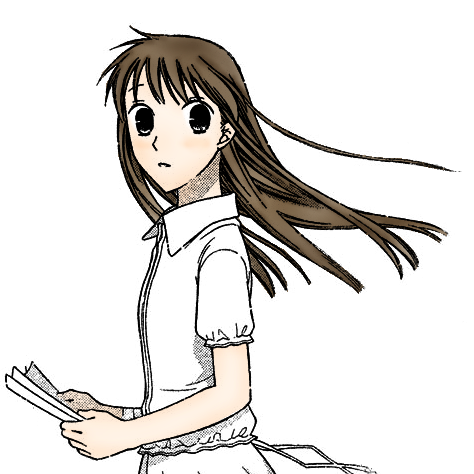
11. Now we are going to color the shirt. After using the Polygonal lasso tool to select the area you want to color use the same settings (paintbrush, airbrush, multiply on 100%) add a base layer of #ADD9D6 over her shirt
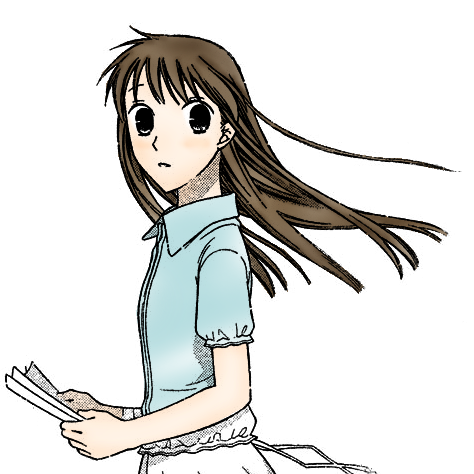
12. Then of course we are going to shade it. Multiply 34% and outline the shirt/add shading where you think it looks good.
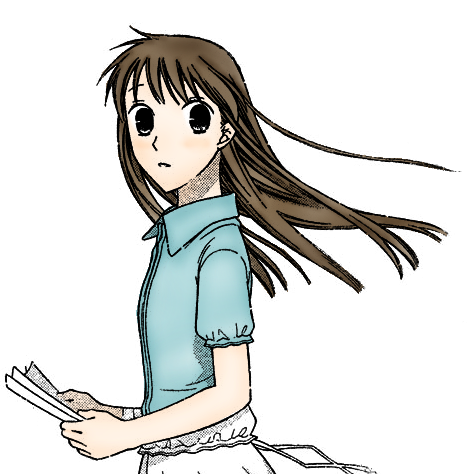
Finish the rest of the shirt
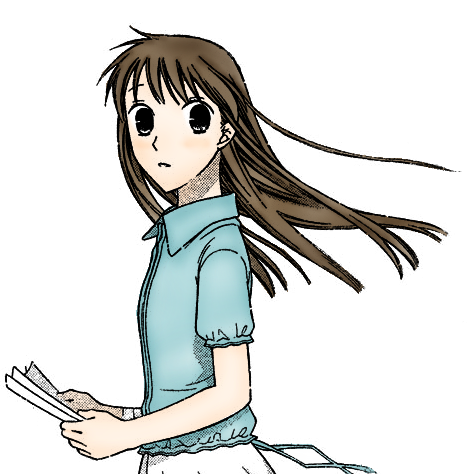
13. Last thing to color is the skirt. After using the Polygonal lasso tool to select the area you want to color use the same settings (paintbrush, airbrush, multiply on 100%) add a base layer of #89A7CB over her skirt.
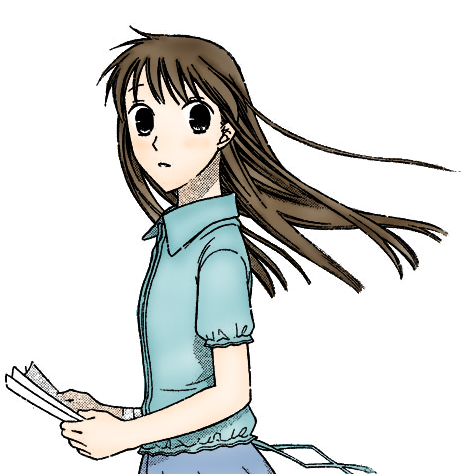
14. Then of course we are going to shade it. Multiply 34% and outline the skirt/add shading where you think it looks good.
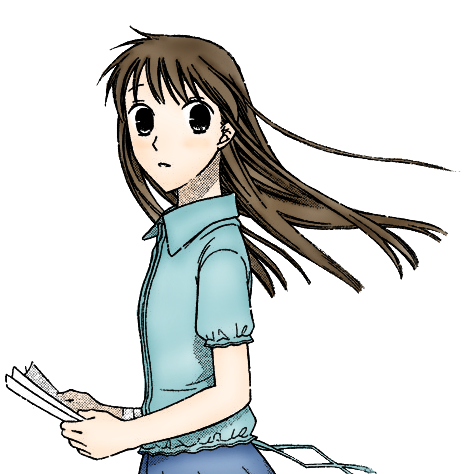
15. Now as to why we erased all of the extra stuff around tohru when we started this image, we are going to delete all the white area around Tohru. Using the magic wand, select the area around Tohru and delete it.
16. Now it is time to resize her down to icon size. Modify>Canvas>Image Size> 100x100 @ 72ppi (pixels per inch) or a resolution of 72.
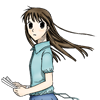
17. Time to add a background. I used this Texture by icon_goddess
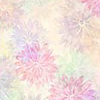
But you can use anything you would like. Put your texture as a layer behind the base image.
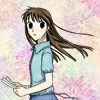
18. I thought that the image needed a little boost so I multiplied the base layer (our colored Tohru) and set the Saturation for 14 and the contrast for 14.
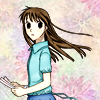
19. Now for the text. I want to add the word “innocence” to mine. So I chose Book Antiqua and set in on Bold and 10. all lower case and white letters. I added a glow around the text #ECC5D0 the glow is set for width of 2, 100% and fade of 4. I set the text for Tint 100% and duplicated it 3x. It covered Tohru so I moved her to the left just a tad. And put the text layer behind her.
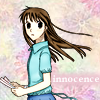
20. I thought the text looked a little plain so I added this tiny text (I cant remember who made it Im sorry >.<)

And I inverted it set it on Screen 100% and duplicated it 4x (it wasn’t dark enough without the duplications)

21. Last step is to add the border. I used this border:

Again I inverted it and set it on Screen 100%
You are now done!

Hope this helps and you enjoy this tutorial. I'd Love to see what you do with it :D

to This

This tutorial was created with Macromedia Fireworks, but should be easily translatable.
1. First choose your base image
I chose this:

2. Choose the part of the scan you want to use in your icon and crop the image

3. Erase all unnecessary background and extra stuff in the scan, all you want is your man focus, the character.

4. If the image needs it feel free to darken up the lines by increasing the contrast/ duplicating the base and setting the top layer on Multiply.

5. Now we are going to color the skin. I use the “polygonal lasso” tool to select the area I want to color. Once you have selected the region you want to color choose you paint brush tool, set it for Air brush and multiply 100% with the color #FFF0E1. Do one layer over the area you want to color.

6. This looks too flat, now we want to shade the arm so that it looks 3D. leaving the same area selected set the paint brush on Multiply 34% (same color as step 5) and trace the outline of the arm and in between the fingers to add some depth to the image.

7. Repeat steps 5 and 6 for all the rest of the skin regions. Add shading on places such as the outlines of faces/arms/legs, and under hair where the natural shadows would be. I like to give my characters a bit of a blush. I think it makes them look more alive.

8. As you can see there is skin tone on parts of Tohru’s eye that shouldn’t be. To get rid of this you are going to set your paintbrush on Black and Color 100% (this desaturates the section you colored, so whatever a desaturation setting on your paintbrush tool would be)

9. Next we color the hair. Again selecting the hair with the “polygonal lasso” tool, add a base layer of #8C7351 paintbrush (set on air brush) at Multiply 100%

10. Again we are going to add shading to make Tohru look alive. The artist has generally given you an Idea of where to shade by the lines they draw. Set your paintbrush for a smaller size slightly bigger than the lines you want to shade and set the paintbrush (on the same color) For multiply 34%. Add shading, once you are done do one more sweep over all of the hair at Multiply 54% to even out your shading, so its not so harsh.

11. Now we are going to color the shirt. After using the Polygonal lasso tool to select the area you want to color use the same settings (paintbrush, airbrush, multiply on 100%) add a base layer of #ADD9D6 over her shirt

12. Then of course we are going to shade it. Multiply 34% and outline the shirt/add shading where you think it looks good.

Finish the rest of the shirt

13. Last thing to color is the skirt. After using the Polygonal lasso tool to select the area you want to color use the same settings (paintbrush, airbrush, multiply on 100%) add a base layer of #89A7CB over her skirt.

14. Then of course we are going to shade it. Multiply 34% and outline the skirt/add shading where you think it looks good.

15. Now as to why we erased all of the extra stuff around tohru when we started this image, we are going to delete all the white area around Tohru. Using the magic wand, select the area around Tohru and delete it.
16. Now it is time to resize her down to icon size. Modify>Canvas>Image Size> 100x100 @ 72ppi (pixels per inch) or a resolution of 72.

17. Time to add a background. I used this Texture by icon_goddess
But you can use anything you would like. Put your texture as a layer behind the base image.

18. I thought that the image needed a little boost so I multiplied the base layer (our colored Tohru) and set the Saturation for 14 and the contrast for 14.

19. Now for the text. I want to add the word “innocence” to mine. So I chose Book Antiqua and set in on Bold and 10. all lower case and white letters. I added a glow around the text #ECC5D0 the glow is set for width of 2, 100% and fade of 4. I set the text for Tint 100% and duplicated it 3x. It covered Tohru so I moved her to the left just a tad. And put the text layer behind her.

20. I thought the text looked a little plain so I added this tiny text (I cant remember who made it Im sorry >.<)

And I inverted it set it on Screen 100% and duplicated it 4x (it wasn’t dark enough without the duplications)

21. Last step is to add the border. I used this border:

Again I inverted it and set it on Screen 100%
You are now done!

Hope this helps and you enjoy this tutorial. I'd Love to see what you do with it :D