Icon tutorial 001-James Marsters & Sara M. Gellar
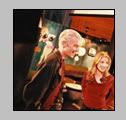
to
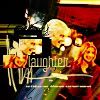
First of all please remember that my first language is not English, don't flame me.

First I duplicated the image, Then I went to image>adjustments>desaturate. I set that same layer to soft light.I merged the layer, duplicated it again,set it to screen with these settings:
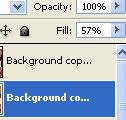
Then I duplicated the same layer and changed it to color burn with these settings:
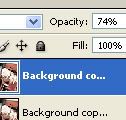
Sharpened that same layer, then merged all the layers.
Then I used this light texture by ___fatalromance

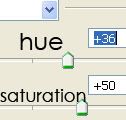
set it to lighten and went toimage>adjustments>Brightness/contrastand I made it darker I also wanted to change the colors A little bit, so I went image>adjustments>hue/saturation and gave it these settings:
Then I applied the light texture again,Lighten,left it with the original colors and I made it darker again.
Got a new light texture by ___fatalromance:
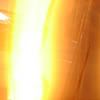
set it to color burn.
image>adjustments>Brightness/contrast
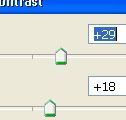
and I merged it.
The icon should look like this now :
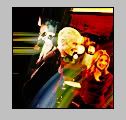
Time to add some brushes, I created new layers and used these brushes by ___fatalromance
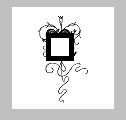
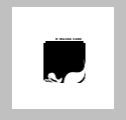
& this one by teh_indy
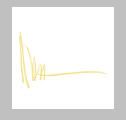
, all together looking like this:
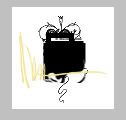
Then I selected a part of James and Sarah's faces,copied them and then pasted them on top of the brushes, and added the text, and we are done.
Font called : digital kauno.

Hope I was clear :/
-Nicole