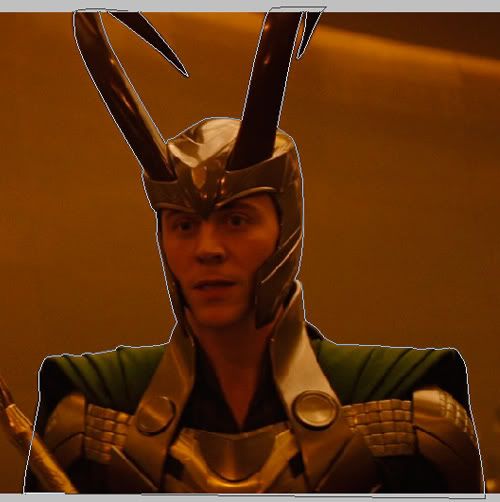
Loki icon tutorial Part 1: Creating the crop
-->
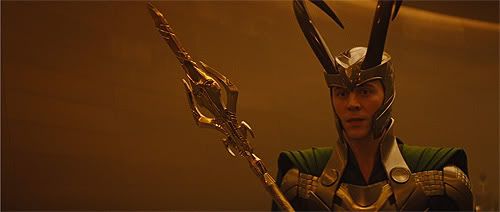
Open the image in photoshop to start cropping. 90% of the time the pen tool (

in tool bar or use 'p' on the keyboard) is the best way to do it.
If you have never used paths in photoshop before, check out these tutorials and exercises and practise:
Zoom (

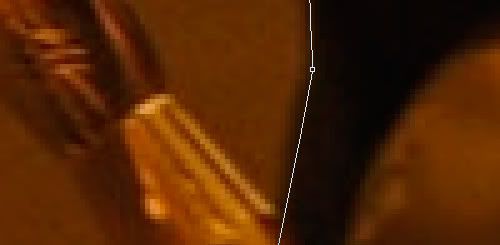
or 'z' on keyboard) into the image to start, so you can get a more detailed crop. I've zoomed in to 500% here.
Make sure to choose this for the options, so you don't create a vector layer.

Make sure to create the path inside the space where the object and the background blur together, otherwise you will have light edges and it won't look as clean.
I'm not gonna do all the steps of creating the paths with the pen tool here, please check out the tuts above. They Explain it very well.
Creating the path.
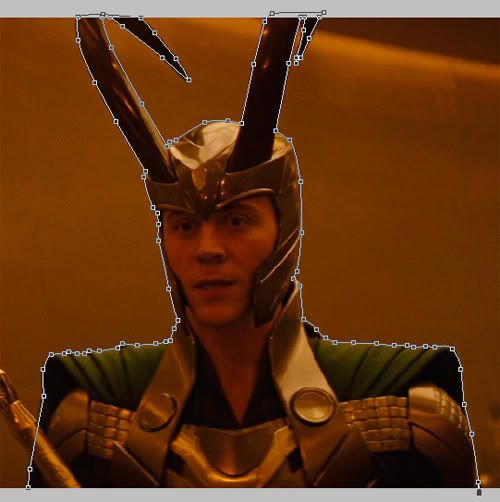
Closing the path.
You have now created the path. Choose Path Component Selection (

) in the toolbar and select the path again. If your path isn't clean enough, you can use Direct Selection (

) in the toolbar and move the paths again using the arrow keys on your keyboard. You can also change curves and such using the different tools the pen as to offer.
Now you want to create the selection. If the path menue isn't open, use window > paths.
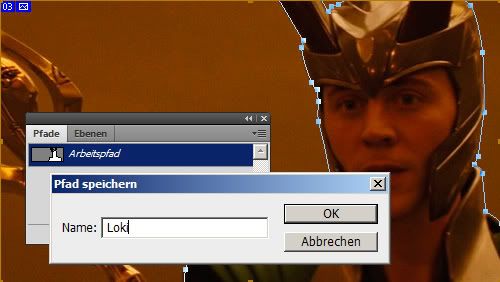
Douple click on your path layer and name the path to save it.
Now create the selection by clicking "load path as selection"
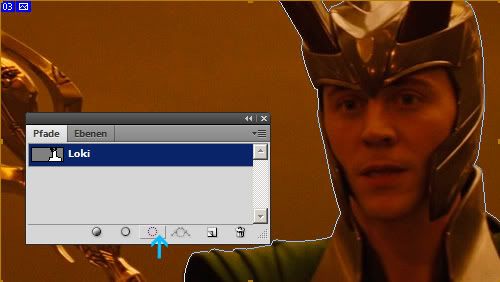
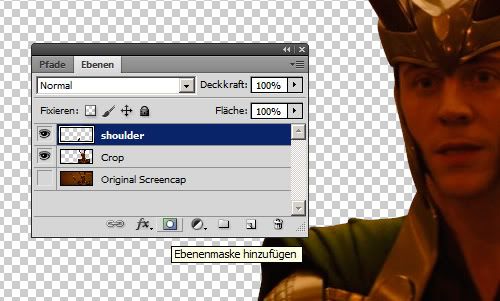
Now open the layer palette by clicking window > layer. You can now see the selection.
Press Strg+c (copy) and then Strg + v (insert). The cropped image is now on top of the original image.
You now have two layers. Better name them accordingly.
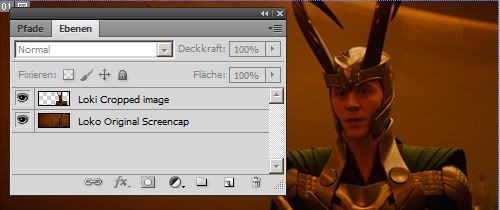
Hide Original Screencap to continue.

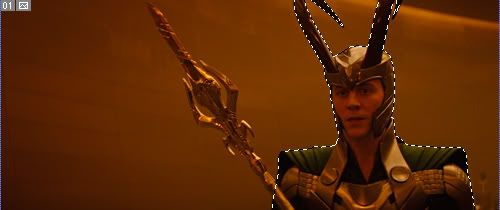
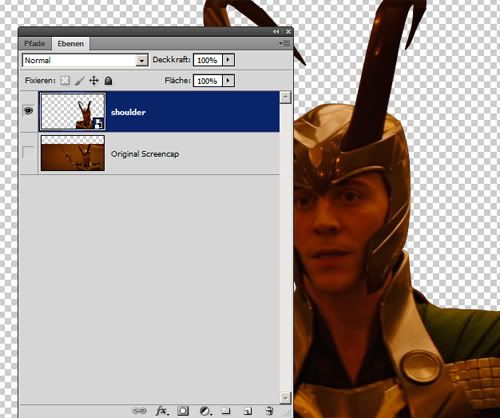
Now we need to prepare the rest of the inage. I had decided before, that I wanted to see all of the horns and that I wanted to get rid of the spear.
First, use the Polygon Lasso (

) to create a shape. Then Copy (Strg+ C) and paste (Strg+ V) the shape on a new layer.

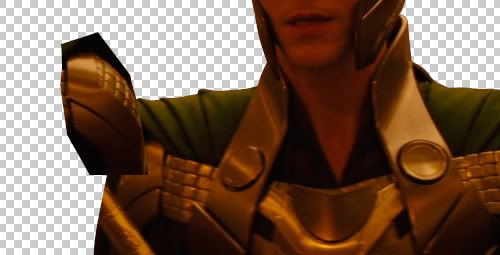
Use Strg + t or (transform) or Edit > Transform > Flip Horizontal.
Then move the layer onto the right spot. It fits rather well already.
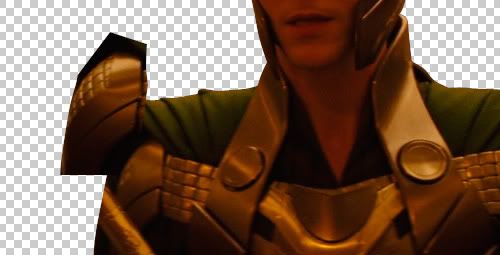
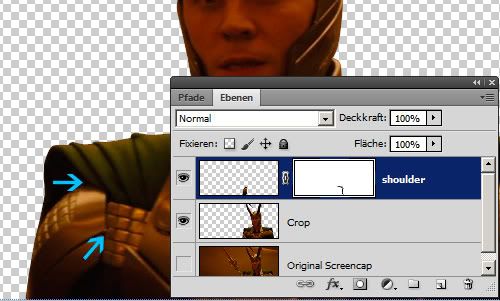
Then use the brush tool to work on the edges. I prefer creating a mask first so the original image remains.
Paint on the mask with a black brush. Small and a bit of a blur. I painted where the blue arrows are.
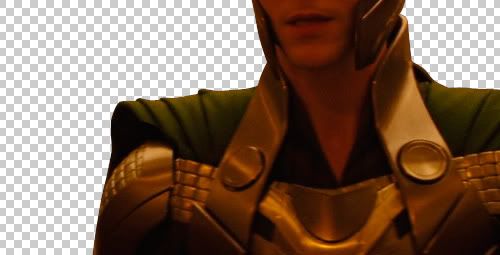
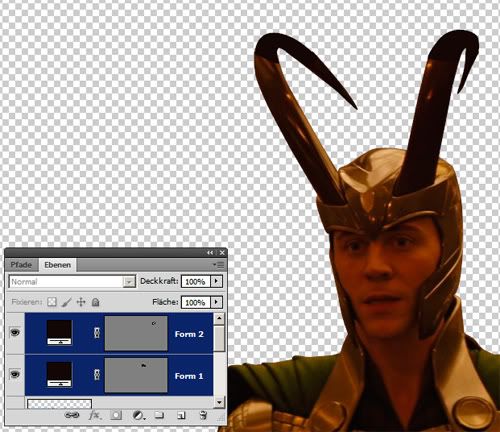
Now we want to create the horns.
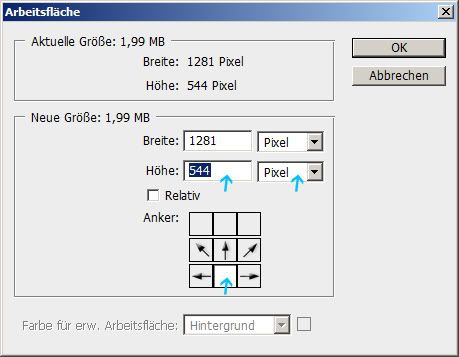
First of all, we need to widen the document so we have space at the top. Choose Image > Canvas Size And enlarge only the top. To be safe, I will use 700px instead of 544px.
Now use the pen tool again. (
in tool bar or use 'p' on the keyboard), but make sure to use this as options. This time we want to create a vector.

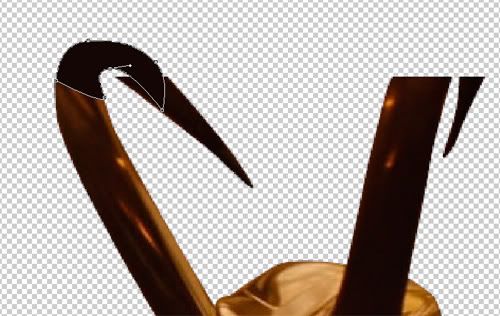
Use the color picker to pick the color from the horn and then create your shape. The basics are the same one you used creating the path.
Zoom in closer, create the shapes the way you think it should be. It doesn't matter if they are a bit wonky at first. You can edit them later using Direct Selection (
) .
As you can see, the vector layers look different. Douple clicking on them lets you change the color.
After I moved those two layers behind the cropped Loki, I went to give them some texture by using the same method I used for the armor. I copy and paste parts of the horn and put them on extra layers. Also lock those layers with the vector horns by clicking the alt key and aiming direktly between both layers.
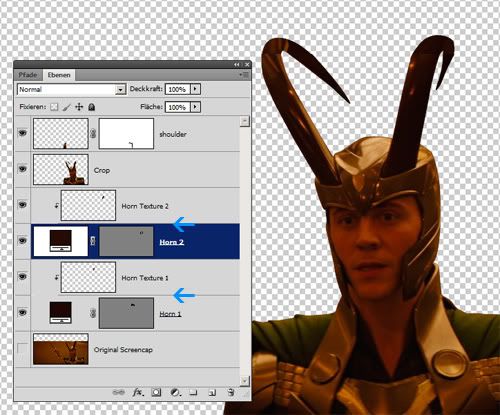
Normally I would no use the brush tool to paint into the horns more to create a cleaner shape, but Ithink for the icon size this will be enough.
Now choose all layers in the layer palette exept the original image, then right click and choose "Convert to smart object".

The advantages of working with the smart object are:
- You can edit all the layers in the smart object by double clicking on the object.
- If you resize the smart object, the original image does not change size, so you never loose information.
- If you apply filters, like sharpen to the image, the original image is not affected.
- You can duplicate the smart object and once you change the original layers, all duplicated smart objects change.
Clicking on the smart object will open a new file which contains all the previewsly created layers.
Now you can drag and drop your cropped loki into your 100x100px space and resize it the way you want it.
PS: This is a rather detailed tutorial of an icon I made for capcontest. I became a bit lazy in the end though. Check it out and see what you think. Suggestions and questions are welcome.
Part two will follow!
Check out Part 2: Creating the base, with coloring and texturing