Halloween is a fine excuse to make a bustle skirt
Halloween is the final answer to "I want to make that thing, but I don't have anywhere to wear it..."
I wanted to make a bustle skirt. I had nowhere to wear it.
Halloween to the rescue!
I followed this tutorial along with this one, and used the $2.99/yard, 60-inch wide poly satin from Hobby Lobby. Yes, I know it's a terrible, cheap, synthetic fiber. It's also cheap, wide, and (I've found) really easy to work with. I needed about three and a half yards - two yards for the back panel, and one and a half yard for the front and side panels. I was able to get the front and side panels out of one and a half yards because the fabric was so wide, and I was able to cut one panel upside down from the other two.
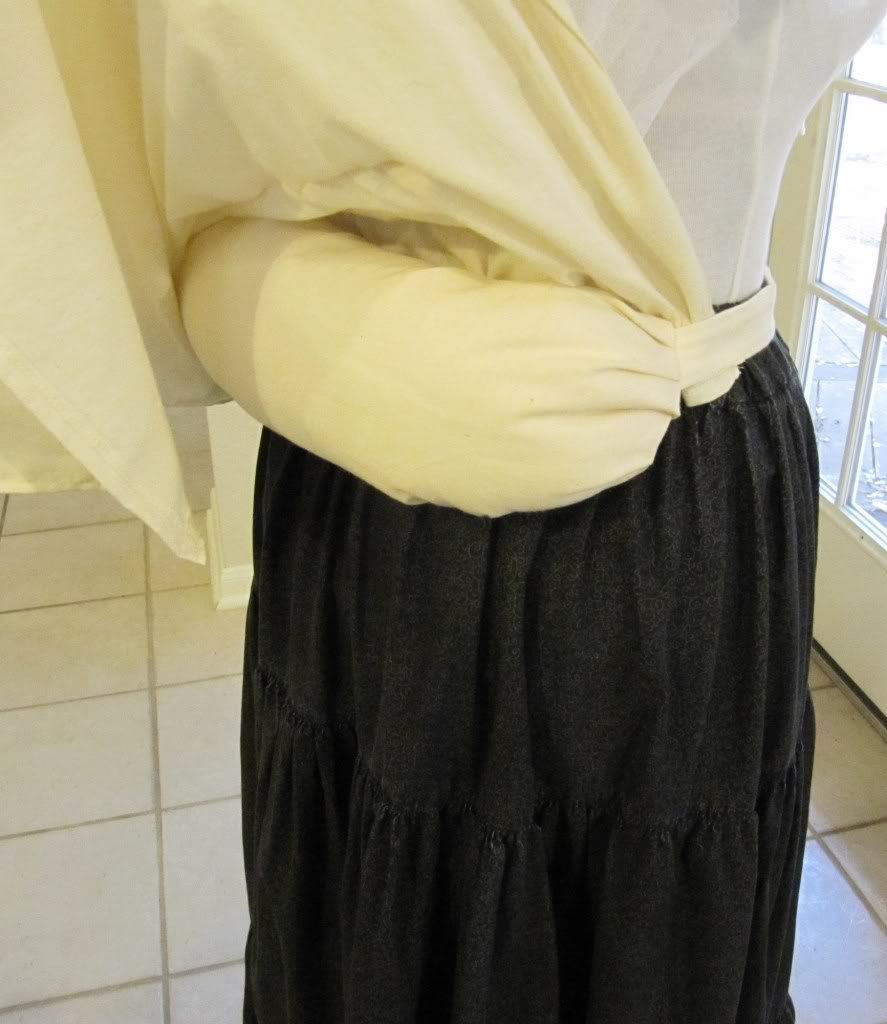
The support structure had to come first. I made a sort of crescent-shaped pillow on a waistband, closing the waistband with a skirt hook to one side. It's two layers of muslin with poly fill stuffing inside, fairly firm but still a bit squishable.
I cut a bunch of circles out of petticoat netting, cut a little circle out of the middle, and slit them open on the radius. Then I sewed them together to make lots of ruffles, which I mounted on another layer of muslin. That muslin is only safety pinned onto the pillow and waistband because I wasn't sure if I'd want to change it around, and the pins worked perfectly well.
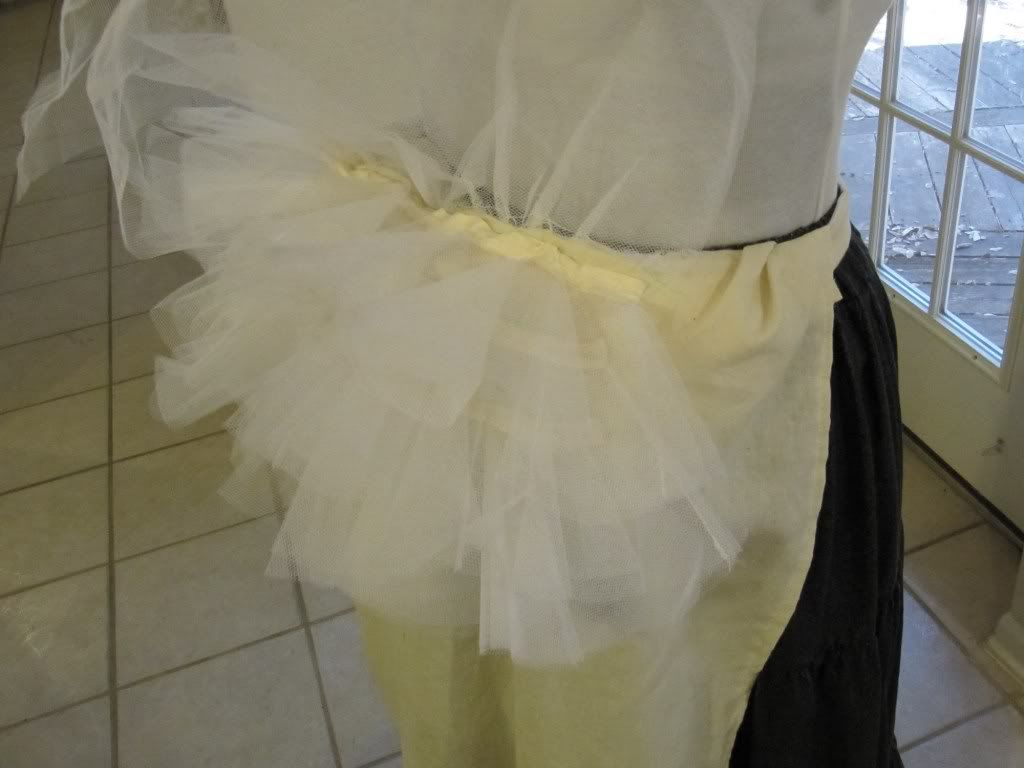
Then I added another, larger, straight ruffle of petticoat netting over that. I was concerned that the edges of the circular ruffles might show through as lines on the limp satin of the skirt (and nobody wants their rear to look like a series of eroding cliffs). As it turns out I needn't have been so concerned.
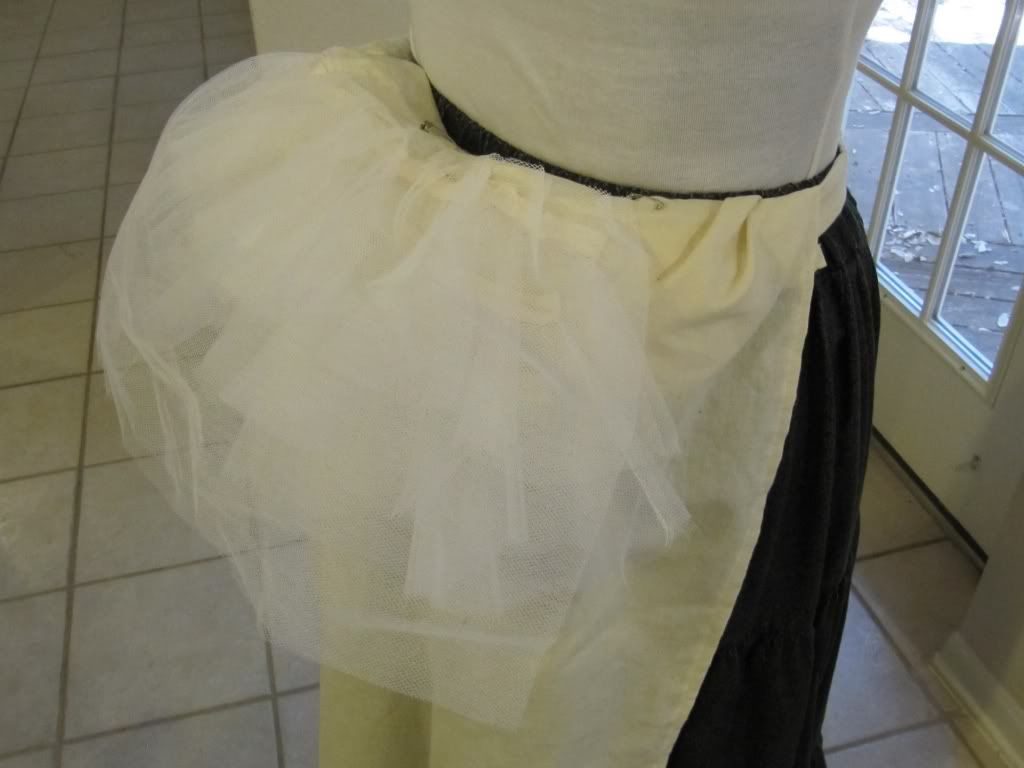
Then I could start on the skirt itself. I pretty much just followed the skirt-making instructions of the second tutorial, with the bustle-fluffing instructions of the first one. The major changes I made were:
1) I lined the top yard or so of the bustle panel with a big piece of my leftover petticoat netting to give the whole thing more body.
2) The side pleats are done like the "crumb-catcher" of a cummerbund, again to give more body.
3) There are only two ribbons inside for support, due to my error in placement.
4) All the bustling is held in place with safety pins, either attaching the fabric to the ribbons, or to itself. I didn't sew any of it.
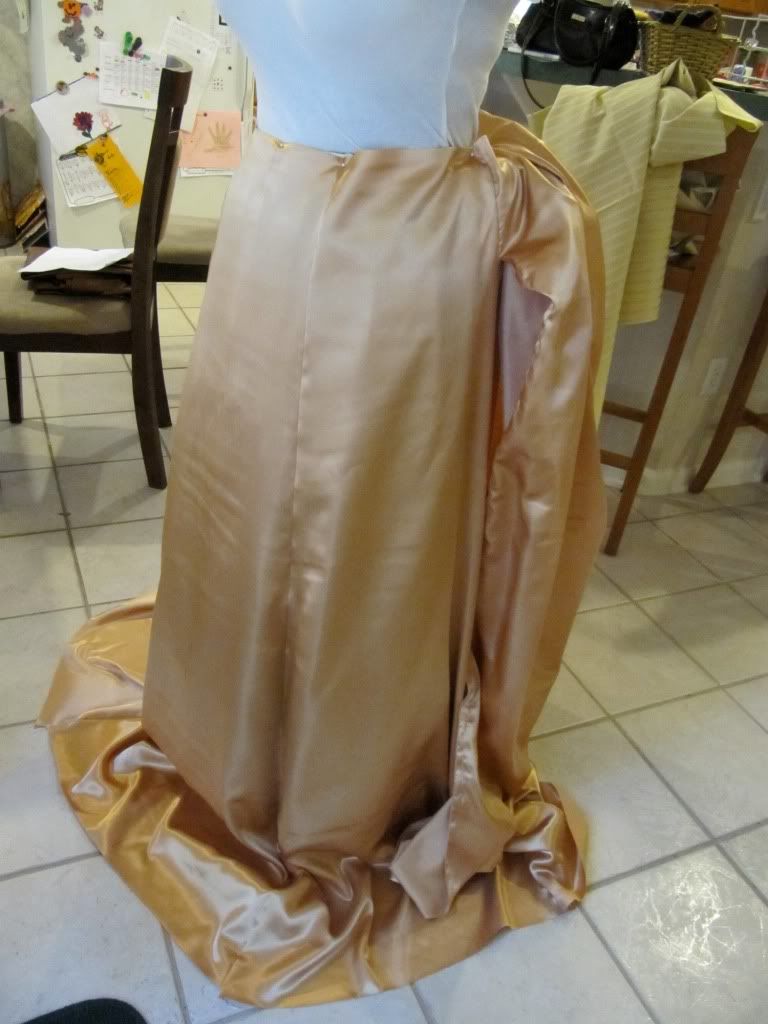
In the photo below, the side seam for the bustle panel is not yet sewn. I padded my dress dummy to make it match me better, so I can just pin things directly onto it if I don't have a waistband made yet.
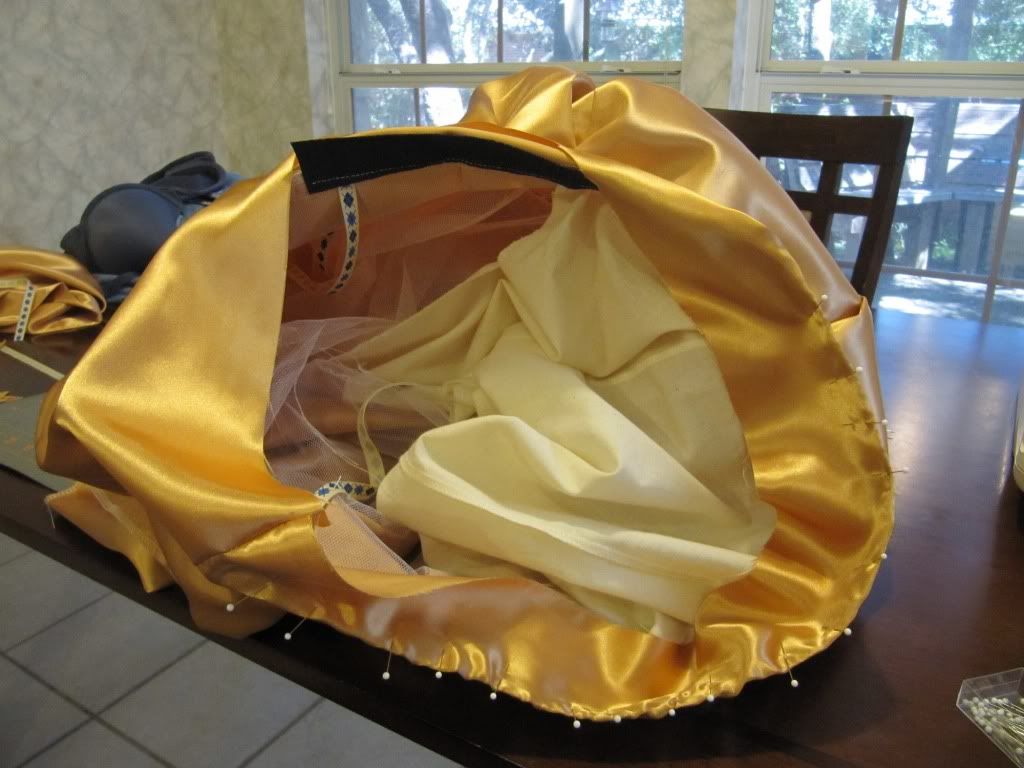
An interior view as I'm assembling the waistband. I used a bit of stiff black waistband from the sewing stash my grandmother gave me. I cut it so the extra 9" that gets folded up (see second tutorial) didn't have the waistband stiffener in it. In this photo you can also see the ribbons and netting to hold up the back. I also added an apron-shaped bit of muslin to the inside front, since I wanted to soften the line of the front edge of my corset showing through.
The finished outfit. It's turned the wrong way around, but the thing in my net is a giant Ace of Spades that I've caught. I'm a big game hunter! The net is (somewhat clumsily) made of some bridal illusion, a coat hanger, and a dowel. And duct tape. That stuff will fix anything. The petticoat, corset, and bolero are all things I had made previously. The shirt and brooch came from my closet, and the hat is a cheap plastic thing from the costume shop, with a ribbon hot glued in place for the chin strap. The tulle around my waist was a last minute addition, when I realized that the gap between the bolero and the top of the skirt didn't look right with just the shirt showing.

I wanted to make a bustle skirt. I had nowhere to wear it.
Halloween to the rescue!
I followed this tutorial along with this one, and used the $2.99/yard, 60-inch wide poly satin from Hobby Lobby. Yes, I know it's a terrible, cheap, synthetic fiber. It's also cheap, wide, and (I've found) really easy to work with. I needed about three and a half yards - two yards for the back panel, and one and a half yard for the front and side panels. I was able to get the front and side panels out of one and a half yards because the fabric was so wide, and I was able to cut one panel upside down from the other two.
The support structure had to come first. I made a sort of crescent-shaped pillow on a waistband, closing the waistband with a skirt hook to one side. It's two layers of muslin with poly fill stuffing inside, fairly firm but still a bit squishable.

I cut a bunch of circles out of petticoat netting, cut a little circle out of the middle, and slit them open on the radius. Then I sewed them together to make lots of ruffles, which I mounted on another layer of muslin. That muslin is only safety pinned onto the pillow and waistband because I wasn't sure if I'd want to change it around, and the pins worked perfectly well.

Then I added another, larger, straight ruffle of petticoat netting over that. I was concerned that the edges of the circular ruffles might show through as lines on the limp satin of the skirt (and nobody wants their rear to look like a series of eroding cliffs). As it turns out I needn't have been so concerned.

Then I could start on the skirt itself. I pretty much just followed the skirt-making instructions of the second tutorial, with the bustle-fluffing instructions of the first one. The major changes I made were:
1) I lined the top yard or so of the bustle panel with a big piece of my leftover petticoat netting to give the whole thing more body.
2) The side pleats are done like the "crumb-catcher" of a cummerbund, again to give more body.
3) There are only two ribbons inside for support, due to my error in placement.
4) All the bustling is held in place with safety pins, either attaching the fabric to the ribbons, or to itself. I didn't sew any of it.
In the photo below, the side seam for the bustle panel is not yet sewn. I padded my dress dummy to make it match me better, so I can just pin things directly onto it if I don't have a waistband made yet.

An interior view as I'm assembling the waistband. I used a bit of stiff black waistband from the sewing stash my grandmother gave me. I cut it so the extra 9" that gets folded up (see second tutorial) didn't have the waistband stiffener in it. In this photo you can also see the ribbons and netting to hold up the back. I also added an apron-shaped bit of muslin to the inside front, since I wanted to soften the line of the front edge of my corset showing through.

The finished outfit. It's turned the wrong way around, but the thing in my net is a giant Ace of Spades that I've caught. I'm a big game hunter! The net is (somewhat clumsily) made of some bridal illusion, a coat hanger, and a dowel. And duct tape. That stuff will fix anything. The petticoat, corset, and bolero are all things I had made previously. The shirt and brooch came from my closet, and the hat is a cheap plastic thing from the costume shop, with a ribbon hot glued in place for the chin strap. The tulle around my waist was a last minute addition, when I realized that the gap between the bolero and the top of the skirt didn't look right with just the shirt showing.
