Tutorial (42)
Request by moonnkeh!
Make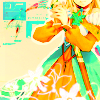
from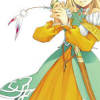
using PSP8. Translatable. Image heavy!
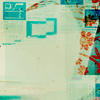
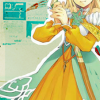
Sharpen base if need be. Paste this texture (by 77words) and erase the area obstructing your subject. I made the outline around Villa myself while erasing. Keep this layer set at normal.
=
Duplicate the above texture and set it to multiply 100%.
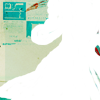
=
Duplicate the above texture and set it to burn 10%.

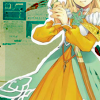
=
Paste this texture (by me) and set it to screen 100%.
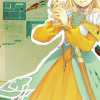
=
Duplicate the above texture and set it to screen 10%.

=
Duplicate base and bring to the top. Set to softlight 100%.

=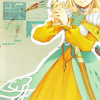
Set #0A0825 to exclusion 100%.

=
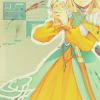
Set #F9BD88 to luminace (legacy) 20%.

=
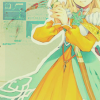
Set #ACF4F5 to burn 50%.

=
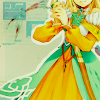
Duplicate base and bring to the top. Set to burn 70%.

=
Duplicate base and bring to the top. Set to softlight 25%.

=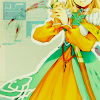
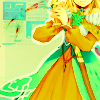
Go to Layers > New Adjustment Layer > Hue/Saturation/Lightness. Set saturation to 55.
=
Go to Layers > New Adjustment Layer > Color Balance. Set midtones cyan to -80, midtones blue to 80, and shadows blue to 60.
=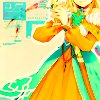
Paste this texture (by me) and set it to lighten 100%.

=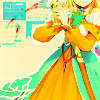
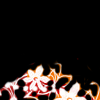
Paste this texture (by ?) and set it to lighten 100%.
=
Duplicate the above texture and set it to screen 50%.

=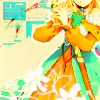
Go to Layers > New Adjustment Layer > Hue/Saturation/Lightness. Set saturation to 15.

=
Play around with the opacity if your icon is too dark or too light. Please don't copy exactly. Thanks for reading :)
Icons made using this tutorial


Like what you see? Why don't you friend us!
Make

from

using PSP8. Translatable. Image heavy!
Sharpen base if need be. Paste this texture (by 77words) and erase the area obstructing your subject. I made the outline around Villa myself while erasing. Keep this layer set at normal.

=

Duplicate the above texture and set it to multiply 100%.

=

Duplicate the above texture and set it to burn 10%.

=

Paste this texture (by me) and set it to screen 100%.

=

Duplicate the above texture and set it to screen 10%.

=

Duplicate base and bring to the top. Set to softlight 100%.

=

Set #0A0825 to exclusion 100%.

=

Set #F9BD88 to luminace (legacy) 20%.

=

Set #ACF4F5 to burn 50%.

=

Duplicate base and bring to the top. Set to burn 70%.

=

Duplicate base and bring to the top. Set to softlight 25%.

=

Go to Layers > New Adjustment Layer > Hue/Saturation/Lightness. Set saturation to 55.

=

Go to Layers > New Adjustment Layer > Color Balance. Set midtones cyan to -80, midtones blue to 80, and shadows blue to 60.

=

Paste this texture (by me) and set it to lighten 100%.

=

Paste this texture (by ?) and set it to lighten 100%.

=

Duplicate the above texture and set it to screen 50%.

=

Go to Layers > New Adjustment Layer > Hue/Saturation/Lightness. Set saturation to 15.

=

Play around with the opacity if your icon is too dark or too light. Please don't copy exactly. Thanks for reading :)
Icons made using this tutorial


Like what you see? Why don't you friend us!