Tutorial (44)
Request by aurturius!
Make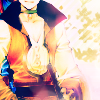
from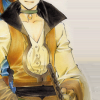
using PSP8. May not be translatable. Includes Curves and is slightly image heavy!
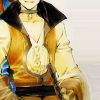
Sharpen base if need be. Duplicate base. Set to softlight 100%.

=
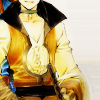
Duplicate base and bring to the top. Set to softlight 100%.

=
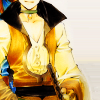
Go to Layers > New Adjustment Layer > Hue/Saturation/Lightness. Set saturation to 19.
=
Go to Layers > New Adjustment Layer > Color Balance. Set midtones cyan to -80, midtones blue to 40, shadows blue to 40, and highlights red to 40.
=
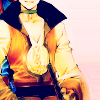
Go to Layers > New Adjustment Layer > Curves. Set RGB input to 43 and output to 38, Red input to 72 and output to 77, and Blue input to 94 and output to 64.
=
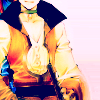
Go to Layers > New Adjustment Layer > Color Balance. Set midtones cyan to -80, shadows red to 18, highlights red to 51, and highlights blue to 18.

=
Duplicate base and bring to the top. Set to softlight 40%. Go to Colors > Adjust > Hue/Saturation/Lightness. Set saturation to -100.
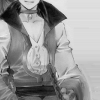
=
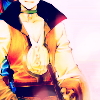
Paste this texture (by colorfilter) and set it to screen 100%. Move around to your liking.
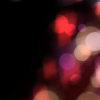
=
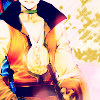
Paste this texture (by jubilee_icons) and set it to darken 100%. For this icon, I colorized it and erased the parts obstructing Guy.
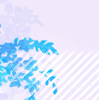
=
Paste this texture (by colorfilter) and set it to screen 100%. Move around to your liking. For this icon, I erased a few parts.
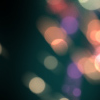
=
Play around with the opacity if your icon is too dark or too light. Please don't copy exactly. Thanks for reading :)
Icons made using this tutorial
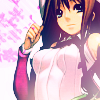

Like what you see? Why don't you friend us!
Make

from

using PSP8. May not be translatable. Includes Curves and is slightly image heavy!
Sharpen base if need be. Duplicate base. Set to softlight 100%.

=

Duplicate base and bring to the top. Set to softlight 100%.

=

Go to Layers > New Adjustment Layer > Hue/Saturation/Lightness. Set saturation to 19.

=

Go to Layers > New Adjustment Layer > Color Balance. Set midtones cyan to -80, midtones blue to 40, shadows blue to 40, and highlights red to 40.

=

Go to Layers > New Adjustment Layer > Curves. Set RGB input to 43 and output to 38, Red input to 72 and output to 77, and Blue input to 94 and output to 64.

=

Go to Layers > New Adjustment Layer > Color Balance. Set midtones cyan to -80, shadows red to 18, highlights red to 51, and highlights blue to 18.

=

Duplicate base and bring to the top. Set to softlight 40%. Go to Colors > Adjust > Hue/Saturation/Lightness. Set saturation to -100.

=

Paste this texture (by colorfilter) and set it to screen 100%. Move around to your liking.

=

Paste this texture (by jubilee_icons) and set it to darken 100%. For this icon, I colorized it and erased the parts obstructing Guy.

=

Paste this texture (by colorfilter) and set it to screen 100%. Move around to your liking. For this icon, I erased a few parts.

=

Play around with the opacity if your icon is too dark or too light. Please don't copy exactly. Thanks for reading :)
Icons made using this tutorial


Like what you see? Why don't you friend us!