Tutorial (56)
Request by raven353!
Make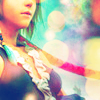
from
using PSP8. Translatable. Include Curves and is image heavy!
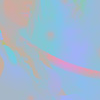
Sharpen base if need be. Set #FB9595 to luminance (legacy) 100%.

=
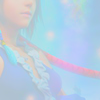
Duplicate base and bring to the top. Set to screen 60%.

=
Duplicate base and bring to the top. Set to overlay 100%.

=
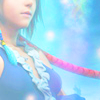
Go to Layers > New Adjustment Layer > Hue/Saturation/Lightness. Set saturation to 20.
=
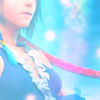
Go to Layers > New Adjustment Layer > Color Balance. Set midtones cyan to -80, midtones blue to 40, and highlights red to 40.
=
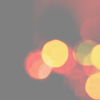
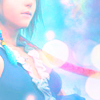
Paste this texture (by awmpdotnet) and set it to hardlight 100%. Move around to your liking.
=
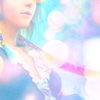
Paste this texture (by awmpdotnet) and set it to hardlight 100%. Move around to your liking.
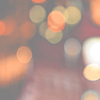
=
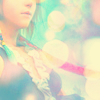
Set #030837 to exclusion 100%.

=
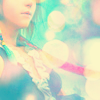
Set #BAF8FC to burn 100%.

=
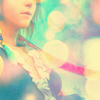
Set #FDB9BB to burn 100%.

=
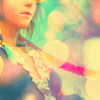
Duplicate the above burn layer.

=
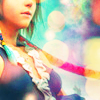
Duplicate base and bring to the top. Set to overlay 100%.

=
Go to Layers > New Adjustment Layer > Curves. Set RPG input to 47 and output to 55, Red input to 157 and output to 102, and Blue input to 128 and output to 115.
=
Play around with the opacity if your icon is too dark or too light. Please don't copy exactly. Thanks for reading :)
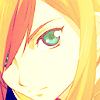
Icons made using this tutorial

Like what you see? Why don't you friend us!
Make

from

using PSP8. Translatable. Include Curves and is image heavy!
Sharpen base if need be. Set #FB9595 to luminance (legacy) 100%.

=

Duplicate base and bring to the top. Set to screen 60%.

=

Duplicate base and bring to the top. Set to overlay 100%.

=

Go to Layers > New Adjustment Layer > Hue/Saturation/Lightness. Set saturation to 20.

=

Go to Layers > New Adjustment Layer > Color Balance. Set midtones cyan to -80, midtones blue to 40, and highlights red to 40.

=

Paste this texture (by awmpdotnet) and set it to hardlight 100%. Move around to your liking.

=

Paste this texture (by awmpdotnet) and set it to hardlight 100%. Move around to your liking.

=

Set #030837 to exclusion 100%.

=

Set #BAF8FC to burn 100%.

=

Set #FDB9BB to burn 100%.

=

Duplicate the above burn layer.

=

Duplicate base and bring to the top. Set to overlay 100%.

=

Go to Layers > New Adjustment Layer > Curves. Set RPG input to 47 and output to 55, Red input to 157 and output to 102, and Blue input to 128 and output to 115.

=

Play around with the opacity if your icon is too dark or too light. Please don't copy exactly. Thanks for reading :)
Icons made using this tutorial


Like what you see? Why don't you friend us!