Tutorial #2
Tutorial was requested by Narniaforever:
Learn how to make this icon:
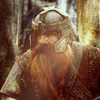
Step 01:
Open your image this was mine:
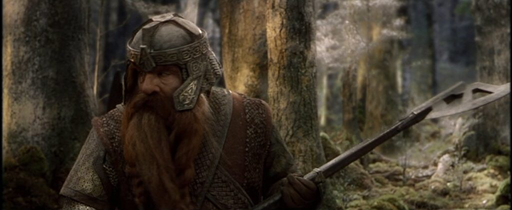
Step 02:
Crop to your liking and this was mine:
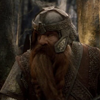
Step 03:
Duplicate base twice and set both layers at screen 100%:
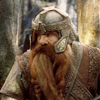
Step 04:
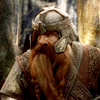
Click on layer,new adjustment layer,levels. Set input levels at 23,0.95,245.
Should look like this:
Step 05:
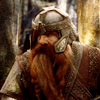
Now go to layer,new fill layer,solid color,set mode drop down at color burn 30%. Fill with this color code #fbd5c9. It's a light burnt orange.
Should look like this:
Step 06:
Now again go to layer,new fill layer,solid color,set mode drop down at exclusion 40%. Fill with this color code #480707. It's a dark red.
Should look like this:

Step 07:
Now for some selective coloring. Go to layer, new adjustment layer, selective color.
These are your settings:
Neutrals:
C:+5
M:-3
Y:-3
Reds:
C:-10
M:+5
Y:+5
Yellows:
C:-7
M:+5
Y:+4
Should look like this:

Step 08:
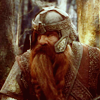
Now go to Filter, Sharpen, Unsharp Mask. Set as follows:
Amount 25%
Radius 1.0
Threshold 0
Should look like this (it's subtle but I think it makes the icon look more crisp):
Step 09:
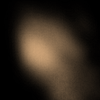
Now place your texture over the image flip horizontally and set it to screen at 70%.
this was from inxsomniax modified by pureskies
texture:
Should look like this:

There you have it!!! Just flatten your image and save!!!
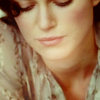
Other icons using the same technique:

Learn how to make this icon:
Step 01:
Open your image this was mine:
Step 02:
Crop to your liking and this was mine:
Step 03:
Duplicate base twice and set both layers at screen 100%:
Step 04:
Click on layer,new adjustment layer,levels. Set input levels at 23,0.95,245.
Should look like this:
Step 05:
Now go to layer,new fill layer,solid color,set mode drop down at color burn 30%. Fill with this color code #fbd5c9. It's a light burnt orange.
Should look like this:
Step 06:
Now again go to layer,new fill layer,solid color,set mode drop down at exclusion 40%. Fill with this color code #480707. It's a dark red.
Should look like this:
Step 07:
Now for some selective coloring. Go to layer, new adjustment layer, selective color.
These are your settings:
Neutrals:
C:+5
M:-3
Y:-3
Reds:
C:-10
M:+5
Y:+5
Yellows:
C:-7
M:+5
Y:+4
Should look like this:
Step 08:
Now go to Filter, Sharpen, Unsharp Mask. Set as follows:
Amount 25%
Radius 1.0
Threshold 0
Should look like this (it's subtle but I think it makes the icon look more crisp):
Step 09:
Now place your texture over the image flip horizontally and set it to screen at 70%.
this was from inxsomniax modified by pureskies
texture:
Should look like this:
There you have it!!! Just flatten your image and save!!!
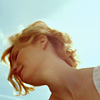
Other icons using the same technique: