Polaroid Textures + Tutorial
Thanks all for commenting on the previous entry <3
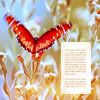
Again, a new texture set and a tutorial on how to make the preview images.
Comment, credit and all that jazz ^_^

DOWNLOAD
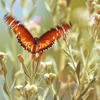
->
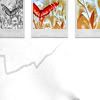
->
1. Prepare your base:

2. I duplicated my base and set it on screen 50% opacity to brighten it up
3. Add a color balance layer.
SHADOWS: 10 0 10
MIDTONES: 30 0 0
HIGHLIGHTS: 0 0 40

4. Add a brightness/contrast layer. Brightness: -10 and contrast: +10
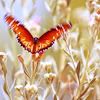
5. Add a second color balance layer.
MIDTONES: 0 -20 -40

6. Add a selective color layer.
REDS: -30 0 100 20
YELLOWS: 0 0 100 0
BLUES: 100 0 0 100
NEUTRALS: 0 0 0 10

7. Add a photo filter layer. Choose the cooling filter (80) and put the density on 15%. Check preserve luminosity.
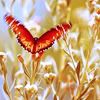
8. Add a new empty layer and fill it with color #f1f1f1 and change the blend mode to color burn 100%.
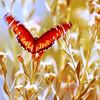
9. Add a channel mixer layer.
RED: 130 -70 0
GREEN: 0 100 0
BLUE: -20 100 100
Lower the opacity of this layer to 30%.
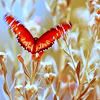
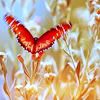
10. Add the following texture (babliz) on blend mode screen:
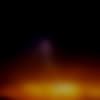
->
11. And finally, add this texture (cielo-gris) on screen:
->
-------------------------
12. Take the icon you had after step 10:

13. Put it underneath this texture:
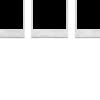
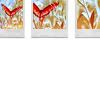
14. Cut out the black parts on the polaroid texture. then duplicate your butterfly icon several times, resize and arrange untill you get something like this:
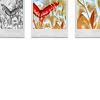
15. You can greyscale one of the polaroids if you want:
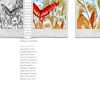
16. And then you can add a texture to fill up the white space:

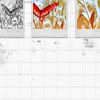
(cielo-gris, tove_91 and ? )
Again, a new texture set and a tutorial on how to make the preview images.
Comment, credit and all that jazz ^_^

DOWNLOAD

->

->

1. Prepare your base:

2. I duplicated my base and set it on screen 50% opacity to brighten it up
3. Add a color balance layer.
SHADOWS: 10 0 10
MIDTONES: 30 0 0
HIGHLIGHTS: 0 0 40

4. Add a brightness/contrast layer. Brightness: -10 and contrast: +10

5. Add a second color balance layer.
MIDTONES: 0 -20 -40

6. Add a selective color layer.
REDS: -30 0 100 20
YELLOWS: 0 0 100 0
BLUES: 100 0 0 100
NEUTRALS: 0 0 0 10

7. Add a photo filter layer. Choose the cooling filter (80) and put the density on 15%. Check preserve luminosity.

8. Add a new empty layer and fill it with color #f1f1f1 and change the blend mode to color burn 100%.

9. Add a channel mixer layer.
RED: 130 -70 0
GREEN: 0 100 0
BLUE: -20 100 100
Lower the opacity of this layer to 30%.

10. Add the following texture (babliz) on blend mode screen:

->

11. And finally, add this texture (cielo-gris) on screen:

->

-------------------------
12. Take the icon you had after step 10:

13. Put it underneath this texture:

14. Cut out the black parts on the polaroid texture. then duplicate your butterfly icon several times, resize and arrange untill you get something like this:

15. You can greyscale one of the polaroids if you want:

16. And then you can add a texture to fill up the white space:


(cielo-gris, tove_91 and ? )