tips for newbies...
I posted part of this as a reply to a post a few posts back and figured it might be helpful for some others since I get asked a lot how I did stuff...then I ended up getting carried away and wrote a crapload...you really dont have to spend a lot of money and own all MAC stuff and expensive brushes to do some good stuff...I didn't mean to write this much but here you go...guess I had some time to kill...heh.
(im just going to throw in a bunch of random old stuff of mine so you get some examples of how I do things...not sure if its quite everyones style...or if people do things in a different order...)
~~~
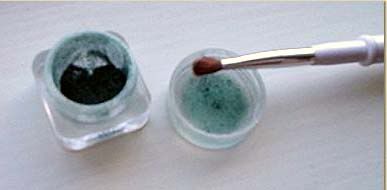
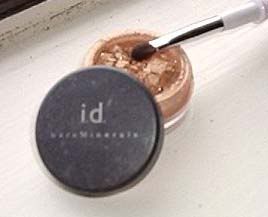
did you use any kind of base/primer? thats the main mistake people make... just get yourself some of the revlon illuminance cream eyeshadows (i get the one with 4 white/neutral colors)...put that allllll over from lashline to brows (and under the lower lashline)...I use my middle finger for this...then pile the shadow on top of that...it'll be a million times more vibrant, it makes it stick and stay all day and its much easier to create shading and shapes...i also use a white sephora brand cream shadow a lot...$9...some people even use chapstick actually...but careful not to use too much because it'll make it very creased after a while wearing it...
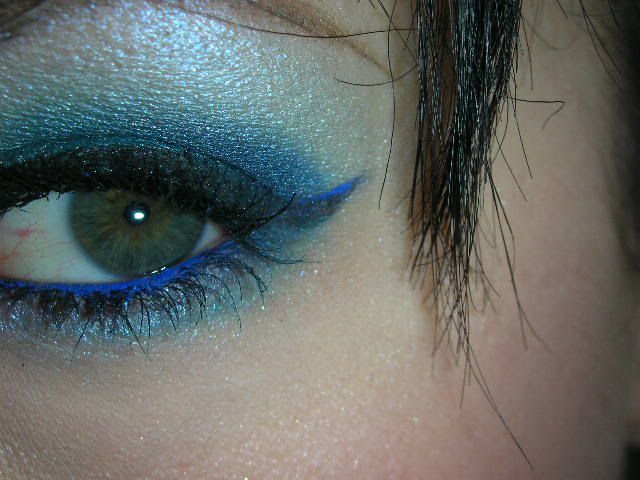
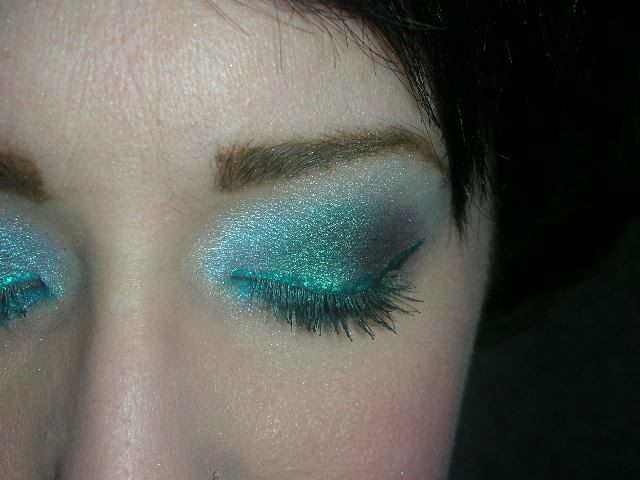
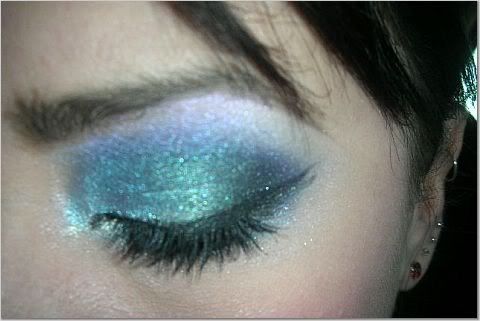
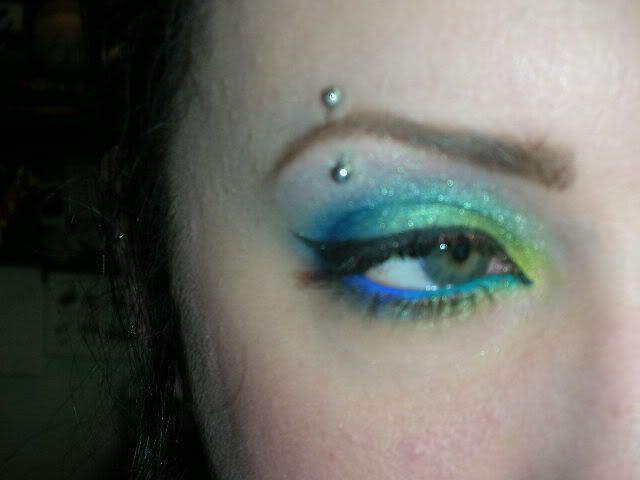
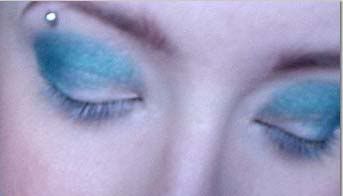
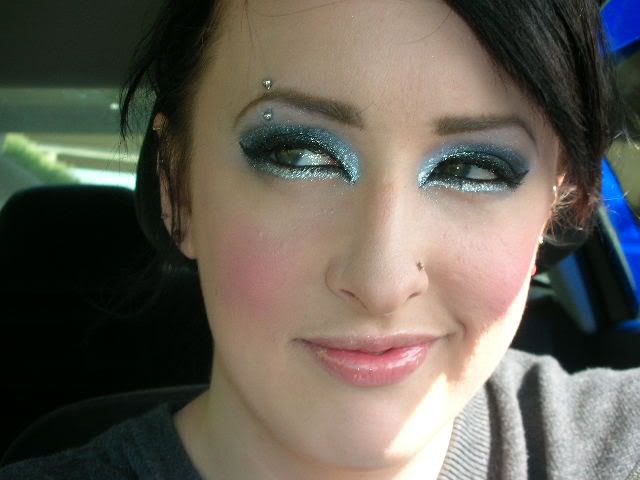
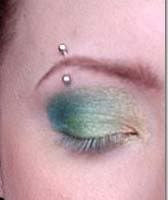
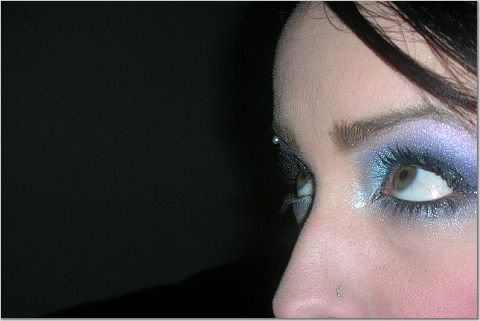
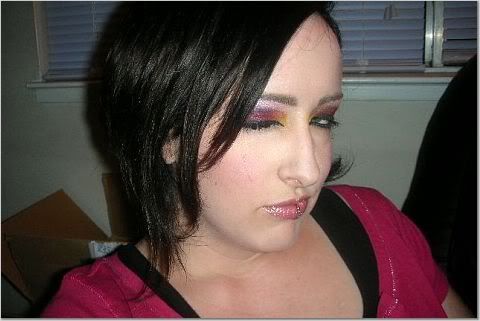
Usually i use a minimum of 3 colors but often more - to create depth mostly...always do the lightest one on the very inner corner of your eye or else it'll look really off. Using a lighter color makes your eyes look a lot brighter. Shimmery/irridescent shadows are muuuuuuuch easier to blend. I'd suggest staying away from totally matte looks until you've had some practice and feel more comfortable with the basic process...even I have issues blending completely matte looks, actually...you can go kinda monochromatic...use all blues, for example - because I seem to end up doing blue a lot:
or go a bit nuts and just throw some random colors together and see what happens...
I usually start with the darkest color on the very outer corner and crease. I tend to use a stiff bristled medium sized flat-ish brush for this so I can control the shape better. I tend to start by *patting* it on...basically pack on the color and try to be careful not to get it all over the place. Some people hold a piece of toilet paper or kleenex under their eye to catch the fallout. I definitely suggest doing this if you're using RED, BLACK, or any strong PINK...they stain like a mofo and are very hard to get completely off. I usually pat it on because the bristles will snap back and splatter shadow places where you dont want it and you'll have to clean it up later.
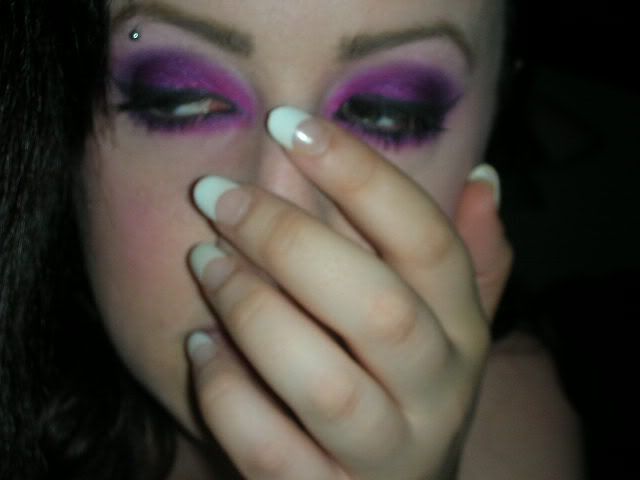
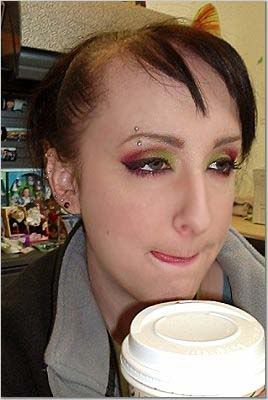
For example...this stained like a bitch...black AND hot pinks...my eyes were still stained pink the next day...
Bring this darkest/crease color slightly higher than your creaseline so you can see a small bit of it when your eye is fully open... but dont go too crazy with it and get too close to your eyebrow or else it'll look really bad usually and you'll end up looking like you're in a bad 80's glam rock band. You can always add more later if you want to tweak it but its much harder to take it off once its on.
something kinda like this...
using a brush like this (sonia kashuk) is also helpful to work on the shape/edge...save the fluffy brushes for the middle of the lid and brow...
usually its a good rule of thumb not to bring it out any further horizontally than the end of your eyebrow...
If you want to tweak the shape or you think you went too high, wet a q-tip and use that to clean things up (this is how you do the shapes with very crisp lines that don't fade into the brow highlighter). Shapewise, try to follow the shape in the arch of your brow for the best results...you can deviate a little bit depending on the look you're going for, of course...
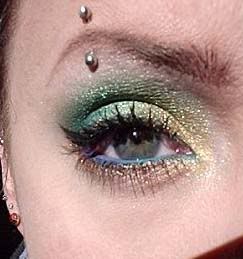
So once you're generally happy with the shape, take your middle color and use a fluffier/fuller brush...use strokes from the inner corner towards the darker color and it'll just kinda naturally blend/fade itself...you don't have to be super neat with this part really...you can use more than one color if you want, same technique...sorta like this...these pictures are really crappy because they're from before I got a new camera...sorry...but you see how you don't go ALL the way to the very inside corner...leave a smidge of space there for a lighter color/s.
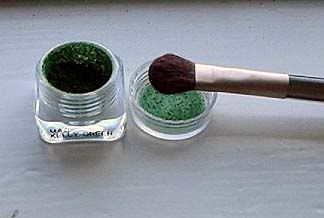
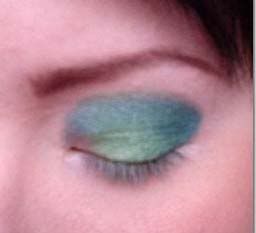
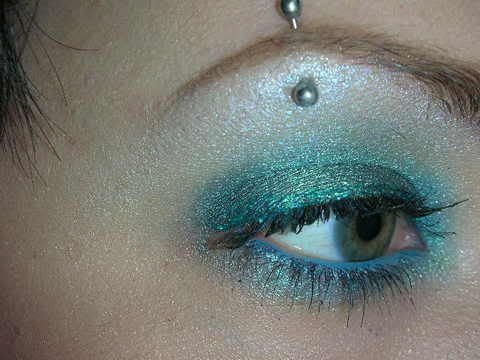
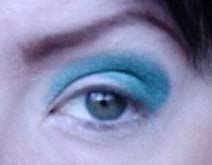
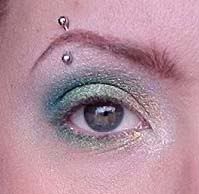
Then I usually do the inner corner of my eye...shimmery ones or white work best to make your eyes look brighter and enhance the depth of the rest of the eyelid...its good to blend this a bit out and upward...sorta like this...
Put some below your lower lashline too to make it seem more put together...try not to stab yourself in the eye...mix it up sometimes and use a totally different color from what you used on your lid...(greens on the lid, purple underneath - etc)...or just follow the same color pattern you used for the lid...I personally like to switch it up a bit... also...add some eyeliner on the waterline...I do NOT suggest using liquid liner for this because 1) it doesnt stick and 2) it stings like hell and will make your eyes water...use either a soft pencil type or MAC fluidliner - those will stick...and fluidliner doesnt sting in case you wondered...they pretty much pack the most vibrant punch of color...the pencil types dont always show up as much...(the red one is a Kryolan pencil, btw)
Use a really light colored shimmery shadow for the brow highlighter...the Aura Collection from Pure Luxe ($1 samples!!) is my personal favorite for this...its a white powder, but at different angles it'll reflect a color...

Use a super soft brush here so its not harsh - very lightly...for this, you might want to spring for a special brush because it can make or break the look...my favorite is a Sonia Kashuk blending brush from Target (its long soft bristles that has a more tapered pointy end than a fluff brush) so its really not necessary to spend a lot. Actually, my favorite brushes are almost all Sonia Kashuk - (I got a set of 8 for $17, btw)... put that just below your eyebrow and blend it slightly into the top of the rest of the shadows to soften it (little circles work best - or a fast sort of small zig-zag motion) and bring it all together...sometimes it softens things too much for my liking and I'll tweak and perfect the crease color/shading a bit then...
at this point it would be a good idea to wipe your face off really well underneath your eyes and along the side of your eyes to get all the fallout...i usually use those disposable face wipes...or sensitive baby wipes work well too...a lot of the time I'll put on more foundation just under my eyes and it seriously makes a big difference in how neat things look...
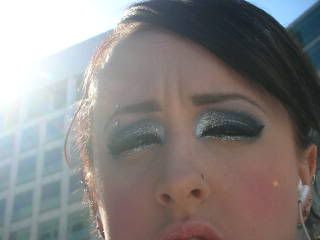
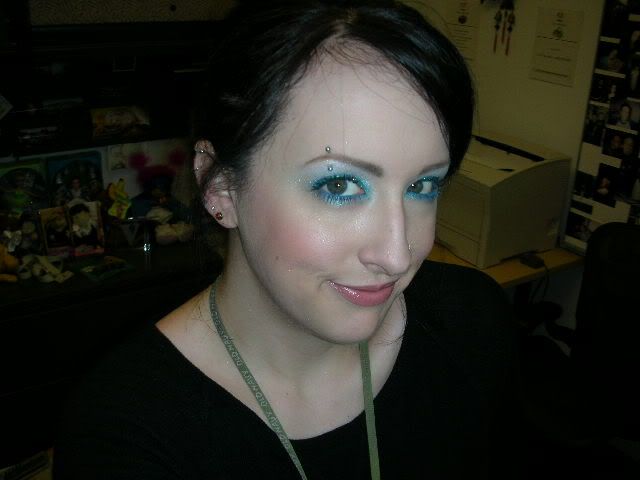
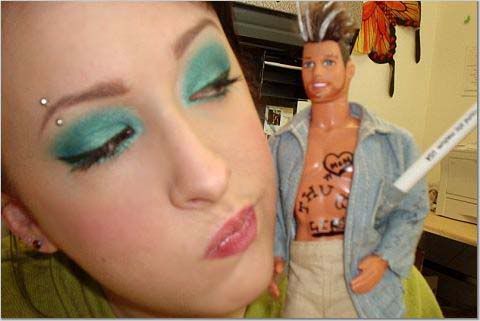
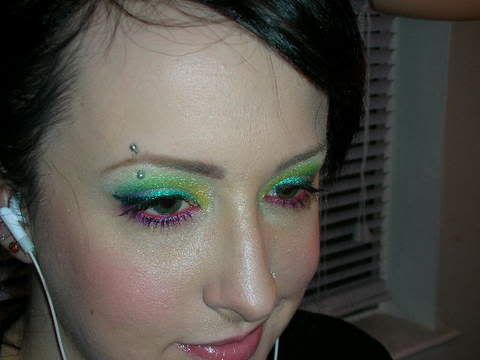
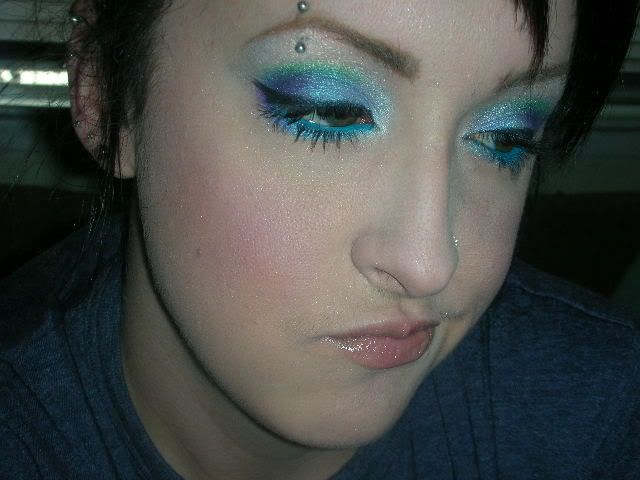
Now...if things look a little crappy to you, don't overreact and wipe it all off yet...most of the time it doesn't always look that great until after you put on the eyeliner/mascara/and blush...you may look totally pale and washed out until you put on some blush or lipcolor...happens to me every time...if I dont like it...I just keep adding stuff on top until it morphs into something I like...(like...i look like butt here because I need some freakin lipgloss or something - i look dead...)

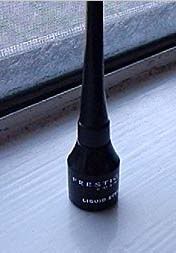
Then I do eyeliner...I normally do the cat eye thing...Prestige makes a badass liquid liner and its super cheap...
otherwise I use MAC fluidliner...its kind of a gel so its easier to control than liquid but it took me a while to find the best brush for it...practice makes perfect...make sure you're not leaving any space between the lashes and the liner...I usually start in the middle of the lid and work my way to the outer corner just to get the basic bulk of the line...make the top of the line as clean as possible but dont do the winged part yet...sometimes it helps to pull your eyelid taught but I tend to hold the brush almost vertically and drag...this part of the line should probably be thicker than the rest up until around the middle of the lid when it starts to thin out...
to do the wing, I hold it diagonally and almost flush against my face again...and put the tip where I want the end of the wing to be and drag inward...use part of your hand/pinky to stablilize your hand on your face somehow...
remember...q-tips are your friend...if you mess up, wet a q-tip (actually I kinda twist the end a bit so its more pointy) and sweep towards your hairline to get a cleaner line...if you go inward usually it'll get kinda caught up and just wrinkle your skin and get all jacked up...if you wipe the whole wing off, its best the put on more powder/eyeshadow first before you attempt it again. If you look at mine...usually the bottom part of the cat eye is in line with the curve/angle your waterline would follow if it were to keep going...
then put your brush/applicator thingy sideways and lay it flush horizontally against your lid...i actually just kinda dab at the lashline as carefully as possible to get that inner corner of the eye instead of trying to drag/brush it on...if I use the Prestige stuff ill keep inching it inward and keep the same line to do that exaggerated inner point...
If you're still uncomfortable with your skills, start off by just going to the middle of the lid...you dont even have to go all the way to the very inner corner for it to look good...

I just got a small thin eyeliner brush from Sephora (it was about $16 I think, but its worth it...bad eyeliner can ruin the entire look)...my other favorite brush for that is actually a lip brush I think from a super cheapo grey/metallic set of them at Walgreens, actually...
then I do mascara last...I personally have been using Maybelline Full n Soft, in case you were curious...
sometimes I have to go back and fix my brows after if I got the brow highlighter all over them...
thats my main way of doing things...
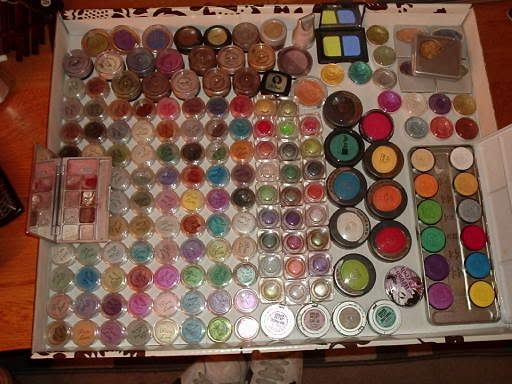
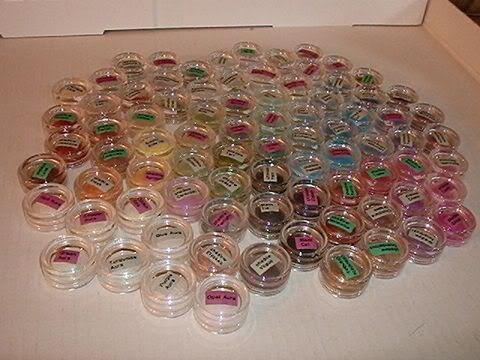
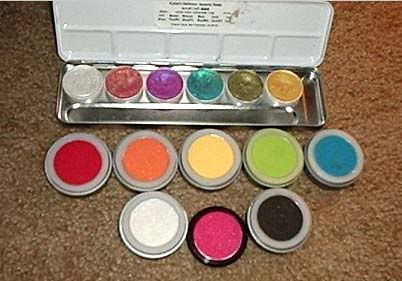
if you dont have much of a collection yet...I would focus on getting yourself a wide variety of colors first...even colors you wouldnt normally think you'd want (like yellow, orange, red, black, white)...if you want it all in one shot, you'll find the Ben Nye Grande Lumiere palette invaluable...its so worth it...you can create a million looks with just that alone... its the one in the lower right corner in this pic...12 colors... (btw, that was months ago that I took this picture...I have looooooot more now...eek..)
I actually barely use any MAC shadow myself so don't feel like you have to spend a lot of money to do great things...I think I only own about 3 of the shadows grand total...and I much prefer my Pure Luxe stuff over the MAC pigment samples I have...but I have almost every fluidliner...those are definitely worth it...I like to make my waterline a strong color a lot of the time...these are all $1 samples from Pure Luxe...
I definitely like Kryolan (find it on ebay) - cheaper and more pigmented than MAC...and Pure Luxe...(sample size is more than enough...Ive still never ran out of any one color yet)...these are all Kryolan...I have more now (navy, purple, light blue, etc) but you can see how bright they are...I dont even swipe the brush on it...i literally only touch/dab it and thats enough...the top palette is aquacolors (irridescent one...i also have the UV one and the metallic one)...you have to mix those with water and paint it on like watercolors...it takes some practice to get that right...
Umm...random other stuff...
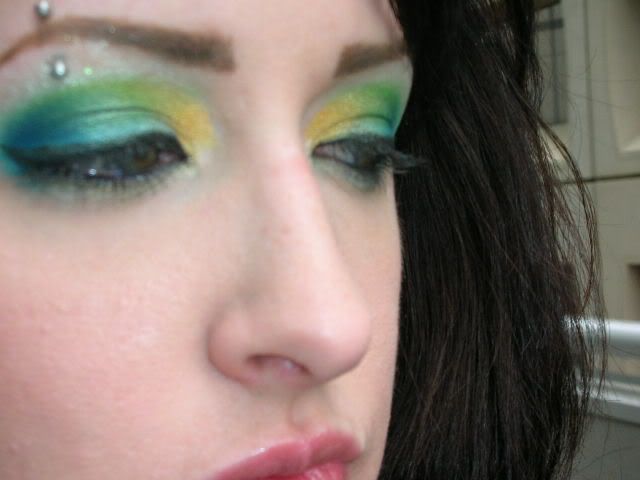
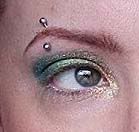
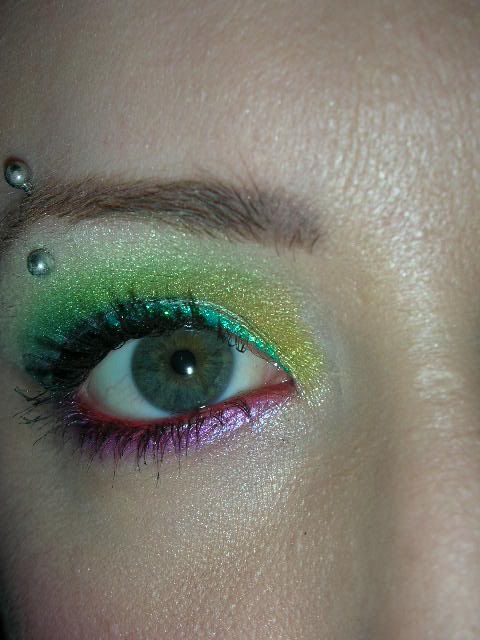
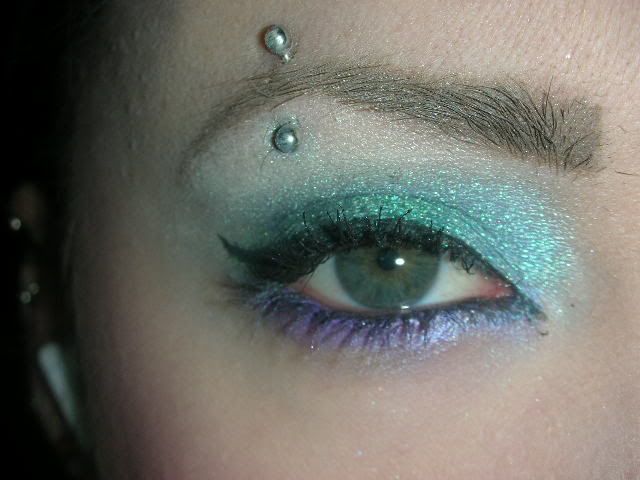
If you're going to try to blend 2 strong colors, sometimes its easiest to use a neutral color just to bridge the gap between them...orange and blue turn into a really gross brownish color if you blend them, for example...like I used a teensy bit of gold inbetween the pink and green here...
When taking pictures...use the macro setting on your camera to get clear up-close pictures...it looks like a little flower icon...
Also...don't close your eyes completely - just look down...if you close your eyes, your eyelids look all weird and wrinkly...
Um...anyone else - please feel free to jump in and give any tips that I missed...
And just to be a tard...heres my cheeseball winking picture from sunday...
ooookay...i think ive said enough!
(im just going to throw in a bunch of random old stuff of mine so you get some examples of how I do things...not sure if its quite everyones style...or if people do things in a different order...)
~~~
did you use any kind of base/primer? thats the main mistake people make... just get yourself some of the revlon illuminance cream eyeshadows (i get the one with 4 white/neutral colors)...put that allllll over from lashline to brows (and under the lower lashline)...I use my middle finger for this...then pile the shadow on top of that...it'll be a million times more vibrant, it makes it stick and stay all day and its much easier to create shading and shapes...i also use a white sephora brand cream shadow a lot...$9...some people even use chapstick actually...but careful not to use too much because it'll make it very creased after a while wearing it...
Usually i use a minimum of 3 colors but often more - to create depth mostly...always do the lightest one on the very inner corner of your eye or else it'll look really off. Using a lighter color makes your eyes look a lot brighter. Shimmery/irridescent shadows are muuuuuuuch easier to blend. I'd suggest staying away from totally matte looks until you've had some practice and feel more comfortable with the basic process...even I have issues blending completely matte looks, actually...you can go kinda monochromatic...use all blues, for example - because I seem to end up doing blue a lot:
or go a bit nuts and just throw some random colors together and see what happens...
I usually start with the darkest color on the very outer corner and crease. I tend to use a stiff bristled medium sized flat-ish brush for this so I can control the shape better. I tend to start by *patting* it on...basically pack on the color and try to be careful not to get it all over the place. Some people hold a piece of toilet paper or kleenex under their eye to catch the fallout. I definitely suggest doing this if you're using RED, BLACK, or any strong PINK...they stain like a mofo and are very hard to get completely off. I usually pat it on because the bristles will snap back and splatter shadow places where you dont want it and you'll have to clean it up later.
For example...this stained like a bitch...black AND hot pinks...my eyes were still stained pink the next day...
Bring this darkest/crease color slightly higher than your creaseline so you can see a small bit of it when your eye is fully open... but dont go too crazy with it and get too close to your eyebrow or else it'll look really bad usually and you'll end up looking like you're in a bad 80's glam rock band. You can always add more later if you want to tweak it but its much harder to take it off once its on.
something kinda like this...
using a brush like this (sonia kashuk) is also helpful to work on the shape/edge...save the fluffy brushes for the middle of the lid and brow...
usually its a good rule of thumb not to bring it out any further horizontally than the end of your eyebrow...
If you want to tweak the shape or you think you went too high, wet a q-tip and use that to clean things up (this is how you do the shapes with very crisp lines that don't fade into the brow highlighter). Shapewise, try to follow the shape in the arch of your brow for the best results...you can deviate a little bit depending on the look you're going for, of course...
So once you're generally happy with the shape, take your middle color and use a fluffier/fuller brush...use strokes from the inner corner towards the darker color and it'll just kinda naturally blend/fade itself...you don't have to be super neat with this part really...you can use more than one color if you want, same technique...sorta like this...these pictures are really crappy because they're from before I got a new camera...sorry...but you see how you don't go ALL the way to the very inside corner...leave a smidge of space there for a lighter color/s.
Then I usually do the inner corner of my eye...shimmery ones or white work best to make your eyes look brighter and enhance the depth of the rest of the eyelid...its good to blend this a bit out and upward...sorta like this...
Put some below your lower lashline too to make it seem more put together...try not to stab yourself in the eye...mix it up sometimes and use a totally different color from what you used on your lid...(greens on the lid, purple underneath - etc)...or just follow the same color pattern you used for the lid...I personally like to switch it up a bit... also...add some eyeliner on the waterline...I do NOT suggest using liquid liner for this because 1) it doesnt stick and 2) it stings like hell and will make your eyes water...use either a soft pencil type or MAC fluidliner - those will stick...and fluidliner doesnt sting in case you wondered...they pretty much pack the most vibrant punch of color...the pencil types dont always show up as much...(the red one is a Kryolan pencil, btw)
Use a really light colored shimmery shadow for the brow highlighter...the Aura Collection from Pure Luxe ($1 samples!!) is my personal favorite for this...its a white powder, but at different angles it'll reflect a color...
Use a super soft brush here so its not harsh - very lightly...for this, you might want to spring for a special brush because it can make or break the look...my favorite is a Sonia Kashuk blending brush from Target (its long soft bristles that has a more tapered pointy end than a fluff brush) so its really not necessary to spend a lot. Actually, my favorite brushes are almost all Sonia Kashuk - (I got a set of 8 for $17, btw)... put that just below your eyebrow and blend it slightly into the top of the rest of the shadows to soften it (little circles work best - or a fast sort of small zig-zag motion) and bring it all together...sometimes it softens things too much for my liking and I'll tweak and perfect the crease color/shading a bit then...
at this point it would be a good idea to wipe your face off really well underneath your eyes and along the side of your eyes to get all the fallout...i usually use those disposable face wipes...or sensitive baby wipes work well too...a lot of the time I'll put on more foundation just under my eyes and it seriously makes a big difference in how neat things look...
Now...if things look a little crappy to you, don't overreact and wipe it all off yet...most of the time it doesn't always look that great until after you put on the eyeliner/mascara/and blush...you may look totally pale and washed out until you put on some blush or lipcolor...happens to me every time...if I dont like it...I just keep adding stuff on top until it morphs into something I like...(like...i look like butt here because I need some freakin lipgloss or something - i look dead...)
Then I do eyeliner...I normally do the cat eye thing...Prestige makes a badass liquid liner and its super cheap...
otherwise I use MAC fluidliner...its kind of a gel so its easier to control than liquid but it took me a while to find the best brush for it...practice makes perfect...make sure you're not leaving any space between the lashes and the liner...I usually start in the middle of the lid and work my way to the outer corner just to get the basic bulk of the line...make the top of the line as clean as possible but dont do the winged part yet...sometimes it helps to pull your eyelid taught but I tend to hold the brush almost vertically and drag...this part of the line should probably be thicker than the rest up until around the middle of the lid when it starts to thin out...
to do the wing, I hold it diagonally and almost flush against my face again...and put the tip where I want the end of the wing to be and drag inward...use part of your hand/pinky to stablilize your hand on your face somehow...
remember...q-tips are your friend...if you mess up, wet a q-tip (actually I kinda twist the end a bit so its more pointy) and sweep towards your hairline to get a cleaner line...if you go inward usually it'll get kinda caught up and just wrinkle your skin and get all jacked up...if you wipe the whole wing off, its best the put on more powder/eyeshadow first before you attempt it again. If you look at mine...usually the bottom part of the cat eye is in line with the curve/angle your waterline would follow if it were to keep going...
then put your brush/applicator thingy sideways and lay it flush horizontally against your lid...i actually just kinda dab at the lashline as carefully as possible to get that inner corner of the eye instead of trying to drag/brush it on...if I use the Prestige stuff ill keep inching it inward and keep the same line to do that exaggerated inner point...
If you're still uncomfortable with your skills, start off by just going to the middle of the lid...you dont even have to go all the way to the very inner corner for it to look good...
I just got a small thin eyeliner brush from Sephora (it was about $16 I think, but its worth it...bad eyeliner can ruin the entire look)...my other favorite brush for that is actually a lip brush I think from a super cheapo grey/metallic set of them at Walgreens, actually...
then I do mascara last...I personally have been using Maybelline Full n Soft, in case you were curious...
sometimes I have to go back and fix my brows after if I got the brow highlighter all over them...
thats my main way of doing things...
if you dont have much of a collection yet...I would focus on getting yourself a wide variety of colors first...even colors you wouldnt normally think you'd want (like yellow, orange, red, black, white)...if you want it all in one shot, you'll find the Ben Nye Grande Lumiere palette invaluable...its so worth it...you can create a million looks with just that alone... its the one in the lower right corner in this pic...12 colors... (btw, that was months ago that I took this picture...I have looooooot more now...eek..)
I actually barely use any MAC shadow myself so don't feel like you have to spend a lot of money to do great things...I think I only own about 3 of the shadows grand total...and I much prefer my Pure Luxe stuff over the MAC pigment samples I have...but I have almost every fluidliner...those are definitely worth it...I like to make my waterline a strong color a lot of the time...these are all $1 samples from Pure Luxe...
I definitely like Kryolan (find it on ebay) - cheaper and more pigmented than MAC...and Pure Luxe...(sample size is more than enough...Ive still never ran out of any one color yet)...these are all Kryolan...I have more now (navy, purple, light blue, etc) but you can see how bright they are...I dont even swipe the brush on it...i literally only touch/dab it and thats enough...the top palette is aquacolors (irridescent one...i also have the UV one and the metallic one)...you have to mix those with water and paint it on like watercolors...it takes some practice to get that right...
Umm...random other stuff...
If you're going to try to blend 2 strong colors, sometimes its easiest to use a neutral color just to bridge the gap between them...orange and blue turn into a really gross brownish color if you blend them, for example...like I used a teensy bit of gold inbetween the pink and green here...
When taking pictures...use the macro setting on your camera to get clear up-close pictures...it looks like a little flower icon...
Also...don't close your eyes completely - just look down...if you close your eyes, your eyelids look all weird and wrinkly...
Um...anyone else - please feel free to jump in and give any tips that I missed...
And just to be a tard...heres my cheeseball winking picture from sunday...
ooookay...i think ive said enough!