PS tutorial #3 (The Black Parade)
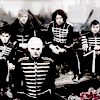
From this to

Layer
Step
Result

Crop your base. At this point I also lightened it up a bit and added some contrast using Color Variations but you could also use Brightness/Contrast.

Duplicate your base and set to Screen (100%). It might look a bit wonky (like mine) but you can always reduce the opacity later if you need to.
Add this texture by erniemay and set it to Linear Burn (100%). This adds some color and makes the sky look rather stormy.


Next, I made a new layer. I used Filter->Render->Clouds with my foreground and background colors set at #B58B86 and #662525, respectively. I repeated the filter until I got something I liked. Set this layer to screen (100%)
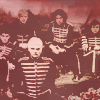

Duplicate your base again and drag it to the top. Set it to Soft Light (100%). This helps add some contrast.
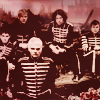
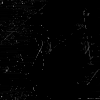
This texture by peachinparis adds just a little bit of dust. It's not an essential step, I just liked it.
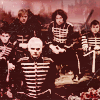
I used this texture by blimey_icons on Screen (100%) but I thought it covered too much of the icon, so I erased all of it except the super-scratchy part on the bottom.
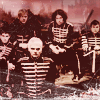
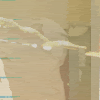
One last texture by the wonderful gender set to Multiply (100%) to really give it an aged look.
