tutorial
learn how to make this colouring:

> made with ps cs2
> involves selective colouring, curves & hue/ saturation
> up to 20 steps
1.) choose a pic! I used this one of ross:
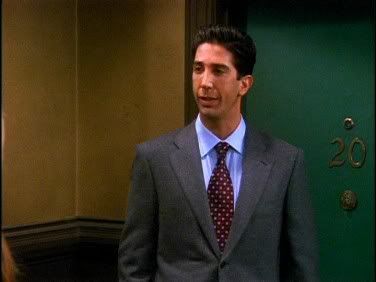
2.) make a new layer. Fill it with 342827 and set it to exclusion at 100% , 100%
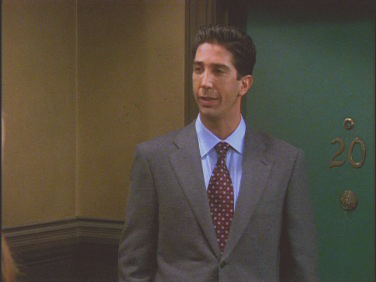
3.) make a new layer, fill it with a2de94 and set it to soft light at 50% , 100%
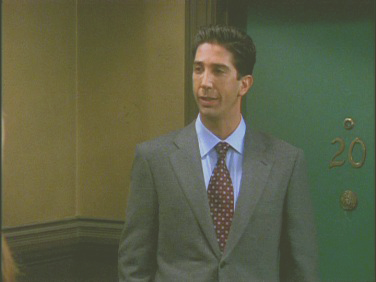
4.) make another new layer, fill this one with ffce84 and set it to soft light at 40%, 100%
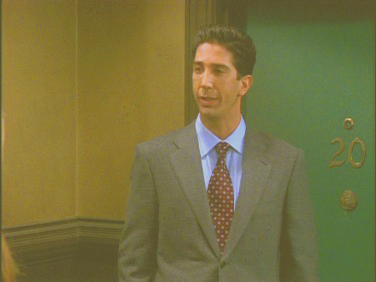
5.) duplicate your base, move it to the top, desaturate it and set it to overlay at 50% , 100%
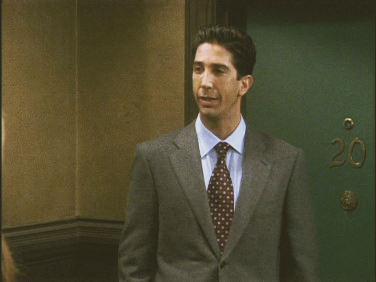
6.) make a new hue/saturation layer.
Standard: 0 | +25 | 0
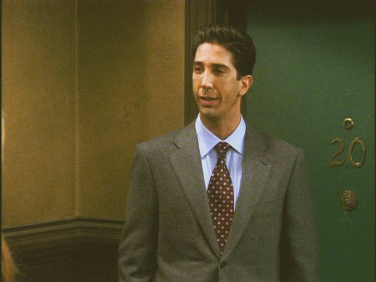
7.) make a new layer, fill it with 121c46 and set it to exclusion at 60% , 100%
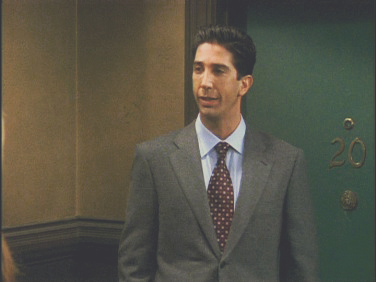
8.) make a new layer, fill it with c8a46d and set it to multiply at 20% , 100%
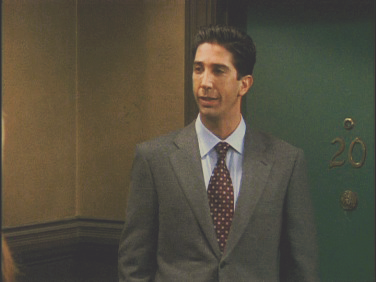
9.) duplicate your base, move it to the top and set it to soft light at 75% , 100%
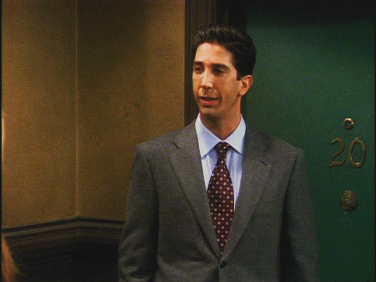
10.) make a new selective colour layer
reds: -75 | +10 | -5 | 0
yellows: -15 | +5 | 0 | -15
greens: +25 | +100 | 0 | +10
cyans: +50 | 0 | +100 | +10
neutrals: +15 | +5 | -10 | +5
blacks: -15 | +75 | +20 | 0
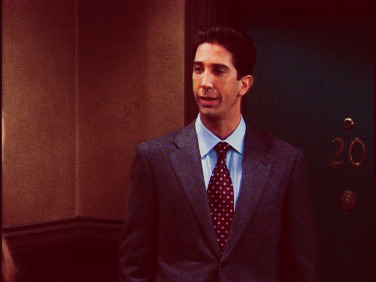
11.) make a new hue/saturation layer
reds: 0 | +15 | 0
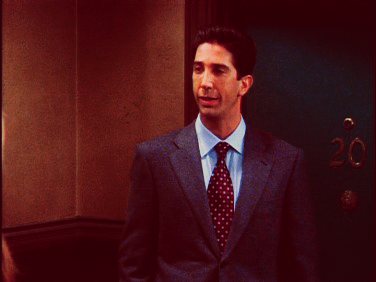
12.) make another new layer, fill it ee9c00 and set it to soft light at 50% , 50%
{the occupy of this layer differs from pic to pic, so just find something that fits for you}
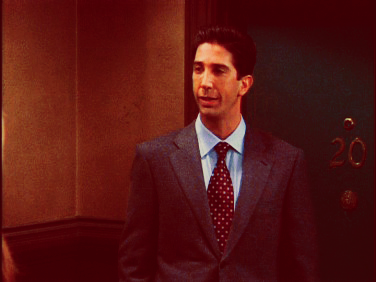
13.) make a new curves layer
greens: 1st point at 97 | 93
2nd point at 178 | 187
Blues: 1st point at 106 | 99
2nd point at 172 | 190
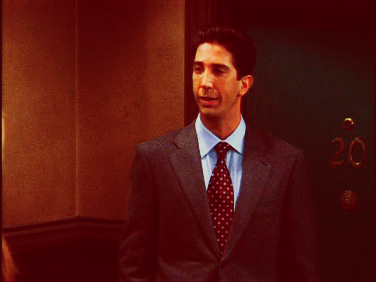
14.) make another hue/saturation layer
cyans: 0 | +30 | 0
blues: 0 | +10 | 0
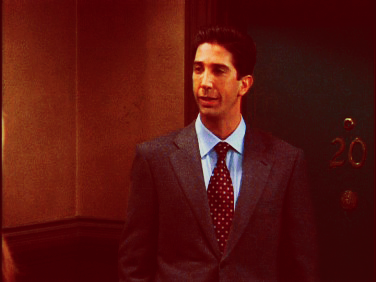
15.) make a selective colour layer
yellows: +47 | -14 | +19 | +3
cyans: +100 | +100 | -100 | 0
whites: +42 | -100 | -100 | +18
neutrals: +2 | +2 | +2 | +2
blacks: -30 | -30 | +70 | +57
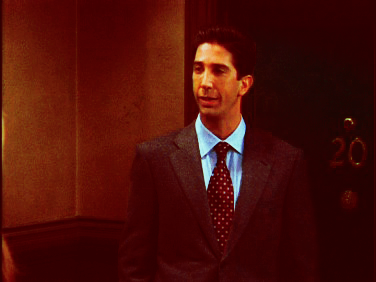
THE FOLLOWING STEPS ARE OPTIONAL! BUT I USED THEM COZ RIGHT NOW THE COLOURING IS PRETTY ODD. IT ALL DEPENDS ON THE PICS YOU ARE USING!
16.) select your base/background layer and duplicate it. Set the duplicated layer to screen at 100% , 100%
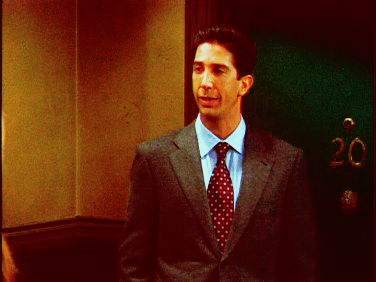
17.) I wasn’t really satisfied with the outcome, so I selected my base again and hit STRG + SHIFT + L

18.) Now I selected the screen layer and pressed STRG + SHIFT + B

19.) I selected the desaturated overlay layer and pressed SRTG + SHIFT + ALT + L
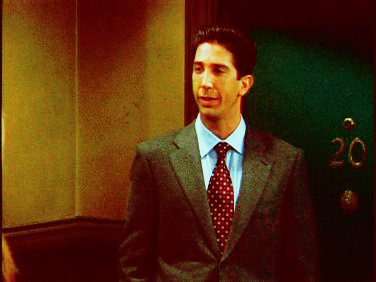
20.) Right now I selected the duplicated base layer from step 9 and hit STRG + SHIFT + L
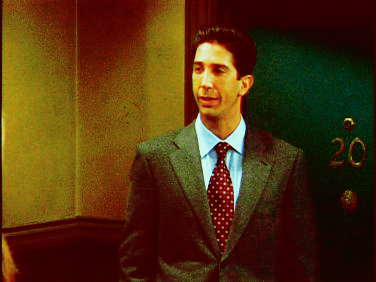
21.) Crop, resize, sharpen

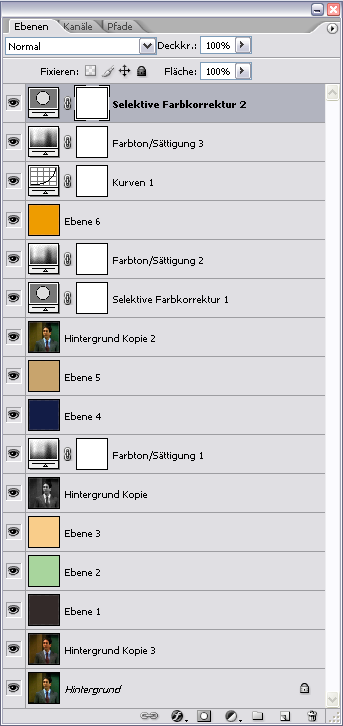
a little help:
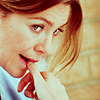
Other icons made with this colouring-technique:
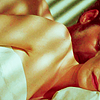
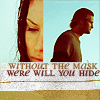
EDIT;;
PSD FILE
If something isn’t clear enough, feel free to ask!
comments would be nice and i'd love to see some results.

> made with ps cs2
> involves selective colouring, curves & hue/ saturation
> up to 20 steps
1.) choose a pic! I used this one of ross:

2.) make a new layer. Fill it with 342827 and set it to exclusion at 100% , 100%

3.) make a new layer, fill it with a2de94 and set it to soft light at 50% , 100%

4.) make another new layer, fill this one with ffce84 and set it to soft light at 40%, 100%

5.) duplicate your base, move it to the top, desaturate it and set it to overlay at 50% , 100%

6.) make a new hue/saturation layer.
Standard: 0 | +25 | 0

7.) make a new layer, fill it with 121c46 and set it to exclusion at 60% , 100%

8.) make a new layer, fill it with c8a46d and set it to multiply at 20% , 100%

9.) duplicate your base, move it to the top and set it to soft light at 75% , 100%

10.) make a new selective colour layer
reds: -75 | +10 | -5 | 0
yellows: -15 | +5 | 0 | -15
greens: +25 | +100 | 0 | +10
cyans: +50 | 0 | +100 | +10
neutrals: +15 | +5 | -10 | +5
blacks: -15 | +75 | +20 | 0

11.) make a new hue/saturation layer
reds: 0 | +15 | 0

12.) make another new layer, fill it ee9c00 and set it to soft light at 50% , 50%
{the occupy of this layer differs from pic to pic, so just find something that fits for you}

13.) make a new curves layer
greens: 1st point at 97 | 93
2nd point at 178 | 187
Blues: 1st point at 106 | 99
2nd point at 172 | 190

14.) make another hue/saturation layer
cyans: 0 | +30 | 0
blues: 0 | +10 | 0

15.) make a selective colour layer
yellows: +47 | -14 | +19 | +3
cyans: +100 | +100 | -100 | 0
whites: +42 | -100 | -100 | +18
neutrals: +2 | +2 | +2 | +2
blacks: -30 | -30 | +70 | +57

THE FOLLOWING STEPS ARE OPTIONAL! BUT I USED THEM COZ RIGHT NOW THE COLOURING IS PRETTY ODD. IT ALL DEPENDS ON THE PICS YOU ARE USING!
16.) select your base/background layer and duplicate it. Set the duplicated layer to screen at 100% , 100%

17.) I wasn’t really satisfied with the outcome, so I selected my base again and hit STRG + SHIFT + L

18.) Now I selected the screen layer and pressed STRG + SHIFT + B

19.) I selected the desaturated overlay layer and pressed SRTG + SHIFT + ALT + L

20.) Right now I selected the duplicated base layer from step 9 and hit STRG + SHIFT + L

21.) Crop, resize, sharpen

a little help:

Other icons made with this colouring-technique:
EDIT;;
PSD FILE
If something isn’t clear enough, feel free to ask!
comments would be nice and i'd love to see some results.