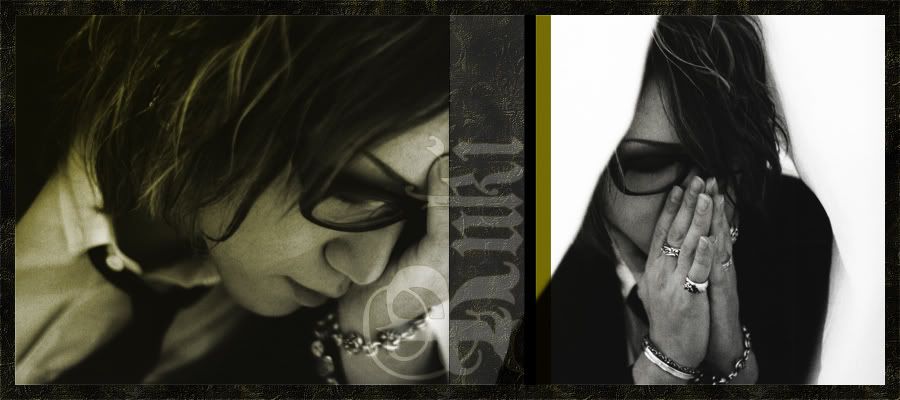
Header Tutorial 1
In the light of the popularity of the offered headers, I thought some of you might be interested in a tutorial on how to make a similar header yourself.
It's actually a very simple process, so I think everyone who knows a bit about Photoshop can make their own header.
For this tutorial, I made a new header. We'll be making these:
TO MAKE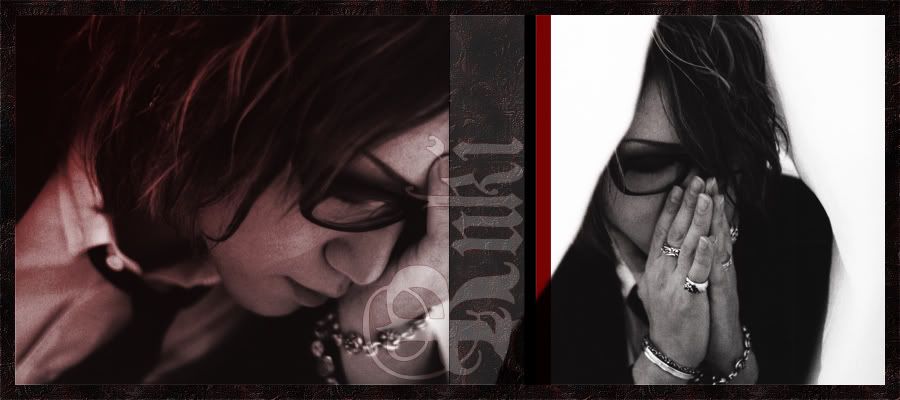
{RED}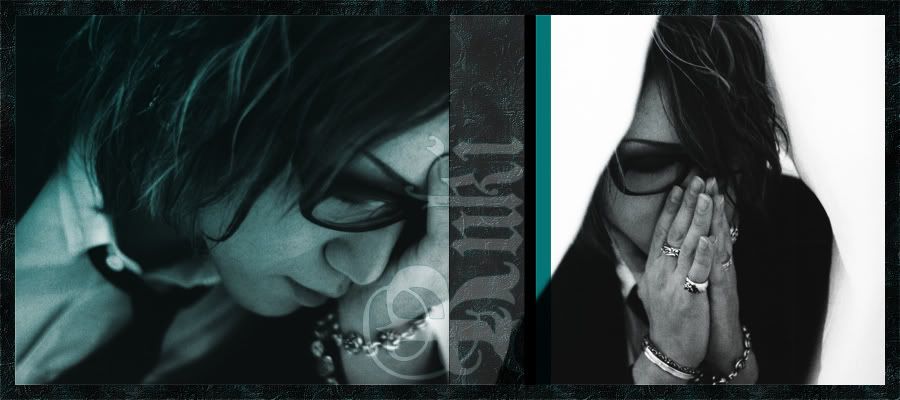
{BLUE}
{YELLOW}
TOOLS
Adobe Photoshop CS
As said, it is very simple to make this header, so I think this tutorial will be easily translated to other programs!
TUTORIAL I opened a new 900*400px image.
I also opened two images that I thought were pretty.
In this case I opened two images of Ruki from the GazettE found here in gazette_daily. I cropped them and resized them so they would fit in the new document (both are 450px wide and 400px high).
Then I pasted them in the new document and positioned them.
Note: you can also work with one single image, like I did in the first headers I made.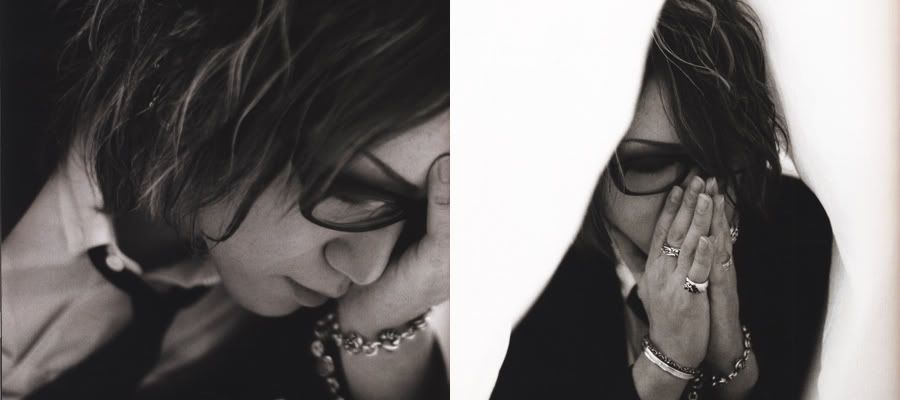
Set your foreground colour to black and your background colour to white (press D).
Go to Layer --> New Adjustment Layer --> Gradient Map... and use the black to white gradient. Your image should now be converted to grayscale.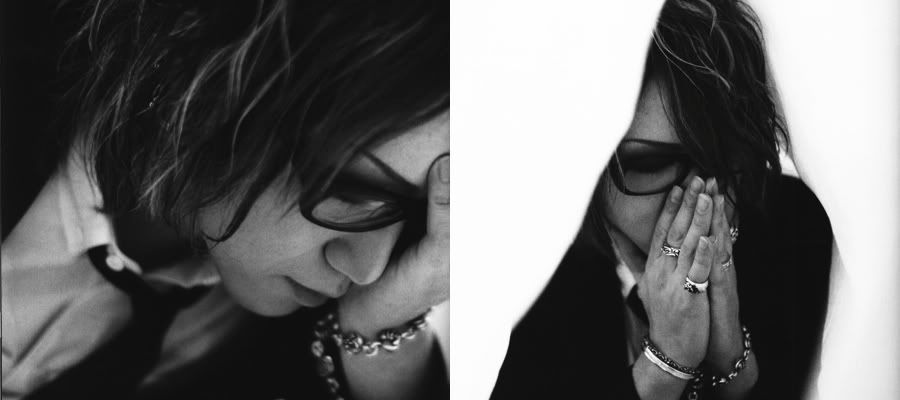
Create a new layer.
Change your forground colour to #760303.
Pick a big, soft, round brush. I used the one of 300px
.
Brush once or twice on one side of the image. I chose the left side.
Go to Filter --> Blur --> Gaussian Blur. Pick a big radius, so that the shape of your round brush isn't visible anymore (I used the biggest radius possible).
Set the layer with the red, blurred brush to Overlay.
To make sure that only one of the two images has a reddish tint, select the other image (Ctrl+click layer) and with the brush layer active, click delete.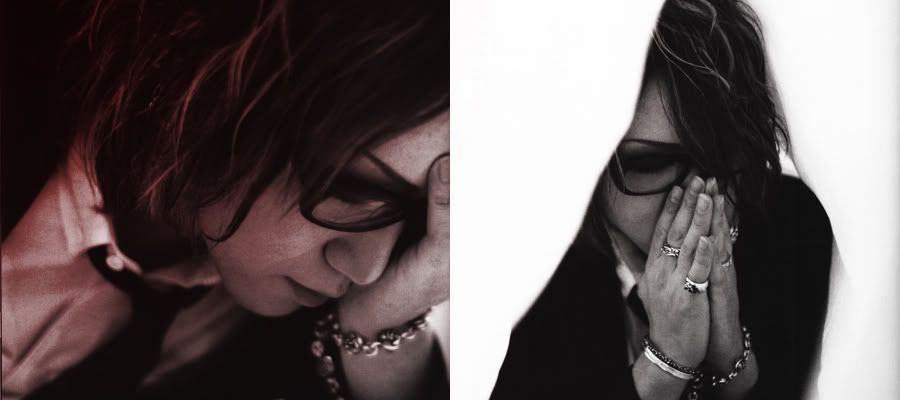
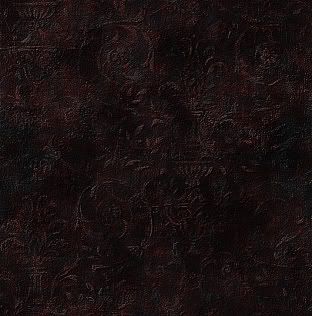
I picked a pattern from The Inspiration Gallery and edited it severely:
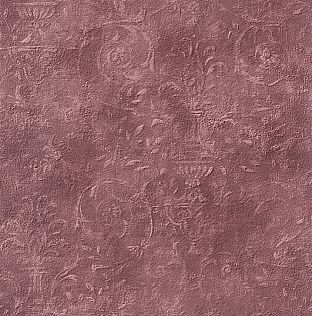
-->
For this tutorial it is not important to know how I edited it. Just save the edited pattern and open it in Photoshop. Then go to Edit --> Define Pattern..., name it and save.
Grab your Rectangular Marquee Tool (Click M) and select a vertical band of your header.
Go to Layer --> New Fill Layer --> Pattern.... Make sure the pattern you created in the previous step is selected and click ok.
Set this layer to Normal, opacity 80%.
Duplicate the pattern layer and set it to Soft Light, opacity 50%.
Create a new layer.
Select a new vertical band, less wide and adjacent to the pattern band, and fill it with black.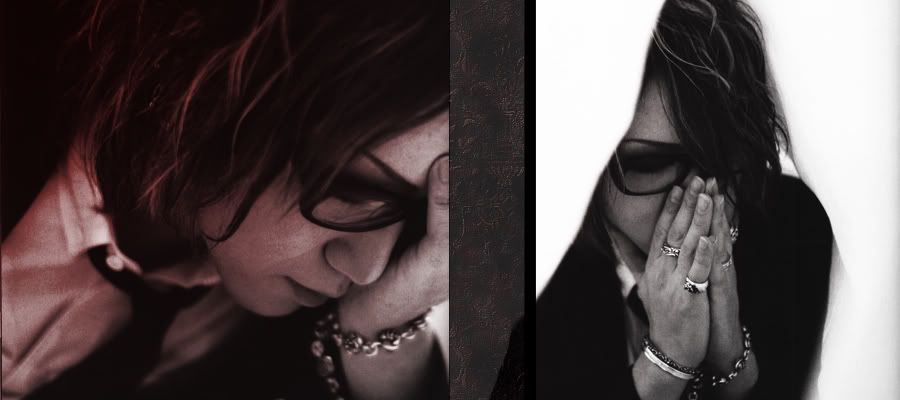
Create a new layer.
Select a new vertical band, less wide OR wider and adjacent to the black band, and fill it with #760303.
Set the layer to Multiply.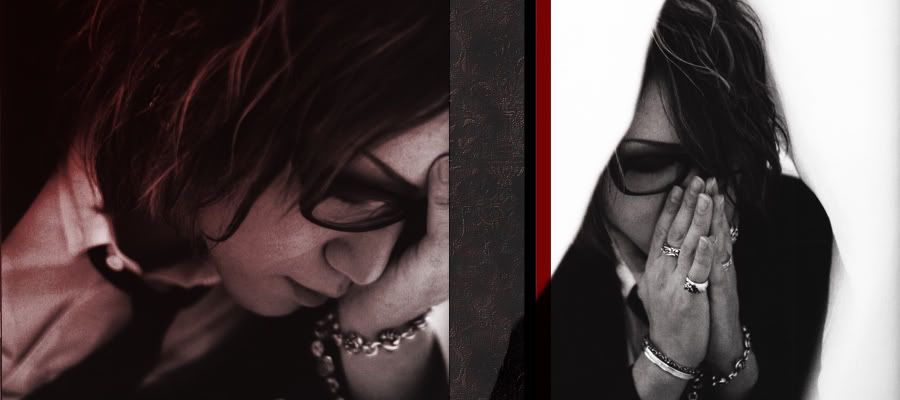
For this next part, I'm sure there is probably an easier way to do this, but this is how I did it.
Get your Rectangular Marquee Tool (Click M) and set it to Fixed Size - 15x15px. Click the marquee tool in the top left corner of your image and then add two guides. Do the same for the bottom right corner.
The guides now show you where the border should be.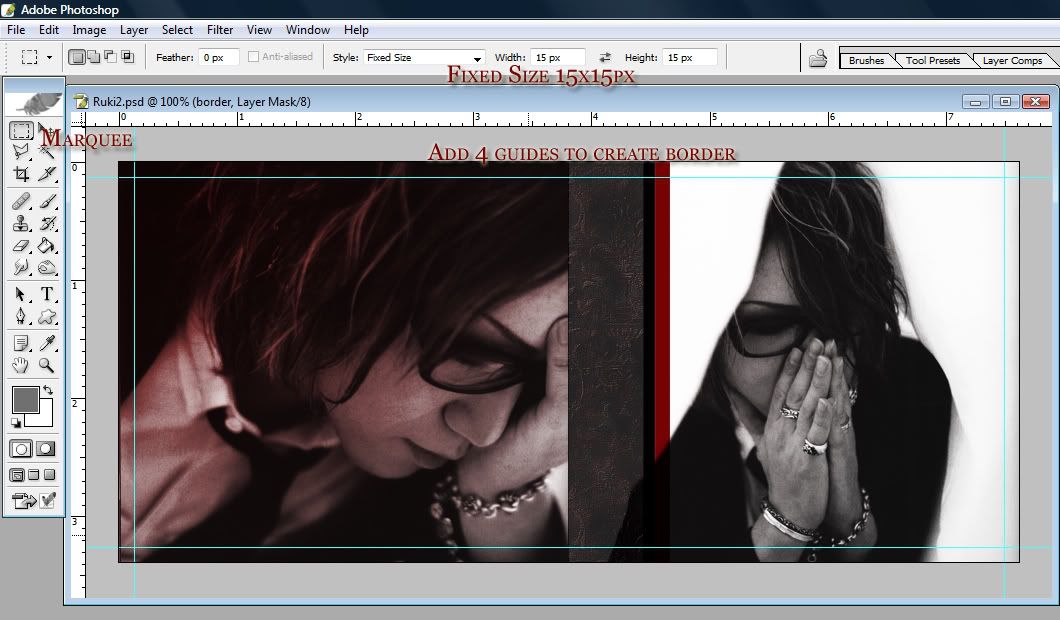
Use the guides to select the inner part of your image. Don't forget to set your marquee tool back to normal (not fixed size). Then go to Select --> Inverse.
Now you should see that the border of your image is selected.
Go to Layer --> New Fill Layer --> Pattern... and fill the selection with the same pattern again.
Create a new layer and select the inner part of your image again (use the guides). Go to Edit --> Stroke and stroke the selection with the following settings:
Create a new layer. Hit Ctrl+A (Select all) and got to Edit --> Stroke and stroke the selection with the same settings as before.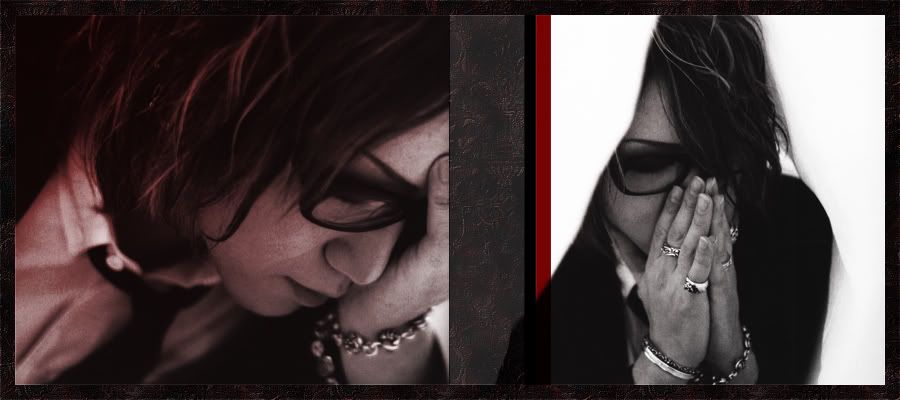
Time for the text.
How you do it, really all depends on your personal taste.
In this case I typed 'Ruki' using the font Anglo Text at size 48pt in white.
In the Blending options (Right click the text layer) I added a 1px stroke in the colour #760303.
I set the text layer to Soft Light, opacity 70%.
Then I rotated the text 90° counter clockwise (Edit --> Transform --> Rotate 90°CCW) and positioned it on top of the pattern band.
Et voilà, the header is finished
BLUE HEADER
Go to Layer --> New Adjustment Layer --> Hue/Saturation and slide the the Hue slider to +180
YELLOW HEADER
Go to Layer --> New Adjustment Layer --> Hue/Saturation and slide the the Hue slider to +55
It's actually a very simple process, so I think everyone who knows a bit about Photoshop can make their own header.
For this tutorial, I made a new header. We'll be making these:
TO MAKE

{RED}

{BLUE}

{YELLOW}
TOOLS
Adobe Photoshop CS
As said, it is very simple to make this header, so I think this tutorial will be easily translated to other programs!
TUTORIAL I opened a new 900*400px image.
I also opened two images that I thought were pretty.
In this case I opened two images of Ruki from the GazettE found here in gazette_daily. I cropped them and resized them so they would fit in the new document (both are 450px wide and 400px high).
Then I pasted them in the new document and positioned them.
Note: you can also work with one single image, like I did in the first headers I made.

Set your foreground colour to black and your background colour to white (press D).
Go to Layer --> New Adjustment Layer --> Gradient Map... and use the black to white gradient. Your image should now be converted to grayscale.

Create a new layer.
Change your forground colour to #760303.
Pick a big, soft, round brush. I used the one of 300px

.
Brush once or twice on one side of the image. I chose the left side.
Go to Filter --> Blur --> Gaussian Blur. Pick a big radius, so that the shape of your round brush isn't visible anymore (I used the biggest radius possible).
Set the layer with the red, blurred brush to Overlay.
To make sure that only one of the two images has a reddish tint, select the other image (Ctrl+click layer) and with the brush layer active, click delete.

I picked a pattern from The Inspiration Gallery and edited it severely:

-->

For this tutorial it is not important to know how I edited it. Just save the edited pattern and open it in Photoshop. Then go to Edit --> Define Pattern..., name it and save.

Grab your Rectangular Marquee Tool (Click M) and select a vertical band of your header.
Go to Layer --> New Fill Layer --> Pattern.... Make sure the pattern you created in the previous step is selected and click ok.
Set this layer to Normal, opacity 80%.
Duplicate the pattern layer and set it to Soft Light, opacity 50%.

Create a new layer.
Select a new vertical band, less wide and adjacent to the pattern band, and fill it with black.

Create a new layer.
Select a new vertical band, less wide OR wider and adjacent to the black band, and fill it with #760303.
Set the layer to Multiply.

For this next part, I'm sure there is probably an easier way to do this, but this is how I did it.
Get your Rectangular Marquee Tool (Click M) and set it to Fixed Size - 15x15px. Click the marquee tool in the top left corner of your image and then add two guides. Do the same for the bottom right corner.
The guides now show you where the border should be.

Use the guides to select the inner part of your image. Don't forget to set your marquee tool back to normal (not fixed size). Then go to Select --> Inverse.
Now you should see that the border of your image is selected.
Go to Layer --> New Fill Layer --> Pattern... and fill the selection with the same pattern again.
Create a new layer and select the inner part of your image again (use the guides). Go to Edit --> Stroke and stroke the selection with the following settings:
- width: 1px
- color: #FFFFFF (white)
- location: inside
Create a new layer. Hit Ctrl+A (Select all) and got to Edit --> Stroke and stroke the selection with the same settings as before.

Time for the text.
How you do it, really all depends on your personal taste.
In this case I typed 'Ruki' using the font Anglo Text at size 48pt in white.
In the Blending options (Right click the text layer) I added a 1px stroke in the colour #760303.
I set the text layer to Soft Light, opacity 70%.
Then I rotated the text 90° counter clockwise (Edit --> Transform --> Rotate 90°CCW) and positioned it on top of the pattern band.
Et voilà, the header is finished

BLUE HEADER
Go to Layer --> New Adjustment Layer --> Hue/Saturation and slide the the Hue slider to +180

YELLOW HEADER
Go to Layer --> New Adjustment Layer --> Hue/Saturation and slide the the Hue slider to +55
