Tutorial 05: Garuda no Aiacos
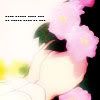
From
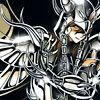
to

Difficulty: Medium
Program: Photoshop CS3
Traslatable: I don't think so
1. Prepare your base, sharpen it once or twice, depends of your image.
2. New layer, fill it with #6046aa, set to Soft Light, 100%

3. New Layer, fill it with #077259, set to Color Burn, 30%
4. New Layer, fill it with #dbe457, set to Darken 50%
5.Duplicate your base and drag it to the top, set to Soft Light, 100%
6. New Adjustment Layer -> Hue/Saturation
0, 20, 0
7.New Adjustment Layer -> Channel Mixer
Red: 110, 45, -25, 3
Green: 32, 95, -30. 0
Blue: 37, -25, 93, 0
8. New Ajustment Layer -> Color Balance
Midtones: 15, -35, 20
Shadows: 10, 8, -20
Highlights: -20, -41, 11

9. Duplicate your base and drag it to the top, then go Filter -> Blur -> Gaussian Blur -> Radius: 5.2, set to Hard Light, 100% (lower the opacity if you want).

10. I took this texture from spooky_window and set it to Screen, 100%; with a soft brush (45 px or less) erase what you want.

11. Duplicate your base and drag it to the top, set to Saturation, 30%

12. Duplicate your base again and drag it to the top, then repeat step 9, but this time set it to Overlay, 100%

13. New Adjustment Layer -> Brightness/Contrast
Brightness: 40
Contrast: 25

14. Create a New Layer, select everything, then go to Select -> Modify -> Border:10, now select inverse a put the quick mask, this part es a little bit complicated to explain for me (I'm still learning english, so I hope you understand), go Filter -> Glass: 5, 3 Frosted: 100%, quit the quick mask and select inverse again, go to Edit -> Fill -> Foreground Color (I used 3f2420), and set to Overlay, 100% (complicated, right? x.xU)

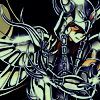
15. And... in a New Layer, put the text and that's it!! =D
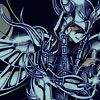
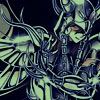
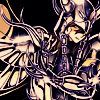
Other examples: