Tutorial #3
From 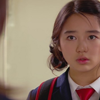
to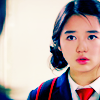
in PS CS 2
Requested by
theheaven
Icon from h e r e
Open your base.
Make 2 duplicate layer. Set the top first to Screen 100% and the second to Soft Light 100% (depending on your base)
Make a New Layer and fill it with #BFD4ED and set the layer to Color Burn 100%
Make a New Adjustment Layer >> Curves
RGB: Input - 88, Output - 134.
Red: Input - 208, Output - 171.
(leave green alone)
Blue: Input - 106, Output 140.
Now, take this orange texture, crop it to 100x100 and set it on Overlay 60% (depending on your image)
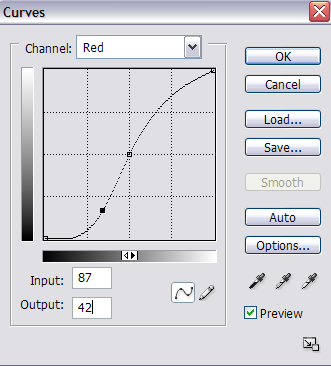
Make a New Adjustment Layer >> Curves
Red
First Point: 128, 128
Second point: 87, 42
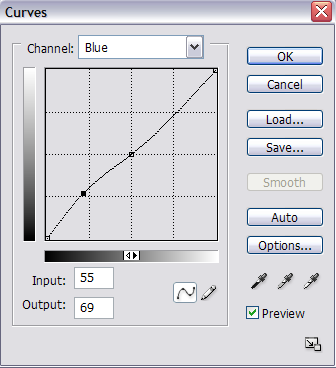
Blue
First Point: 128, 128
Second Point: 55, 69
Make a New Adjustment Layer >> Selective Coloring
Reds
Cyan -43
Magenta +60
Yellow +63
Black -8
Cyans
Cyans +100
Magenta +6
Yellows
Cyan +100
Yellow +12
Blues
Cyans + 39
Magenta +93
Yellow +2
Magentas
Cyan -100
Yellow +1
Magenta -2
Black +6
Neutrals
Cyans +31
Magenta -9
Result: Original:

H e r e is the psd file of the whole tut.
If you like my work then feel free to a d d m e ^^
to
in PS CS 2
Requested by
theheaven
Icon from h e r e
Open your base.
Make 2 duplicate layer. Set the top first to Screen 100% and the second to Soft Light 100% (depending on your base)
Make a New Layer and fill it with #BFD4ED and set the layer to Color Burn 100%
Make a New Adjustment Layer >> Curves
RGB: Input - 88, Output - 134.
Red: Input - 208, Output - 171.
(leave green alone)
Blue: Input - 106, Output 140.
Now, take this orange texture, crop it to 100x100 and set it on Overlay 60% (depending on your image)
Make a New Adjustment Layer >> Curves
Red
First Point: 128, 128
Second point: 87, 42
Blue
First Point: 128, 128
Second Point: 55, 69
Make a New Adjustment Layer >> Selective Coloring
Reds
Cyan -43
Magenta +60
Yellow +63
Black -8
Cyans
Cyans +100
Magenta +6
Yellows
Cyan +100
Yellow +12
Blues
Cyans + 39
Magenta +93
Yellow +2
Magentas
Cyan -100
Yellow +1
Magenta -2
Black +6
Neutrals
Cyans +31
Magenta -9
Result: Original:
H e r e is the psd file of the whole tut.
If you like my work then feel free to a d d m e ^^