Tutorial: Daniel Radcliffe
OMG...my first ever tutorial..Don't kill me xD
As requested by pearlsphere =)
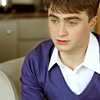
We're going from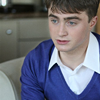
to
in only 7 easy steps!
(Made in Photoshop Elements 5.0)
**You can download the .psd here
1. Crop your picture to where desired.

2. Create new layer.
Fill it with a pink kind of colour...In this case, I chose #bf8bab.
Set to Soft Light %100.
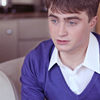
3. Create another layer.
Fill it with a weird looking green. I used #75832d.
Set to Soft Light %100.
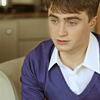
4. Create a new Adjustment Layer, Hue/Saturation:
Reds - Saturation -> +19
Yellows - Saturation -> -40
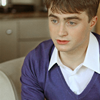
5. Create new Adjustment Layer, Levels:
RGB Input Levels -> 12, 1.10, 245

6. Create new Adjustment Layer, Brightness/Contrast:
Contrast -> +10
7. Create a new layer.
Fill it with a really soft blue colour. For this icon, I used #8899c4.
Set to Soft Light %100.

~~
And that's it! So simple. I'd love to see your results ^-^
Other icons made with this colouring:


As requested by pearlsphere =)
We're going from

to

in only 7 easy steps!
(Made in Photoshop Elements 5.0)
**You can download the .psd here
1. Crop your picture to where desired.

2. Create new layer.
Fill it with a pink kind of colour...In this case, I chose #bf8bab.
Set to Soft Light %100.

3. Create another layer.
Fill it with a weird looking green. I used #75832d.
Set to Soft Light %100.

4. Create a new Adjustment Layer, Hue/Saturation:
Reds - Saturation -> +19
Yellows - Saturation -> -40

5. Create new Adjustment Layer, Levels:
RGB Input Levels -> 12, 1.10, 245

6. Create new Adjustment Layer, Brightness/Contrast:
Contrast -> +10

7. Create a new layer.
Fill it with a really soft blue colour. For this icon, I used #8899c4.
Set to Soft Light %100.

~~
And that's it! So simple. I'd love to see your results ^-^
Other icons made with this colouring: