Only a tutorial for right now...
Starting the wig, I had no idea what I was going to do....>.> Yesh, this was all random but most of my wigs are anyway. I started with a Femme Fatale in Pixel from Amphigory and I didn't even bother to straighten it using the Hot Water Method. That takes hours to do and I find it pointless now when I can do an entire wig in the time of an hour with my hair straightener.
Here's a reference image to Shigure's hair:
http://www.subafuruba.com/FB/SF/Illus/blackwhite/bw30.jpg
**Note: Most of the images have been Brightened and some have been Sharpened slightly. I did it only because Black wigs are hard to photograph but if you get them right, you can catch a lot of details that other lighter wigs just can't get on camera.**
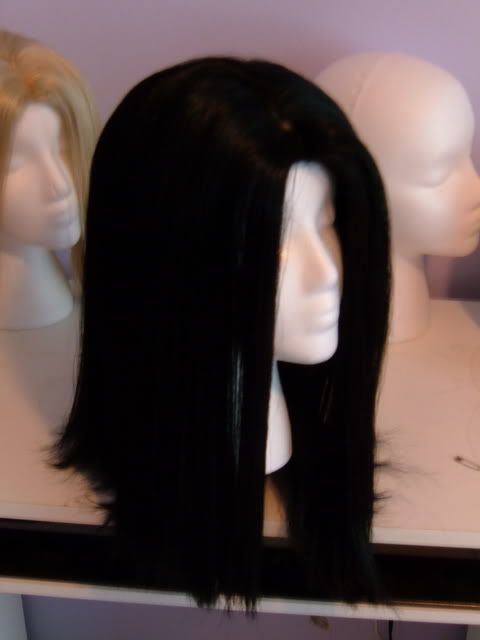
This was what I started with after I finished straightening it. Just as a note, the Femme Fatale in Pixel has a lot more fiber than some of the other wigs I've seen. It has numerous amounts of it and it gets in your way...a lot. Just deal with it. Once you finish straightening the wig, you'll notice that it's very uneven. I didn't do anything about it at this point since the wig would be cut dramatically shorter and it didn't matter where it was shorter or longer. If you wig is about this length though, you'll have to even it up.
Step 1: Bangs-
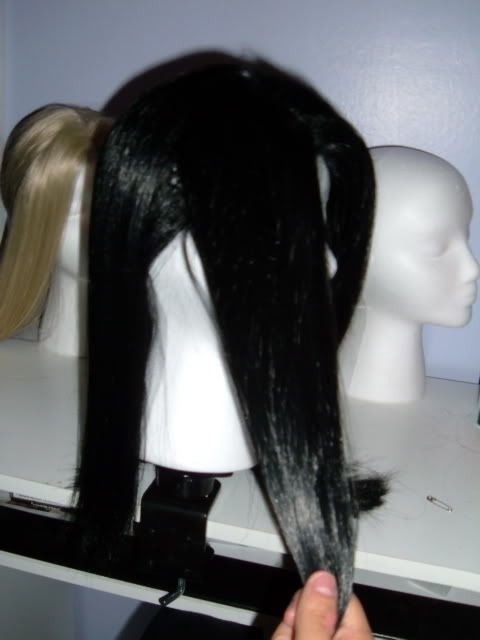
If they aren't already in there from the straightening, pin the wig to the foam head at the center, temples and back. This wig is particuliar had a lot of pulling at it...>.>
Since Shigure's hair is like a mini mullet, I seperated the Would-be bangs away from the rest of the wig and pinned the tail of it away up in clips that I could easily take out with one hand if I needed to.
Make sure when you're seperating the bangs that it's even on both sides. You can do it by standing above it and pulling the hair in your hand forward, tugging it away. Just seperate the other hair away and pin the other section of tail back.
Step 2: -Cut Away Excess
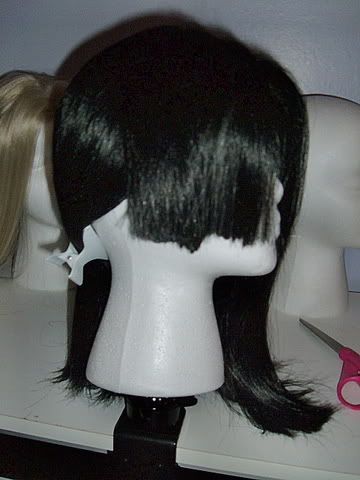
Since the bangs are significantly shorter than the back and the rest of the wig, I just estimated where to cut at first and then just cut. I didn't care about it being even or even remotely accurate. All you need at this point is to make your job easier and that's by taking away length. Now, I wanted to use the left over hair from the bangs in wefts for other extensions so I needed as much as possible so I cut it short. If these are your first bangs and are really nervous like I was, just keep on cutting up higher and higher until you feel like you're safe.
This is my finished product after I just took away the excess length but with the right side (shorter), I ended up cutting it exactly where I needed it so that was my "Oh Shit!" moment.
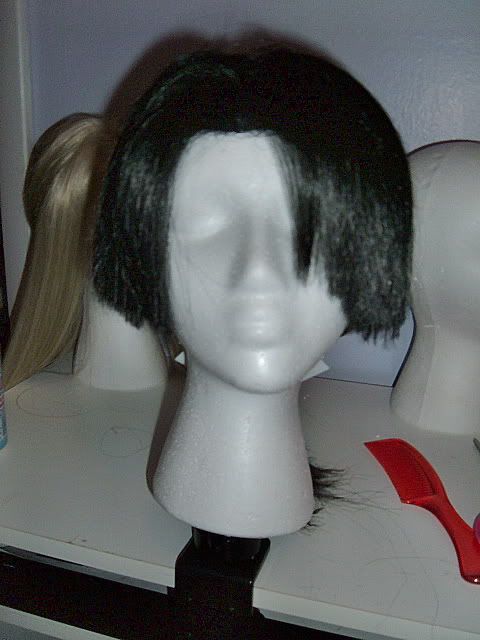
If you mess up and go too short even for the finished bangs, don't worry about it, just remember that for next time and try again.
Step 3: Trimming It Up
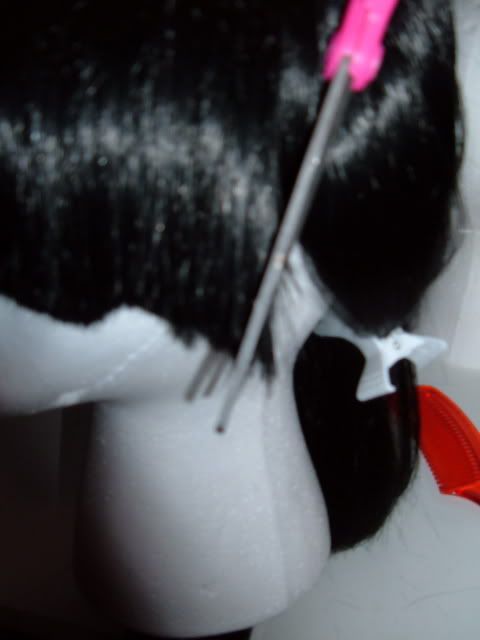
This part was infinitely frustrating for me since Shigure's hair is suppose to curve really close to his ears...>.> and when I cut it, it just wouldn't curve properly. So I had to pull most of that hair away from the wig and just cut it in the curve over and over again until I actually liked it. At this point, even though I didn't take a picture of it while I was doing it, you should even up the bangs to how you would like for them to normally sit. Where I ended up letting them sit after cutting off the excess, I didn't have much more to take off so it was really just an Evening job.
At this point as well, take the tail down from the clips and comb it out with a comb and then your fingers. The comb is nice but it just doesn't lay it naturally like your fingers do. Really, all you want the comb to do it make sure there are no knots that you missed. Since you're somewhat use to the technique of cutting off excess hair, just cut the back in the same way to about the right length that the Finished hair should sit. I did it about an inch off and really liked how it was longer in the beginning.
After I cut off the excess, the back for the Shigure wig wasn't really uneven where I cut it off so I really only had to trim it up. Holding the scissors sideways, I just cut away at the edges so I had really annoying bunches of fiber falling everywhere. Finger comb it and trim it again a few times and when you're finished to the point where new hair doesn't really fall way beyond the rest, you're good.
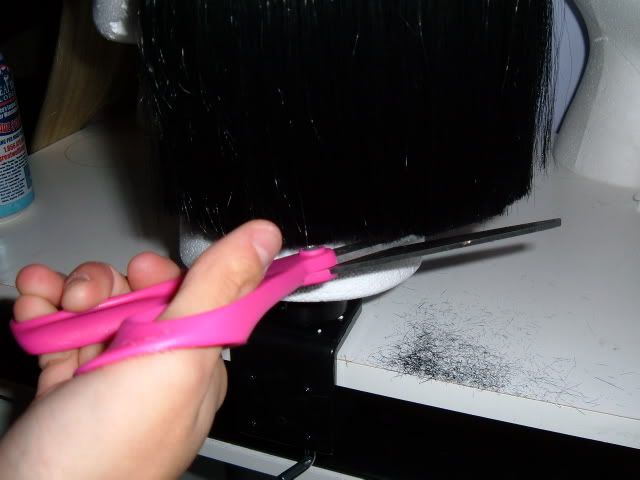
As you can see, I also curved the back decently but not a lot. You can see the curve near the ear and how I evened most of it up. Can we say mullet?!
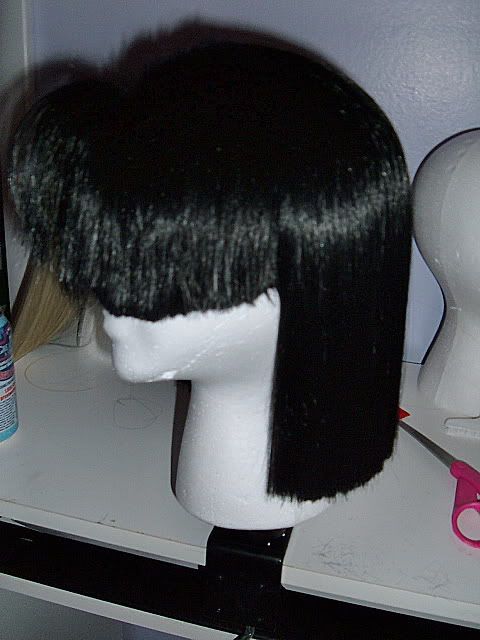
Step 4: Layers!
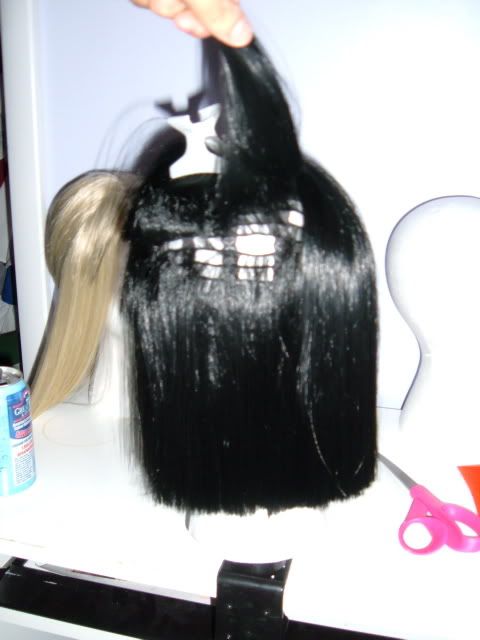
I seperated the middle layer and up away from the rest of the wig and put it into one giant clip. The one with the biggest white rectangle is the line I used to seperate it so anything below it was left to fall back into the tail and everything above it was in the clip. Try not to get any of the bangs in with this.
....Who else finds that blonde wig horribly distracting?
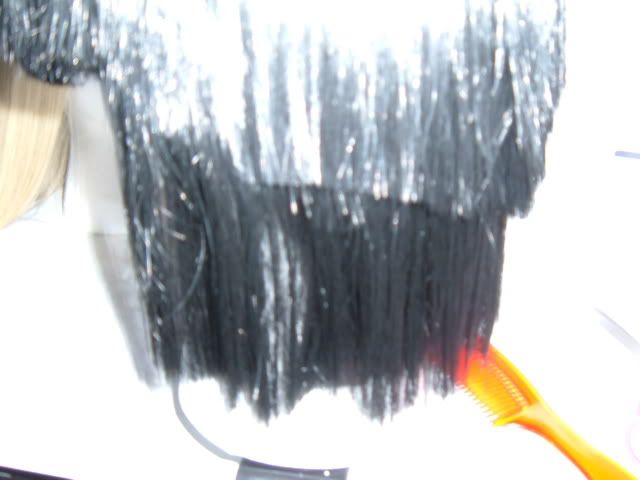
I kind of cut it in the diamond shape, not realizing that Shigure's was the same all around but I ended up fixing it when I realized that my idea for the layering just wasn't working out. Yes, what we're looking at is the fumble but I eventually did a testing shot and fixed it! Basically this is where the creation of the bowl came from!
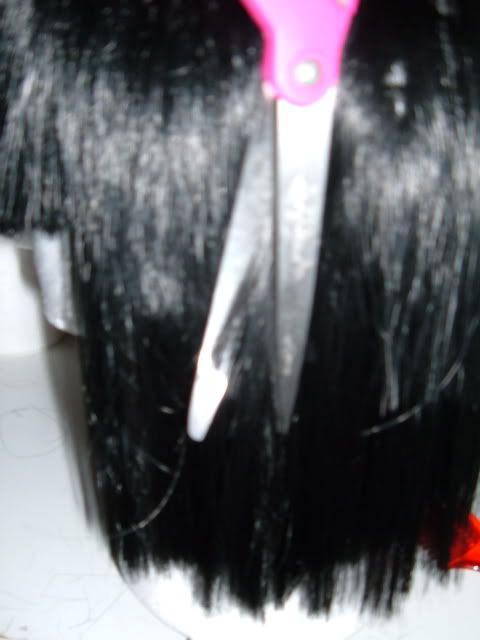
The quickest way to layer a wig in the way that Shigure needed since it curved around his head, I cut it with my scissors facing downward and really just did whatever. I cut some smaller sections, some bigger ones and I really had no pattern to what I was doing. I was just taking chunks of it and cutting away. If you mess up with the layering such as making one section much shorter than the rest, just take some from the tail that's still long and cut some of that. Not too much though.
When you're finished, it should look like this. Take note that this is the same place where I took the bowl shot.
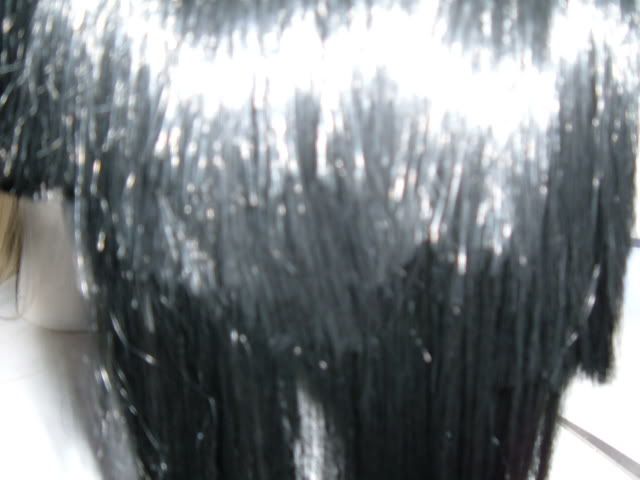
As you can see, there's also one section of it significantly shorter than the rest of it and that's cleared up now because of what I did above with cutting some piece of the tail to make up for it. >.> See, even I mess up. After you finish cutting a section or even all of it, check it by -NO! Not fingercombing! Haha! Got ya! No, do the funnest thing in the world, shake the wig. Shake it and see where it falls. The layering lays awesomely if you shake it.
Step 5: Finishing Touches
This includes everything than just what I took a picture of. It includes trimming ends, edges and stray hairs that just don't want to corporate. At the time that I had taken the picture below, I hadn't touched up the wig in any way but the final picture has it so ...yeah...<.<
Because Shigure's tail is close to his head and the tail right now is not, I just did something really ghetto....>.> Or at least it feels that way to me.
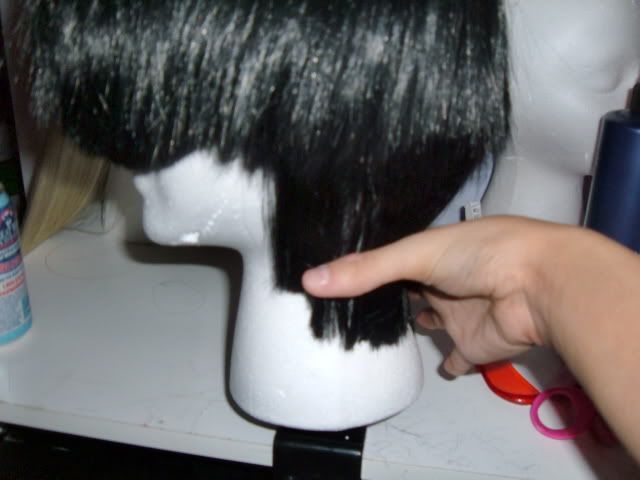
Putting a light coat of hairspray on the tail section, all I did was press it towards the neck to pretty much teach it the shape of the neck. >.> The tail won't be even since it was straight and now -all of a sudden- it's suppose to be curved. So just touch that up and everything. If the hair sticks to the neck of the foamhead, just pull it off.
This is the completed wig and minus the stray bang away from the rest of the crowd, it's pretty much done.

Seeing it from the original wig, I took off a lot, didn't I?
As for an update on my cold? I have a throat infection now and I cough up neon yellow gunk....It's gross but it tastes sweet...>.>