(no subject)
You know what? I haven't put any tutorials up in a long while so here's the ones that have been rotting in my camera or just recently done. We'll do the one that has been rotting most.
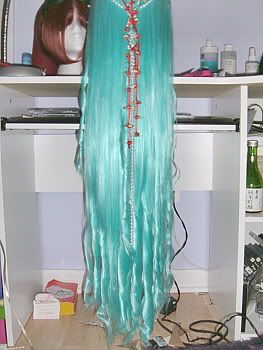
Since Amphigory has a pretty damn good tutorial on its site on how to curl wigs, I figured I would post one for ringlets.
The starting wig was the Jibrille wig and it was an Enchantment in Daydream. Extensions in Baby Blue were added to the wig to add volume for the back but that's about it.
**Notes: These images were lightened to their near breaking point to get this to show up right and some have been sharpened too**
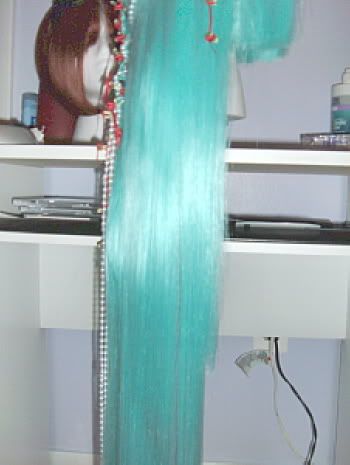
Step 1:) Determing the Size-
Depending on the size of the ringlets you want, you'll have to have different amounts of fiber ready. If you want a sort of small skimpy one then have about an inch wide of fiber and a centimeter tall fiber ready. Really, don't measure it, just feel it out. It ultimately, doesn't matter.
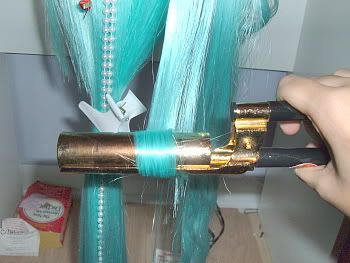
Step 2:) Curling- Loose ringlets
Using a Series Gold curling iron on roughly 4 1/2, I clamped down near the top of my piece and slid it downward until I reached the bottom. I then rolled it upwards, making sure the fiber was in a nice contained area, and left it there. Be sure to immediately start touching the fiber. The curling iron shouldn't be hot enough to ever burn you but you shouldn't be able to leave your finger there for like, 2 minutes. Anyway, when you feel that the fiber is very warm (not hot though), unravel the piece from the curler the way you normally would for your real hair.
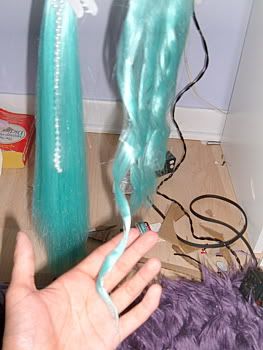
You'll get a loose ringlet like this if you used a small amount of fiber but if it was larger, it'll be pretty much the same. It's all in the way you wrapped it!
Step 2:) Curling- Tighter Ringlets
Haha, another Step 2!! For this, you'll need a lot more fiber in each attempt to curl.
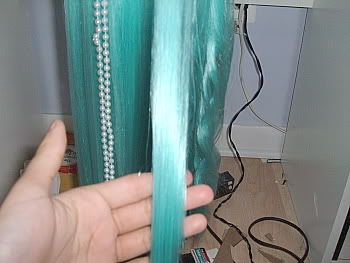
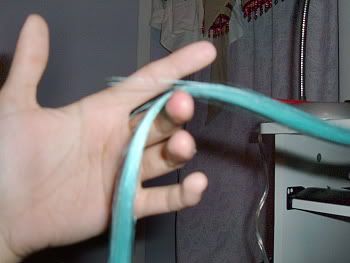
About that wide and that thinness for the very minimum of a larger ringlet. But like I said, the way it turns out is the way you curl it.
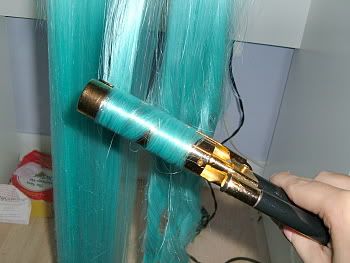
You'll do the same thing you did for the loose ringlets but this time when you curl upwards, make sure that it spans all across the hair curler! Just leave it like that until you feel that it's very warm and then unravel it in a downward spiral.
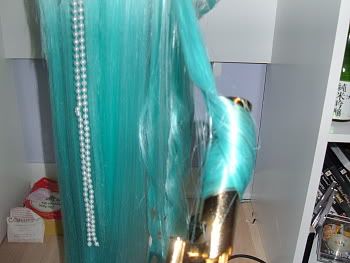
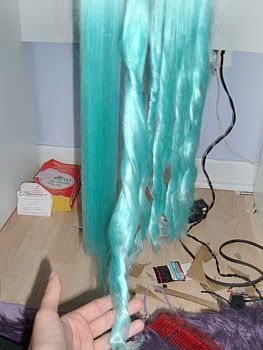
Step 3:) Done!
Depending on the length of the wig, you'll want to spray a small mist of hairspray over the curls as a whole. It'll keep it nicer for longer!
Okay, done with that, onto...
Now, Amphigory has one of these but none that has step by step pictures. Mine pretty much doesn't either but it's good enough.
The base wig for this was the Krad wig that was a Femme Fatale in Bubbly. It had been straightened before pictures were taken and everything was pretty much ready.
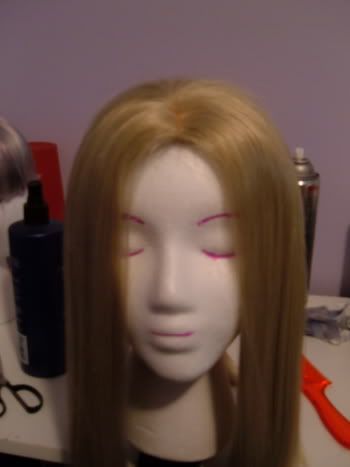
Step 1:) Comb It Forward
I didn't capture the picture of it but where you see the skin top the most in the photo above is where you should do it. Make sure that you seperate the part of the bangs out and clip the rest of it away. Just take a comb and like it says, comb it forward. When you have the bangs that you want, rest your hand against the nose of the foam head and hold the bangs into place.
Step 2:) Blowdry
While holding it in place, just get the blowdryer and blow where the part was made until the bangs are warm.
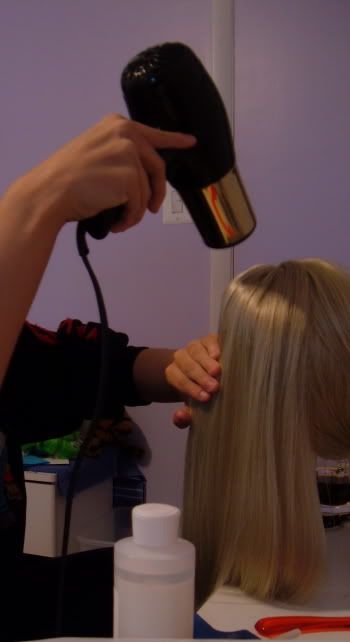
After the first try, the bangs will stay down on their own but you'll still want to hold them down when you go back in and do them flat.
Step 3:) Just cut and you're done.
I've given instruction on cutting bangs in the Shigure wig tutorial so this one won't go into it ...like at all.
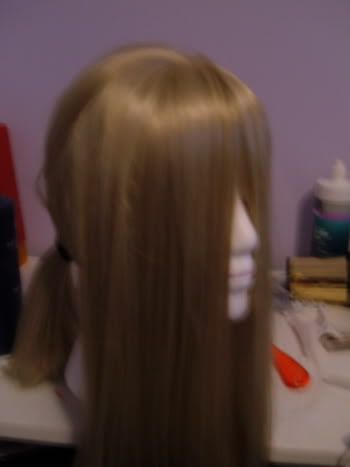
From here, you just pretty much cut to the length desired and do whatever you want.
I'm tired....let's move on.
Yep, how to spike. It's on the same wig as above. These spikes weren't created using hairspray because I was impatient and decided to use caulk...so yea, you'll need caulk.
Step 1:) Seperate-
You hear this a lot, I know, but seperate the part out that you want to be spiked and cut it to the desired length. My spikes weren't long or particuliar big but this works pretty much universally, it's just a matter of the work involved. Bigger, heavier spikes will take a bit more work but like I said, it's the same.
Step 2:) Spiking-
No picture on the last one but you didn't need me showing you that. Onward to the spiking part!
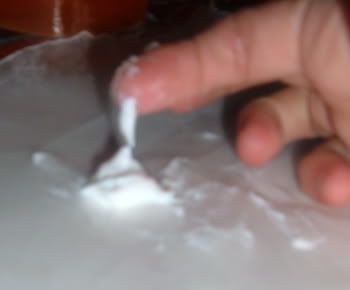
Taking about that much caulk that is hanging off my finger or just dabbing your finger until you have the hang of this, hold the spike in the position you want it to by pinching the ends together and pulling lightly. You'll then take the finger with caulk and lightly stroke the wig fiber with it until the roots and a few key areas have been covered with a thin coat of it. The great thing about this is that you don't need all of it covered, just some of it. To get the ends pointed, get some more caulk but put it instead on one of the fingers holding the tips together. Doing it that way is easier and all you have to do is pinch again and slide your fingers through until it's a nice, eye poking spike of doom.
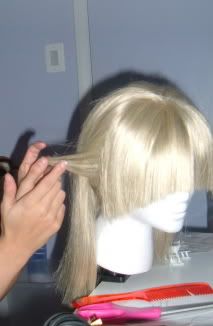
Step 3:) Done
If the spike still flops down, do it again until it stays up straight. If you did the roots and the key areas, it should be fine.
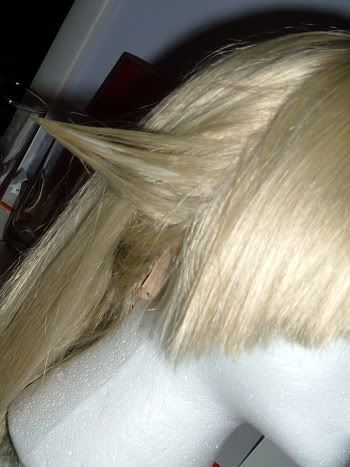
When you finish it, it should look in a few places but that's not really what you should go for everytime. You should make sure that you don't have a lot of white because the thinner the layer, the less you'll see it.
Done!