MANGA ICONS TUTORIAL II
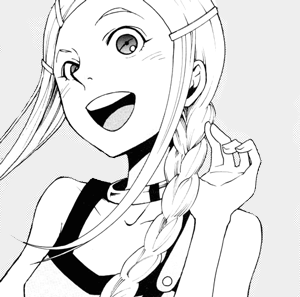
how to go from:

to

using photoshop 7.0 (translatable though)
♛
「 MANGA ICONS TUTORIAL II 」
so, as I said in my old manga tut, I don't color the image in the 100x100 size but in a bigger one instead since it's easier for me to work with a larger pic. However, you can color it in the icon size already since the process is the same.
shall we start then? my base pic is anemone ♡

with the brush tool in the lighten mode start coloring the lines and shadows.
(you can also use the "color" mode if you don't want such a strong line color, I usually use this for grey areas like the eyes or soft shadows the pic might have)

after this, you are free to color the rest of the pic as you like.
I'd recomend you to use the brushes in multiply mode and the paint bucket without it's total opacity (40% for example)
obviously that if you're looking for the cheerful icons effect you should use bright colors
if your using a larger pic like me, it's here that you crop and save it in 100x100px.
mine turned out like this :

don't forget that for the next steps you will have to adjust the values according to your pic.
ok? duplicate the layer and set the new one as "soft light"

use the sponge tool in saturate mode, opacity 100% to make the pic more shiny.
duplicate the new layer and set it's opacity at 66%

click in that esfere thing that looks like a yin/yang cousin and select selective color.
reds
cyan +4
magenta +9
yellow +38
black +13 yellows
cyan -9
magenta -21
yellow +39
black +16 magentas
cyan -46
magenta +8
yellow +95
black +52


go to image > adjustments > brightness / contrast
brightness : +8
contrast : +11

and we're done:

now, edit the background as you like by adding some textures or colors to make the icon more pretty and cheerful.
you can play with the steps you used before to get different results too


that's it. I hope I was able to explain myself correctly :x
If you have any questions feel free to ask, I'll try my best to help you [':