tutorial 004
-->
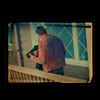
This tutorial is only for Photoshop users; contains selective colors.
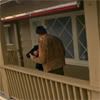
01. Crop an image, resize it to 100x100.

02. Duplicate Layer 1 (or Background layer) and set it to Screen (opacity: 50%)
Layer - New Adjustment Layer - Hue/Saturation.
Saturation: +20%
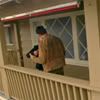
03. Layer - New Fill Layer - Solid Color - #FFFC00. Set this layer to soft light (opacity: 100%)
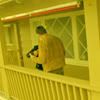
04. Layer - New Adjustment Layer - Selective Color.
Reds
Cyan: -100%
Yellow: +100%
Black: +100%
Yellow
Cyan: -30%
Yellow: -20%
Magentas
Cyan: -100%
Magenta: -100%
Yellow: -100%
Neutrals
Cyan: +100%
Magenta: -10%
Yellow: -80%
Black: +5%
Method: Relative
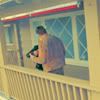
05. Layer - New Adjustment Layer - Selective Color.
Reds
Cyan: -15%
Magenta: +100%
Yellow: +100%
Black: +100%
Yellow
Cyan: +10%
Yellow: -75%
Neutrals
Black: +25%
Method: Relative
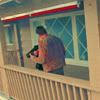
06. Paste a texture (made by lovelamp
07. Set it to Linear burn (opacity: 100%). Merge Layers. That's all! :)

I'll be glad to see your icons.