2 tutorials made in PS7
I got asked for a tutorial explaining how to make this kind of icons, so here we go.
I brought you two examples (:
FIRST ONE.
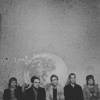
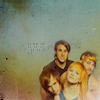
how to get this.
1- open your picture, select and copy the part you're interested in
2- copy it into a new file (100px X 100px). I chose as my background the color #F3F3F3.
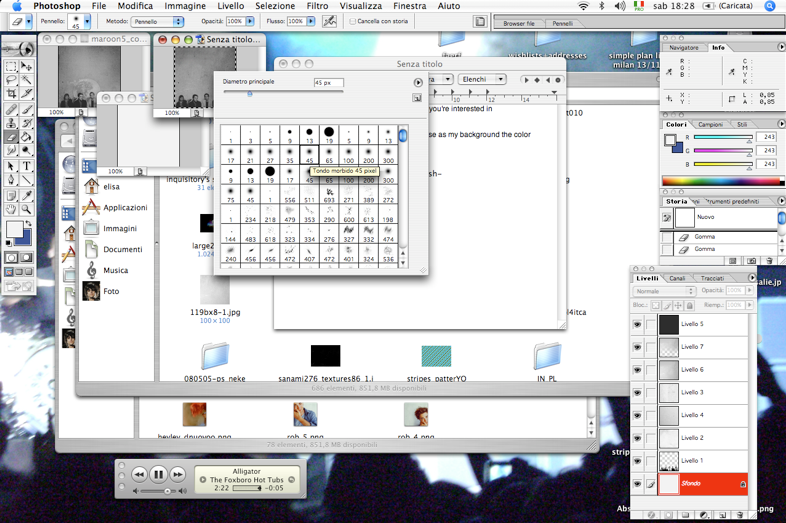
3-start erasing the picture. I used a small brush *screencap*
4- when you're done, start playing with textures. I used some black and white textures, I set them to multiply and erased some parts.
(es. this and this ones)
5- I filled a new layer with the color #2D2D2D and set it to exclusion.
6- added some new textures (the text thing and the moon).
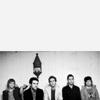
et voila!
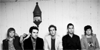
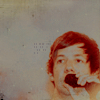
my result
it's very easy. once you have learnt how to erase parts and stuff, it's really up to your creativity of mixing textures : D
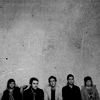
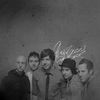
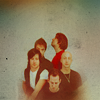
other examples
SECOND ONE.
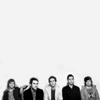
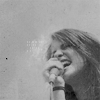
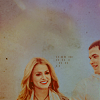
how to get this.
1- open your picture, select and copy the part you're interested in and paste it into a new file 100x100. pick your background and sharpen if needed.

2- start erasing the picture. I suggest using a small brush *screencap*
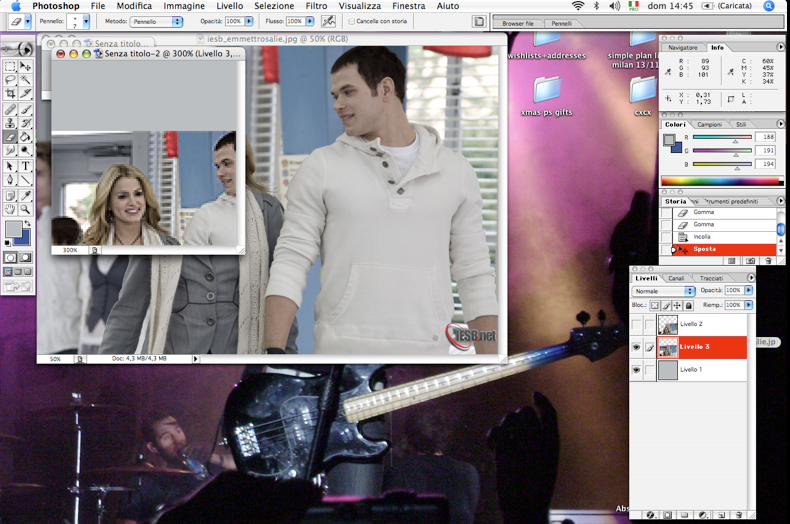

3- fill a new layer with #180B01 and set it to exclusion.
4- Color balance layer
midtones: +10, 0, -9
shadows: +11, 0, +17
highlights: +10; 0; -7
5. Selective color layer.
reds: -42, 0, +44, +26
yellows: -32, 0, +16, +30
whites: +22, -23, -51, +100
neutrals: 0, 0, 0, -20
blacks: 0, 0, 0, +17
6. Selective color layer.
reds: -32, 0, +52, +32
yellows: -15, -37, -58, +21
whites: 0, 0, 0, +35
neutrals: 0, 0, -15, 0
7. Hue/sat layer.
master: 0, 10, 0
yellows: 0, -49, 0
magenta: 0, -34, 0

8. add and play with textures! : D
I added this one and set it to screen %40 and erased some parts.
then this one and set it to multiply %38
9. Selective color layer.
reds: -8, 0, 0, +10
10. I added this texture, erased some parts and set it to normal %46
add another texture set to color burn
11. Brightness/contrast
brightness: +2
contrast: + 4
12. fill a new layer with #180B01 and set it to exclusion. fill another layer with the same color and set it to exclusion %32
13. Hue/sat layer.
master: 0, 15, 0
and you're done! PSD DOWNLOAD HERE.
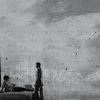
some other results
it wasn't difficult, right? : D
I'd love to see ur results ^_____^
you like what you see? you can friend me ^______^