Kevin Garnett Banner Tutorial
We will be making this:
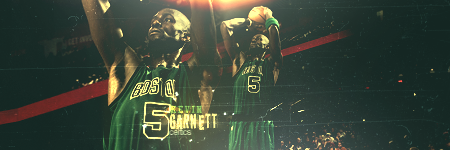
It's actually pretty easy and not too many steps. I use PSCS4.
1. First, open a 450x150 document. Now, we're going to blend two images together.Open the image you want to use. Paste it in to your new document and move it over so you have enough space for a smaller image. Make a duplicate of the large image (Ctrl+J) and go to Edit>Transform>Scale and resize it so it's smaller. Move it over to the other side of the bigger image. Then, since the corner are showing, erase around the corners until it's blended. You should have a nicely blended image.
2. Now it's time for image effects. This should make the image a lot more interesting, and a lot darker, but we will fix that later. ;) So first, merge the blended images together by going to Layer>Merge Down. That way, we can duplicate the blended image so it's one layer.
Make 2 copies by pressing Ctrl+J TWICE. You should have 3 image layers. Leave the first non-duplicate on Normal, 100%. This is our base layer. ;). On the second one, desaturate it by pressing Ctrl+Shift+U. This should make the image black and white. Set it on Multiply, 100%. This is going to make it really dark, too dark in fact. So set the last one on Color Dodge, 100%. This will add some nice lighting as well as brighten it a little.
3. Now we're going to color it a little bit with some Color Fill layers. This way, it's translatable to every program. So make a new Color Fill layer by going to Layer>Adjustments>Solid Color. In Photoshop, there's also a shortcut for all adjustment layers. In the Layers Palette, there should be a little black and white "moon." Click on that once and a menu should appear with adjustment layer options.
Okay. So the first Color Fill layer is going to be gray LIGHTEN layer. This should adds a nice touch. So fill it with: #141414 and of course, set to LIGHTEN, 100%. This should add some gray to certain, empty parts of your image.
Next, we're going to add a nice, golden tint. This should add some shadows in gold and just add some gold to the image in general. We can do this by filling our with: #ffdf6c. Set this to Multiply, 100%. Nice, eh?
Now, we're going to keep the Golden tint but make our image a little washed out (on purpose). It's an effect that if you don't like you can skip. Fill your canvas with: #00ccff. Set this to Linear Dodge, 100%.
4. Now add your text.
5. Get out your 200px soft brush in WHITE. We're now going to add a little lighting. Make sure the OPACITY of your brush is at 50%. Make two dots in white at the top AND bottom of your banner. Leave this on Normal.
6. Now let's add some colored lighting, as well. We're going to that with a texture. ;)I'm texture obsessed. So take this texture:
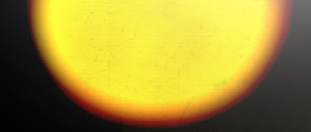
Set this on Linear Dodge and move it towards the top of the banner. Make sure you place it so only a little bit of color showing, but enough so you can still see the color.
7. Take this texture and put it over your text to make the text stand out more:
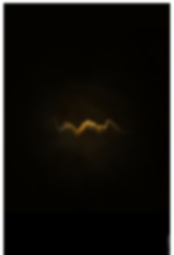
Set it on Color Dodge and then duplicate it so it's even stronger.
8. Now let's add nice grungy texture with a scratch texture. I used this one:
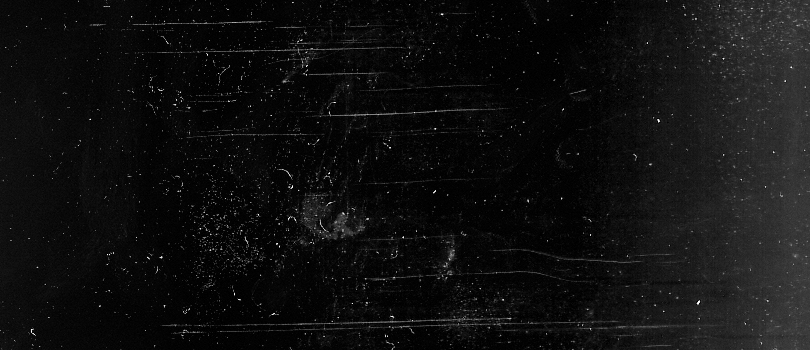
Set this Color Dodge, 45% FILL. Then duplicate it so it's stronger. Erase around the head and body of your subject. You never want to cover that, especially the face.
9. Take this texture to add some spice to the area around the text:
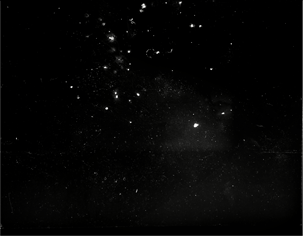
Set it to Color Dodge, 100%.
10. Now I wanted the background to be soft but sharpen a little of the body. Make a new layer and go to Image>Apply Image. This should make a copy of everything so far. Then I went to Filter>Sharpen>Sharpen. Then, I left it on Normal but lowered the FILL to 25%. I also erased everywhere but the body.
And you're done! Not too hard, right? Comments are great and any questions, please don't hesistate to ask!

It's actually pretty easy and not too many steps. I use PSCS4.
1. First, open a 450x150 document. Now, we're going to blend two images together.Open the image you want to use. Paste it in to your new document and move it over so you have enough space for a smaller image. Make a duplicate of the large image (Ctrl+J) and go to Edit>Transform>Scale and resize it so it's smaller. Move it over to the other side of the bigger image. Then, since the corner are showing, erase around the corners until it's blended. You should have a nicely blended image.
2. Now it's time for image effects. This should make the image a lot more interesting, and a lot darker, but we will fix that later. ;) So first, merge the blended images together by going to Layer>Merge Down. That way, we can duplicate the blended image so it's one layer.
Make 2 copies by pressing Ctrl+J TWICE. You should have 3 image layers. Leave the first non-duplicate on Normal, 100%. This is our base layer. ;). On the second one, desaturate it by pressing Ctrl+Shift+U. This should make the image black and white. Set it on Multiply, 100%. This is going to make it really dark, too dark in fact. So set the last one on Color Dodge, 100%. This will add some nice lighting as well as brighten it a little.
3. Now we're going to color it a little bit with some Color Fill layers. This way, it's translatable to every program. So make a new Color Fill layer by going to Layer>Adjustments>Solid Color. In Photoshop, there's also a shortcut for all adjustment layers. In the Layers Palette, there should be a little black and white "moon." Click on that once and a menu should appear with adjustment layer options.
Okay. So the first Color Fill layer is going to be gray LIGHTEN layer. This should adds a nice touch. So fill it with: #141414 and of course, set to LIGHTEN, 100%. This should add some gray to certain, empty parts of your image.
Next, we're going to add a nice, golden tint. This should add some shadows in gold and just add some gold to the image in general. We can do this by filling our with: #ffdf6c. Set this to Multiply, 100%. Nice, eh?
Now, we're going to keep the Golden tint but make our image a little washed out (on purpose). It's an effect that if you don't like you can skip. Fill your canvas with: #00ccff. Set this to Linear Dodge, 100%.
4. Now add your text.
5. Get out your 200px soft brush in WHITE. We're now going to add a little lighting. Make sure the OPACITY of your brush is at 50%. Make two dots in white at the top AND bottom of your banner. Leave this on Normal.
6. Now let's add some colored lighting, as well. We're going to that with a texture. ;)I'm texture obsessed. So take this texture:

Set this on Linear Dodge and move it towards the top of the banner. Make sure you place it so only a little bit of color showing, but enough so you can still see the color.
7. Take this texture and put it over your text to make the text stand out more:

Set it on Color Dodge and then duplicate it so it's even stronger.
8. Now let's add nice grungy texture with a scratch texture. I used this one:

Set this Color Dodge, 45% FILL. Then duplicate it so it's stronger. Erase around the head and body of your subject. You never want to cover that, especially the face.
9. Take this texture to add some spice to the area around the text:

Set it to Color Dodge, 100%.
10. Now I wanted the background to be soft but sharpen a little of the body. Make a new layer and go to Image>Apply Image. This should make a copy of everything so far. Then I went to Filter>Sharpen>Sharpen. Then, I left it on Normal but lowered the FILL to 25%. I also erased everywhere but the body.
And you're done! Not too hard, right? Comments are great and any questions, please don't hesistate to ask!