Luvyuyu tutorial #9
It has been a year! but I'm not dead. ^_^ Here is a new tutorial I gave to my students yesterday.
We are going from this

to this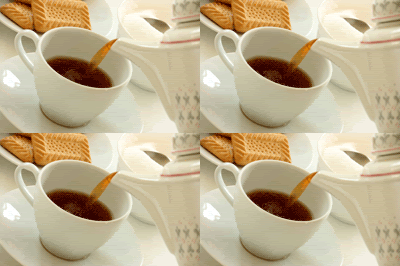
♥ I promised to write this tutorial for melinen ♥
♥ I used Adobe photoshop CS3 but I'm sure it will work with other programs and versions as well.
♥ Sorry English is not my first language, so I think there is some grammars mistakes or even spellings mistakes ^^;;
♥ Lets start~
-First of all, lets start with this picture.
- Use the Magic Wand tool and select the area which has the tea.

After that copy it and make new layer then paste the selection area. Duplicate that layer 3 times
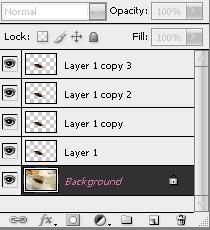
.
- Choose the First layer of the selection area we made. And then go to Filter> Distort > Ocean Ripple. Then do the same as this pic.
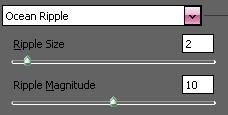
You should do that to each layer we duplicated before or just click Ctrl+F on each of them (Don't do anything to the orginal pic)
- Now go to the image ready. If you use Photoshop CS3 just go to Window>Animation
- Leave the eye beside layer 1 and remove the other eyes from beside the other layers. Do the same thing to the other layers.
Example:

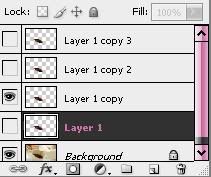
in the Animation bar click under the frame and change to time mood to 0.2 sec.

- View it, and if you liked it go to (File> save optimized as) or (File > Save for Web & Devices)It should be .Gif
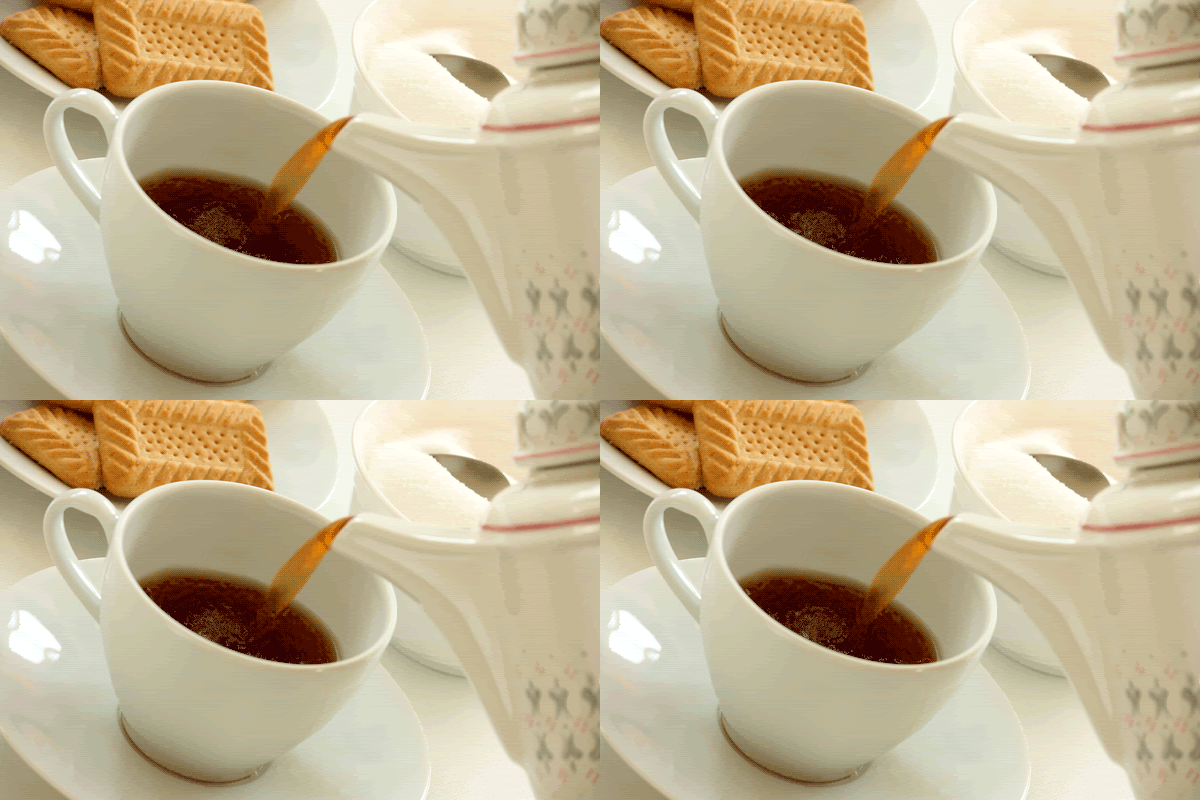
Then I resized it to 200x133 pixel

Some other examples, you can see I added another effects as the smoke .
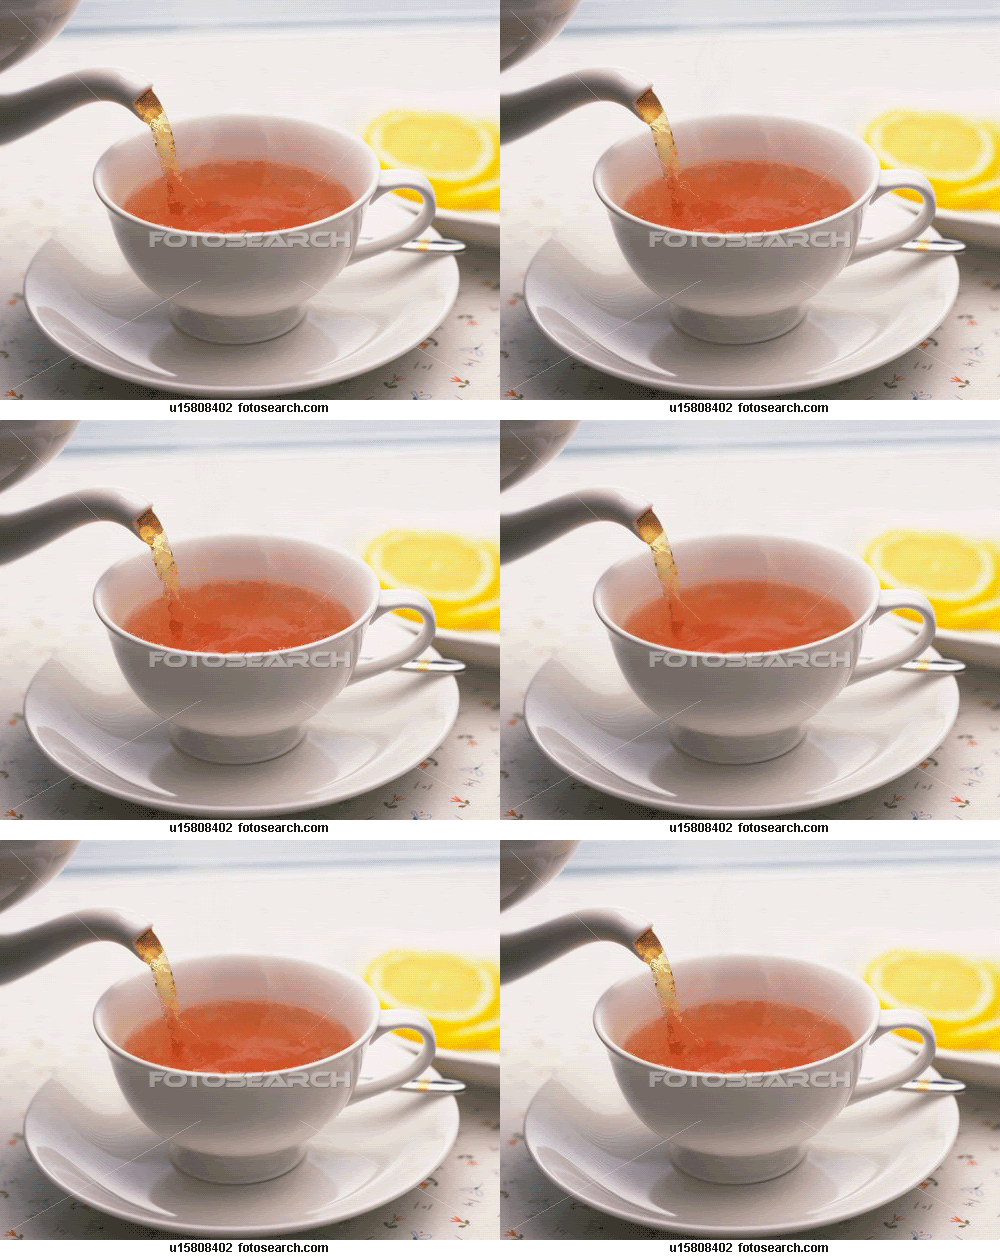
This is after resizing it, so you could see how the animation will be
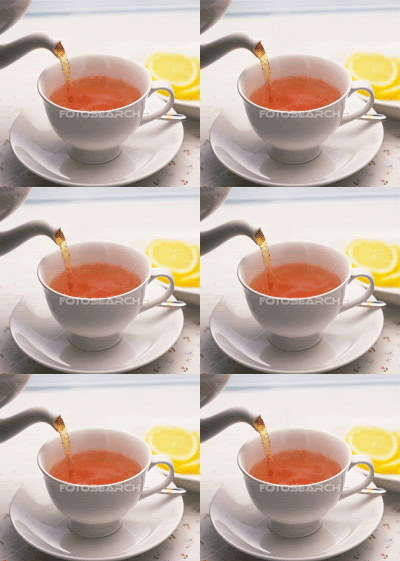
And this as an icon 100x100
♥ Hopefully it was not so hard for you,
♥ For more Icons, graphics and tutorials watch my graphic community @ luvyuyu_graphic
♥ You can find my other tutorials here
♥ Tell me what do you think of this tutorial please ^_^
We are going from this

to this

♥ I promised to write this tutorial for melinen ♥
♥ I used Adobe photoshop CS3 but I'm sure it will work with other programs and versions as well.
♥ Sorry English is not my first language, so I think there is some grammars mistakes or even spellings mistakes ^^;;
♥ Lets start~
-First of all, lets start with this picture.
- Use the Magic Wand tool and select the area which has the tea.

After that copy it and make new layer then paste the selection area. Duplicate that layer 3 times

.
- Choose the First layer of the selection area we made. And then go to Filter> Distort > Ocean Ripple. Then do the same as this pic.

You should do that to each layer we duplicated before or just click Ctrl+F on each of them (Don't do anything to the orginal pic)
- Now go to the image ready. If you use Photoshop CS3 just go to Window>Animation
- Leave the eye beside layer 1 and remove the other eyes from beside the other layers. Do the same thing to the other layers.
Example:


in the Animation bar click under the frame and change to time mood to 0.2 sec.

- View it, and if you liked it go to (File> save optimized as) or (File > Save for Web & Devices)It should be .Gif

Then I resized it to 200x133 pixel

Some other examples, you can see I added another effects as the smoke .

This is after resizing it, so you could see how the animation will be

And this as an icon 100x100

♥ Hopefully it was not so hard for you,
♥ For more Icons, graphics and tutorials watch my graphic community @ luvyuyu_graphic
♥ You can find my other tutorials here
♥ Tell me what do you think of this tutorial please ^_^