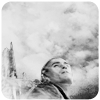
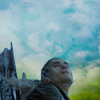
Icontutorial #39: Legolas for PS
From this to 
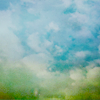
I used this texture by _iconographer as the background:
Resize your pic to a height of around 60px. Even though it's going to be black & white in the end anyway go to Image - Adjustments - Auto Contrast and Auto Color.

-->
Paste it onto your background and remove everything that isn't Legolas and his arrows - the polygonal lasso tool works quite good for that.
-->
Duplicate the pic and set it to screen. Merge the screen layer down.
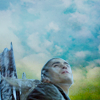
Take a fuzzy brush, in white, and use it carefully at the bottom part.
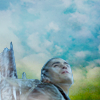
Select - All and go to Edit - Copy Merged. Paste it on top and set it to screen.
Create a new layer on top, fill it with a dark grey (#212121) and set it to exclusion.
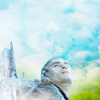
-->
-->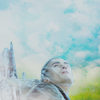
Duplicate your Screen layer, bring it to the top and set it to soft light. Duplicate the soft light layer (so you'll have two of those).
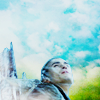
Create a new Adjustment Layer, Black & White (or Desaturate) on top (Layer - New Adjustment Layer). Now you can also desaturate the Soft Light layers for a slightly varied result.
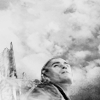
or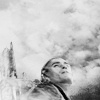
On to the rounded edges. ;) I use paths for that, so I believe this won't work with early versions of Photoshop, but I'm not sure.
Copy merge the whole icon onto a new canvas.
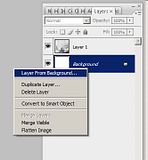
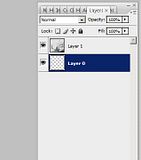
Right click on the 'background layer' and click 'layer from background'.
Click OK and it should be named 'Layer 0' now.
With 'Layer 0' selected go to Select - All and hit the delete button, so you'll have a transparent background.
-->
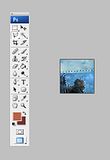
Select the Rounded Rectangle Tool and go to your Paths palette (usually right next to the layer palette, and if not click Window - Paths). Click the symbol (a tiny sheet of white paper) for create new path, and make sure that your settings look like it's shown in the pic below:
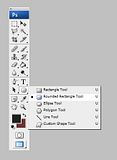
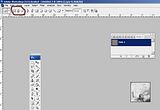
Make sure that your new path is selected and with the Rounded Rectangle Tool select the area you want. On your path palette click the little dotted circle, that will turn it into a regular selection.
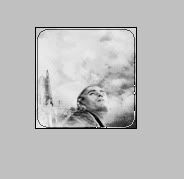
-->
Go back to your Layer Palette, make sure that the iconlayer (not the transparent background) is clicked, go to Select - Inverse. Hit the delete button.
Now go to File - Save as and pick 'png' (PNG Options: Interlace None). Et Voilà!


I used this texture by _iconographer as the background:
Resize your pic to a height of around 60px. Even though it's going to be black & white in the end anyway go to Image - Adjustments - Auto Contrast and Auto Color.

-->

Paste it onto your background and remove everything that isn't Legolas and his arrows - the polygonal lasso tool works quite good for that.

-->

Duplicate the pic and set it to screen. Merge the screen layer down.

Take a fuzzy brush, in white, and use it carefully at the bottom part.

Select - All and go to Edit - Copy Merged. Paste it on top and set it to screen.
Create a new layer on top, fill it with a dark grey (#212121) and set it to exclusion.

-->

-->

Duplicate your Screen layer, bring it to the top and set it to soft light. Duplicate the soft light layer (so you'll have two of those).

Create a new Adjustment Layer, Black & White (or Desaturate) on top (Layer - New Adjustment Layer). Now you can also desaturate the Soft Light layers for a slightly varied result.

or

On to the rounded edges. ;) I use paths for that, so I believe this won't work with early versions of Photoshop, but I'm not sure.
Copy merge the whole icon onto a new canvas.
Right click on the 'background layer' and click 'layer from background'.
Click OK and it should be named 'Layer 0' now.
With 'Layer 0' selected go to Select - All and hit the delete button, so you'll have a transparent background.

-->

Select the Rounded Rectangle Tool and go to your Paths palette (usually right next to the layer palette, and if not click Window - Paths). Click the symbol (a tiny sheet of white paper) for create new path, and make sure that your settings look like it's shown in the pic below:


Make sure that your new path is selected and with the Rounded Rectangle Tool select the area you want. On your path palette click the little dotted circle, that will turn it into a regular selection.

-->

Go back to your Layer Palette, make sure that the iconlayer (not the transparent background) is clicked, go to Select - Inverse. Hit the delete button.
Now go to File - Save as and pick 'png' (PNG Options: Interlace None). Et Voilà!
