The Notebook Mini-Movie Tutorial
A tutorial on how to make this icon:
This tutorial is for PSP7 AS3, but may be transferable to different programs.
WARNING: Image heavy!!!
1. We are going to start with the base.
I started with this picture from www.thenotebookmovie.com.
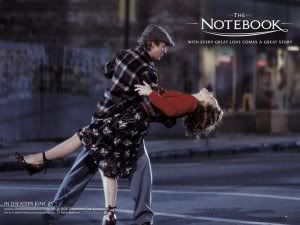
Crop it so it looks something like this.
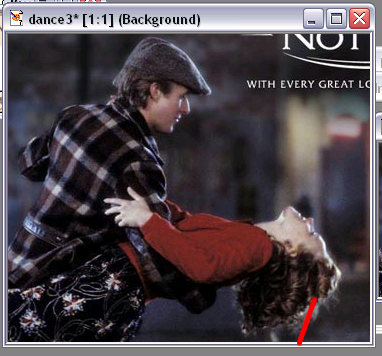
2. There are some letters in the corner of the pictures, so we are going to select that area. I used the lasso tool.
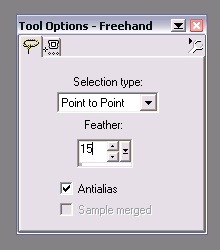
It is visible where you blurred, but once you resize the picture, you will not be able to see it.
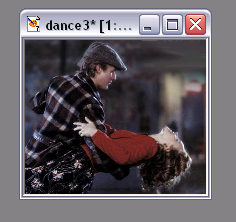
3. Resize the picture to about 50x43 pixels.

4. Now we are going to be making the main base of the icon. Make a new image, 100x100 pixels. Use the Fill Flood tool, and fill it with a fleshy color. (#F6E4CA)

5. Next, I added brushes from the 1greeneye brush set, Bleed For Me. These can be found here:
http://www.1greeneye.net/brushes/grunge.php
I also used a heart brush. Although I don't remember where I found it, you can find similar brushes at www.livejournal.com/community/100x100_brushes.
Set the opacity for both brushes at 70%.

6. Now go back to the photo you resized in step #3. Go to Effects, 3-D Effects, Buttonize. Add a size 4 border. Also bottonize that.
7. Copy the photo, and paste it onto the base. I rotated my photo 15 degrees to the right. Make sure that you will have room for a second photo.
8. Go back to your photo that you copied onto the base. By either using the Selection/Fill Flood tool, or the paintbrush tool, fill in the part where the photo is.
9. Copy and paste that image into your base. It will look something like this now:
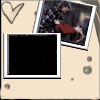
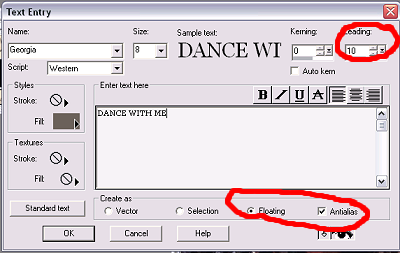
10. Now, we will add text. I used Georgia font, size 8. Although we used black for the brushes, they were not black since the opacity was at 70%. So, I used the eyedropper tool to find the color of the brushes. (#6C6459) Notice the following details.
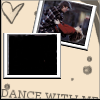
11. Do not deselect the text. Go to Edit, Cut. The text will disappear. Now go to Edit, Paste as New Layer. This enables you to rotate the text. Make sure the text is selected in the Layer Palette.

I rotated my text 5 degrees to the right. So far, we have this.
12. Now, we will go to Jasc Animation Shop. You have to have your screencaps for the animation. 10-20 frames is good for a LJ icon. My animation has 17 frames. Crop your animation the way you want it, and then resize it to about 50x43 pixels, so it will fit inside of the black space.

The frame properties for my animation were:
:10 for 1-16
:50 for 17
13. Open the base into AS3, select the frame, and go to Edit, Duplicate selected. Repeat this step until you have the same amount of frames that you have in your animation.
14. Select all of the frames in the base animation and the main animation.

Copy the main animation, and then go to your base animation. Paste into selected frame. Only the first animation frame will show up, but once you put it in the place that you want, the animation will appear in all of the frames.
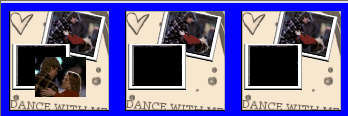
Ta-da!!


