Make an Image Look Like a Colored Pencil Sketch
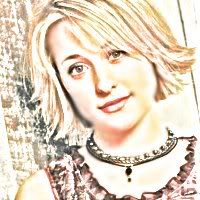
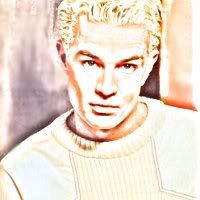
This tutorial will help you make something like this

This is basically a modified version of my first tutorial, How To Make an Image Look Like a Sketch. That one made an image look like a B&W sketch, but this one will add a little color to the picture. Again, I'm using PSP7.
Step One. Choose an image. For this tutorial, I'm using a promotional picture of Charisma Carpenter, from her appearance on Charmed.

Step Two. Right click on the picture, and select Copy. Then right click again, and select Paste as New Image. This will create a copy of the image, and that's where we'll have all of the fun.
Step Three: Create a duplicate layer of the second image. On your screen, there's a box called the Layer Pallete. Right click on the Background layer button, and a little menu will come up. Select "Duplicate" from that menu, and you'll get another layer called "Copy of Background." That's the layer you make all the changes to, so make sure it's active. (The button is dark blue with white writing.)
Step Four: Select Colors > Negative Image. This will make the image look like a film negative.
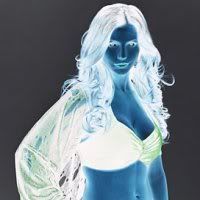
Step Five: On the Layer Pallete, you'll see a box next to each layer that reads "Normal", with a little arrow next to it. This is the Layer Blend Mode. For the Copy of Background layer, click on the arrow, and a menu will come up. Change the Layer Blend Mode from Normal to Dodge. This will make the image all but disappear. I outlined the image here so you can at least see where it is.
Step Six: Select Effect > Blur > Blur. This will make the image reappear, and it will look like a colored-pencil sketch.
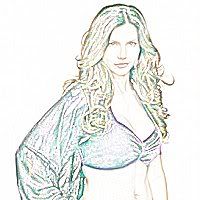
Sometimes, using Blur once will be enough. But, if the "sketch" looks too faint, or isn't as defined as you'd like, keep blurring it (you can use the Ctrl+Y repeat command) until you get the effect you want. My image was a little too light at first, so I blurred it 4 more times. See the difference?
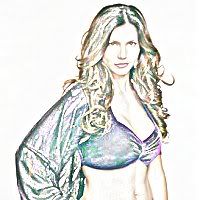
Step Seven: Merge the two layers by selecting Layers > Merge > Merge All (Flatten). As you can see, the image looks like a colored pencil sketch right now. And it's not bad. But there's a way to make the colors look a little more realistic.
Step Eight: Select Color > Grey Scale. This will take the color out of the image and make it look like a black and white sketch.
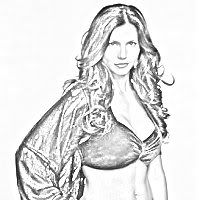
Step Nine: Right click on the "sketch" and select Copy. Then, right click on the original image, and select Paste as New Layer. Close the sketch/copy. (After saving it, of course. There's no reason you should lose a perfectly good B&W sketch. Although you might want to use my first tutorial to refine it.)
Step Ten: On the Layer Pallete, you'll see a layer called Layer1. Change the Layer Blend Mode of this layer from Normal to Luminescence. This will put some color back into the sketch.
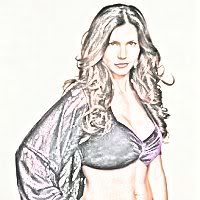
If you don't think there's enough definition, select Colors > Adjust > Gamma Correction. The lower the setting, the darker and thicker the lines will be. For my image, I used 0.78.

When you're finished, select Layers > Merge > Merge All (Flatten).
Step Eleven: If you want to strengthen the colors a little, select Effects > Enhance Photo > Automatic Saturation Enhancement. Play around with the settings until you get the effect you want. I used Bias: More Colorful, Strength: Strong here.
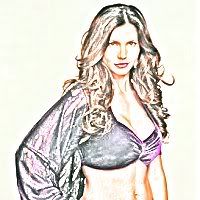
Looking at them together, you can see the difference between the image in Step 6 (when it first looked like a colored sketch) and Step 10. (I preferred the more muted results in step 10 to the stronger colors in step 11. But that's just me.) I think it was worth going through the extra steps. Don't you?


Here are some more examples using this technique.
