(no subject)
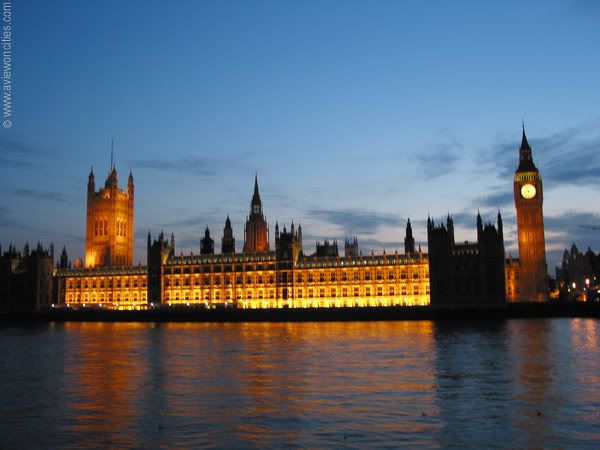
Going from ->

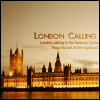
to ->

in 9 simple steps, using PSP8
- Crop the image down to a section that you want. I firstly cropped it to a 344*344 square, then resized it down to 98*98
- Duplicate the base twice (copy one of these and set it as a new image. We’ll need it later on.)
- Change the original base to grey scale.
- Set the first copy to Soft Light 100% and the Second copy to Screen 60%
- Then create two new raster layers.
- Flood fill the first with a light pink/salmon (#F4CBAA) and the second with a brown (#A56705). Set them both to Soft Light 100%
- I then took the image from the beginning, the spare one, and set it to Aged Newspaper. I don’t know what that is in PS, but in PSP8 it is under Effects -> Artistic Effects ->Aged Newspaper->25 Years. I set this layer to Soft Light 100%
- I don’t like the colour of my image at the moment, so I duplicated the brown raster layer and brought it to the top. I then set his layer to Colour(legacy) 25%
- That’s the image done, but I wanted to put on some text, cause I had a name of a song stuck in my head, and needed to get it out. So I created a Vector layer and added “London Calling in size 5, Be My Valentine font. I then set this layer to Overlay and duplicated it. The duplicated layer I set at 40%.
Is that alright? It’s my first ever tutorial, so if I sucked, I do apologise...tehe btw, Icon up for grabs, no credit needed, cause I hate giving it myself.
-Trish