Cedric Diggory (Robert Pattison) rough color tutorial in PS7
Yay, third tutorial. Second tutorial in two days...is that good? :\ Anyway, just had to make one for the new Cedric Diggory pic Warner Bros. released today. It's fabulous.
Go from this
to this
in PS7
1. Starting with this base
I made of Cedric Diggory - the new high res photo, found here, duplicate the layer, and set the new layer to soft light, 100% opacity.

2. Using this gradient texture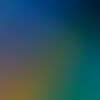
by me, paste into a new layer, set it to soft light, 70%.

3. Duplicate the base again, and drag to the the top of the layers. Set to Soft Light, 50%.

4. Using this texture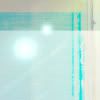
by gender, paste it into a new layer, set it to screen, 100%, and flip it horizontally, and then vertically by going to edit >> transform >> flip horizontal, then flip vertical (or however which way so it doesn't interfere with the focus of the icon). It should look something like this:

5. Duplicate the base, drag it to the top of the layers, and set it to color burn, 100%.

6. Duplicate the base again, drag it to the top of the layers, and set it to multiply, 45%.

7. Using this gradient texture
by me, paste it into a new layer, and set it to overlay, 100%.

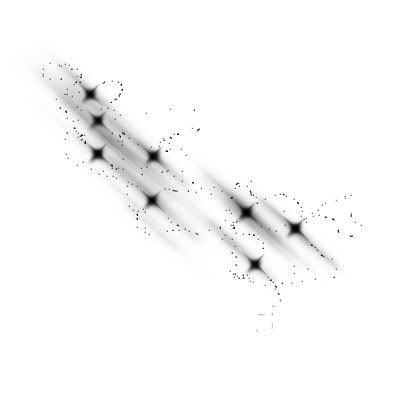
8. Create a new layer. Using a brush by Hybrid Genesis [hybrid-genesis.net], (if you can't find it, pic below, copy it, and go to edit >> define brush) in white, I placed it in the corner in a way so it wouldn't interfere with the icon's focus - Cedric. Set the layer to color dodge, 100%.

9. Now for the text. Using One Fell Swoop, 24pt white, I wrote 'cedric' on one of the texture's lower lines. Since you couldn't see it too well, I went to layer style (double click the type layer) and set it to drop shadow - regular settings.

10. Then, with Times New Roman, 16pt white, I wrote 'D I G G O R Y' underneath 'cedric'. Since it also is kinda hard to see, I went to layer style again and set drop shadow, regular settings.

11. Since the 'D I G G O R Y' type layer is still hard to see, I used the rough round bristle brush (presets) and painted where it wasn't dark. If you can't get the same effect, use this
set to multiply. Make sure the layer is under both the type layers.

And now you're finished! You can add a border, if you want - I just left it as it was.
Go from this

to this

in PS7
1. Starting with this base

I made of Cedric Diggory - the new high res photo, found here, duplicate the layer, and set the new layer to soft light, 100% opacity.

2. Using this gradient texture

by me, paste into a new layer, set it to soft light, 70%.

3. Duplicate the base again, and drag to the the top of the layers. Set to Soft Light, 50%.

4. Using this texture

by gender, paste it into a new layer, set it to screen, 100%, and flip it horizontally, and then vertically by going to edit >> transform >> flip horizontal, then flip vertical (or however which way so it doesn't interfere with the focus of the icon). It should look something like this:

5. Duplicate the base, drag it to the top of the layers, and set it to color burn, 100%.

6. Duplicate the base again, drag it to the top of the layers, and set it to multiply, 45%.

7. Using this gradient texture

by me, paste it into a new layer, and set it to overlay, 100%.

8. Create a new layer. Using a brush by Hybrid Genesis [hybrid-genesis.net], (if you can't find it, pic below, copy it, and go to edit >> define brush) in white, I placed it in the corner in a way so it wouldn't interfere with the icon's focus - Cedric. Set the layer to color dodge, 100%.


9. Now for the text. Using One Fell Swoop, 24pt white, I wrote 'cedric' on one of the texture's lower lines. Since you couldn't see it too well, I went to layer style (double click the type layer) and set it to drop shadow - regular settings.

10. Then, with Times New Roman, 16pt white, I wrote 'D I G G O R Y' underneath 'cedric'. Since it also is kinda hard to see, I went to layer style again and set drop shadow, regular settings.

11. Since the 'D I G G O R Y' type layer is still hard to see, I used the rough round bristle brush (presets) and painted where it wasn't dark. If you can't get the same effect, use this

set to multiply. Make sure the layer is under both the type layers.

And now you're finished! You can add a border, if you want - I just left it as it was.