(no subject)
How to go from This to this 
Using Corel PSP X
Medium Difficulty
Step 1
Crop and Resize your image, and sharpen once
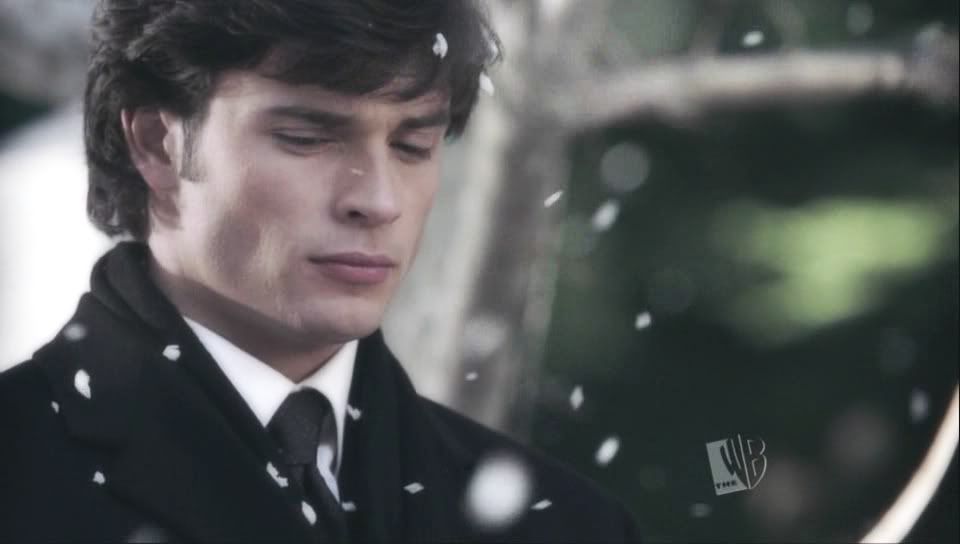
->
Step 2
Duplicate Base set to Multiply

->
Step 3
Duplicate the base, Desaturate and set to Screen, Keeping it under the Multiply layer

->
Step 4
Merge all layers, take the softening tool, and soften his cheeks

->
Step 5
New Raster Layer, Set to Burn 60% and fill with #dcf3f4

->
Step 6
New Raster Layer, Exclusion 50% and fill with #021034

->
Step 7
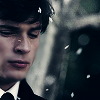
Click on your base, Duplicate, Set to Soft Light 55%, and bring drag it to the top

->
Step 8
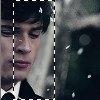
Merge all the Layers, Then take the selection tool, and drag it over his face

->
Step 9
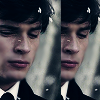
Copy the layer you just selected onto the base again and move it to the side

->
Step 10
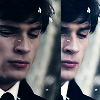
Duplicate the selection layer and set it to screen then merge it back down with the normal layer

->
Step 11
Crop the icon, so that the selection lines will go away
Step 12
Erase the edges of the layer on the side so it looks blended, and Change the Opacity to 72

->
Step 13
New Hard Light Layer, 100% opacity
Step 14
Using these settings for the brush, put a simply dot wherever you would like

->
Step 15
Click on the button for your font and click where (ON THE CIRCLE) you would like the text to be
I used Zado Semi-Condensed for mine, Color= #0c2162

->
And you have your final product.
Ask if you have any questions
And I'd love to see what you come up with =D

Using Corel PSP X
Medium Difficulty
Step 1
Crop and Resize your image, and sharpen once

->

Step 2
Duplicate Base set to Multiply

->

Step 3
Duplicate the base, Desaturate and set to Screen, Keeping it under the Multiply layer

->

Step 4
Merge all layers, take the softening tool, and soften his cheeks

->

Step 5
New Raster Layer, Set to Burn 60% and fill with #dcf3f4

->

Step 6
New Raster Layer, Exclusion 50% and fill with #021034

->

Step 7
Click on your base, Duplicate, Set to Soft Light 55%, and bring drag it to the top

->

Step 8
Merge all the Layers, Then take the selection tool, and drag it over his face

->

Step 9
Copy the layer you just selected onto the base again and move it to the side

->

Step 10
Duplicate the selection layer and set it to screen then merge it back down with the normal layer

->

Step 11
Crop the icon, so that the selection lines will go away
Step 12
Erase the edges of the layer on the side so it looks blended, and Change the Opacity to 72

->

Step 13
New Hard Light Layer, 100% opacity
Step 14
Using these settings for the brush, put a simply dot wherever you would like

->

Step 15
Click on the button for your font and click where (ON THE CIRCLE) you would like the text to be
I used Zado Semi-Condensed for mine, Color= #0c2162

->

And you have your final product.
Ask if you have any questions
And I'd love to see what you come up with =D