Cornelia Tutorial
Another tutorial from me...wow, I'm bored.
Today we’ll be going from this ->
to this ->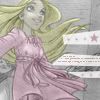
.
This tutorial was made with Adobe Photoshop CS but can be used with past/new versions, and possibly other graphic-making programs.
1)
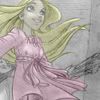
We start off with our base image. (Cornelia from W.I.T.C.H.)
2)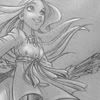
Desaturate your image by going to Image > Adjustments > Desaturate.
3)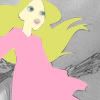
Here I colored in Cornelia using selene_moon ’s method, which can be viewed here.
4)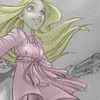
Take your colored character layer and set it to Color 35%.
5)
Desaturate this texture ->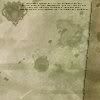
(by colortone) and put it above your Color layer at Soft Light 100%. The tiny text was blocking Cornelia’s face so I erased it.
6)
Add text, brushes, shapes, whatever and you’re done!
Other icons made with this tutorial include the following:
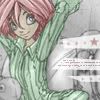
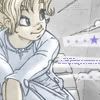
Credit for the W.I.T.C.H. images goes to The Magic of Friendship .
Yep, very simple, easy tutorial...but I didn't feel like going too !omgsparklytwirlygoodness! with this one. xD
Today we’ll be going from this ->

to this ->

.
This tutorial was made with Adobe Photoshop CS but can be used with past/new versions, and possibly other graphic-making programs.
1)

We start off with our base image. (Cornelia from W.I.T.C.H.)
2)

Desaturate your image by going to Image > Adjustments > Desaturate.
3)

Here I colored in Cornelia using selene_moon ’s method, which can be viewed here.
4)

Take your colored character layer and set it to Color 35%.
5)

Desaturate this texture ->

(by colortone) and put it above your Color layer at Soft Light 100%. The tiny text was blocking Cornelia’s face so I erased it.
6)

Add text, brushes, shapes, whatever and you’re done!
Other icons made with this tutorial include the following:


Credit for the W.I.T.C.H. images goes to The Magic of Friendship .
Yep, very simple, easy tutorial...but I didn't feel like going too !omgsparklytwirlygoodness! with this one. xD