PS7 Tutorial 15: Cyan and Fushcia Coloring
PS7 Tutorials
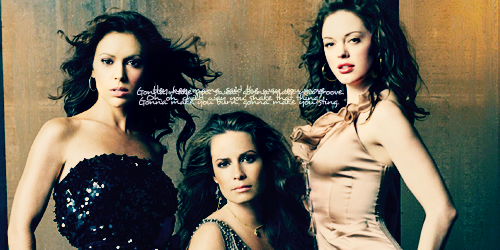
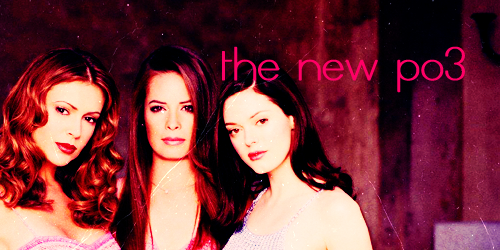
+
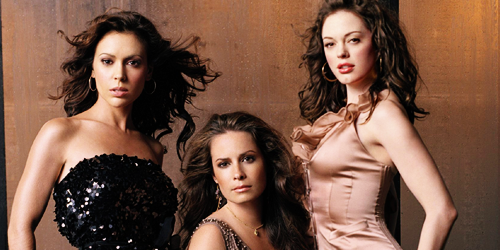
Step 1: Take your base (above) and duplicate it once. Set it to Screen
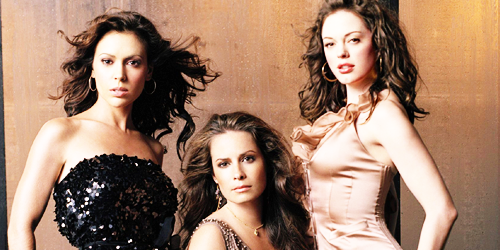
Step 2: Add in an EXCLUSION layer- #011B3F
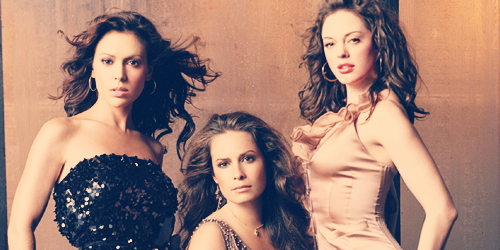
Step 3: Add in a COLOR BURN layer - #ADEDF8
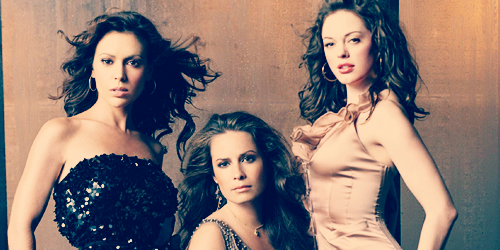
Step 4: Add another COLOR BURN layer - #E8E5E5
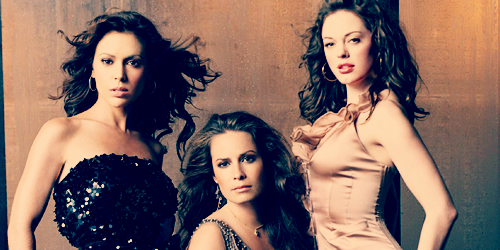
Step 5: Duplicate your base and set to SOFT LIGHT.
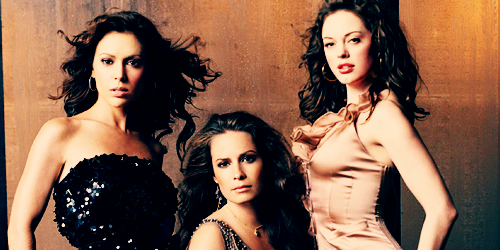
I know, it doesn't look anything near Cyan or Blue. It will, I promise.
Step 6: On your toolbar - A) Select - All. B) Edit - Copy Merged. C) Edit - Paste.
Now go to Image - Adjustments - Variations and click CYAN once. Only once, that's all you need.
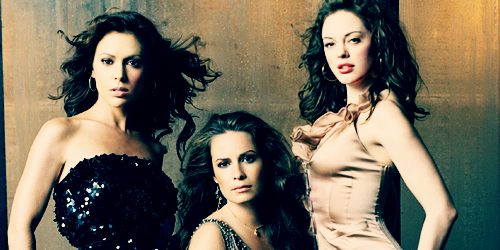
See, CYAN Coloring now. Pretty :D
Step 7: Duplicate your variations layer. Desaturate it.
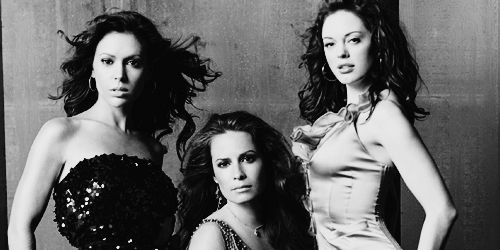
Step 8: Set the desaturated layer to LUMINOSITY.
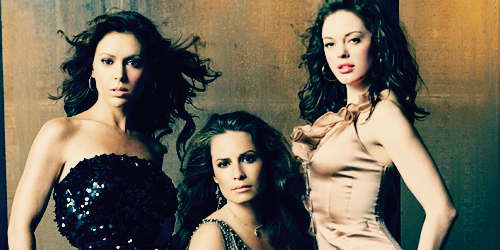
Step 9: Add any effects that you like and you're done

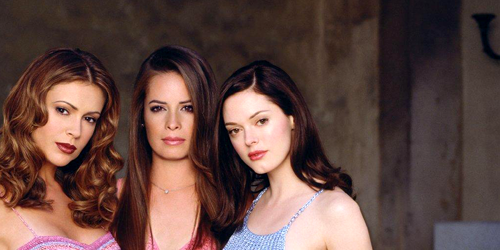
Step 1: Duplicate your base 4 times and set them all to SCREEN
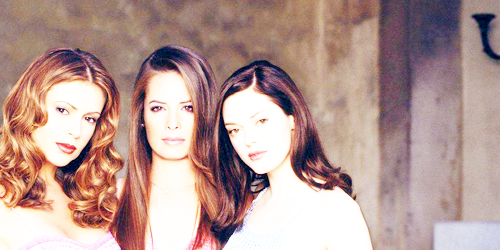
Step 2: Add in an EXCLUSION layer - #021547
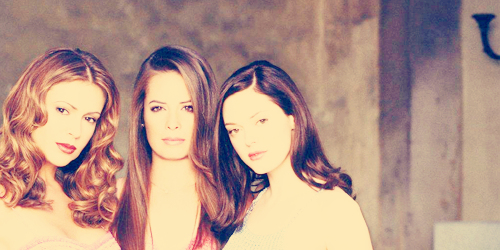
Step 3: Add in a COLOR BURN layer - #F675C4
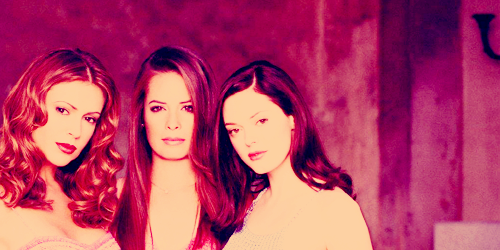
Step 4: Add another COLOR BURN layer - #B9F7F9
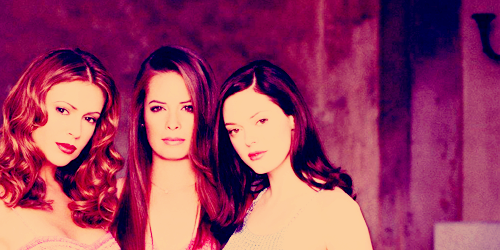
Step 5: Add yet another COLOR BURN layer - #E5E3E3
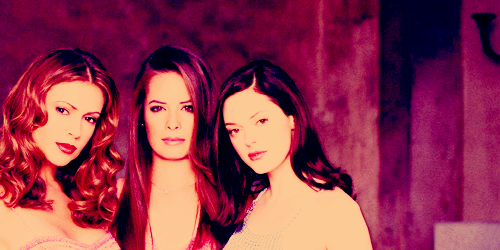
Step 6: Duplicate your base image and set to SOFT LIGHT.
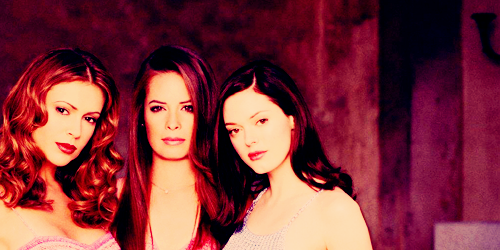
Step 7: Add in a scratchy texture.
peoplemachines has some good choices to choose from. Make sure that it's one with good contrast and just enough scratches but not a lot. Set this to LINEAR DODGE
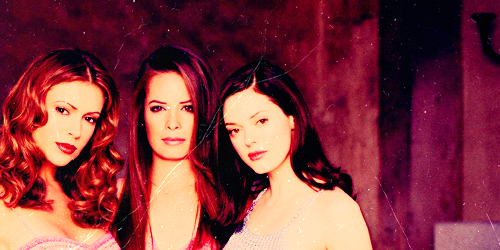
Step 8: Add in another scrathy/dry brushed texture. I choose one with a blue tone to it from an old collection I had. I set this to OVERLAY @ 30%
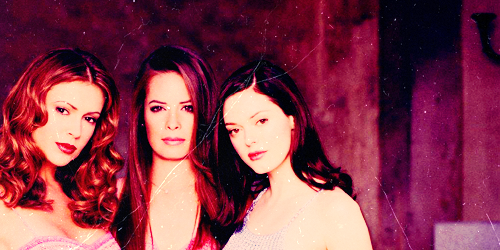
Step 9: Duplicate your SOFT LIGHT layer and bring that to the top
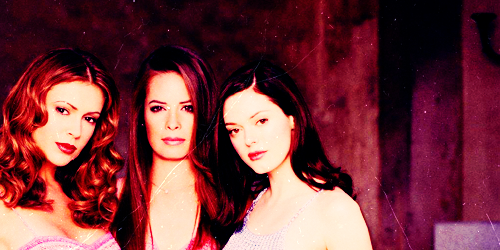
Step 10: Copy Merge All of it. Follow these steps: A) Select - All. B) Edit - Copy Merged. C) Edit - Paste.
Step 11: Duplicate again and desaturate it. Set the desaturated on PIN LIGHT.
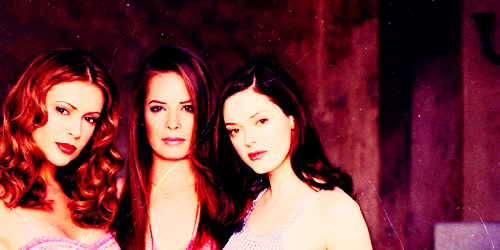
Step 12: Add effects and you're done!

Other examples of the same effect:
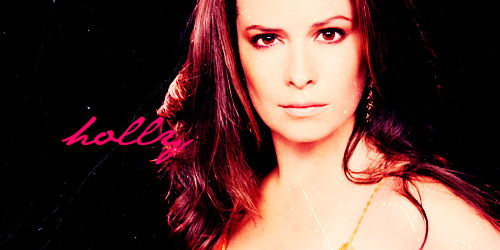

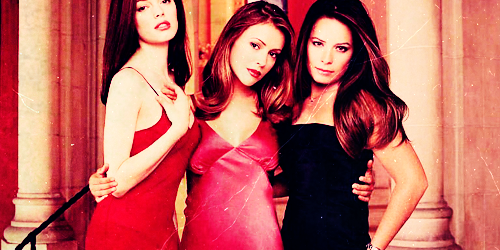
Resources:
Adope Photoshop 7.0
Heavenly Charmed Gallery

peoplemachines

+


Step 1: Take your base (above) and duplicate it once. Set it to Screen

Step 2: Add in an EXCLUSION layer- #011B3F

Step 3: Add in a COLOR BURN layer - #ADEDF8

Step 4: Add another COLOR BURN layer - #E8E5E5

Step 5: Duplicate your base and set to SOFT LIGHT.

I know, it doesn't look anything near Cyan or Blue. It will, I promise.
Step 6: On your toolbar - A) Select - All. B) Edit - Copy Merged. C) Edit - Paste.
Now go to Image - Adjustments - Variations and click CYAN once. Only once, that's all you need.

See, CYAN Coloring now. Pretty :D
Step 7: Duplicate your variations layer. Desaturate it.

Step 8: Set the desaturated layer to LUMINOSITY.

Step 9: Add any effects that you like and you're done


Step 1: Duplicate your base 4 times and set them all to SCREEN

Step 2: Add in an EXCLUSION layer - #021547

Step 3: Add in a COLOR BURN layer - #F675C4

Step 4: Add another COLOR BURN layer - #B9F7F9

Step 5: Add yet another COLOR BURN layer - #E5E3E3

Step 6: Duplicate your base image and set to SOFT LIGHT.

Step 7: Add in a scratchy texture.

peoplemachines has some good choices to choose from. Make sure that it's one with good contrast and just enough scratches but not a lot. Set this to LINEAR DODGE

Step 8: Add in another scrathy/dry brushed texture. I choose one with a blue tone to it from an old collection I had. I set this to OVERLAY @ 30%

Step 9: Duplicate your SOFT LIGHT layer and bring that to the top

Step 10: Copy Merge All of it. Follow these steps: A) Select - All. B) Edit - Copy Merged. C) Edit - Paste.
Step 11: Duplicate again and desaturate it. Set the desaturated on PIN LIGHT.

Step 12: Add effects and you're done!

Other examples of the same effect:


Resources:
Adope Photoshop 7.0
Heavenly Charmed Gallery

peoplemachines