My 2nd tutorial
Made for PSP9 should work in other programs though.
Uses Levels & Hue/sat/light adjustment layer.
Go from
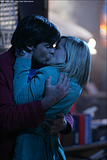
to
Keep your picture at full size until the end.
01. Go to Adjust - Automatic Color Balance - and play with your settings. (every image is different)
Here is my settings.
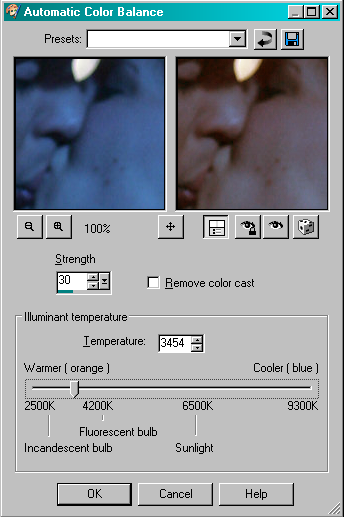
My image now looks like this ..
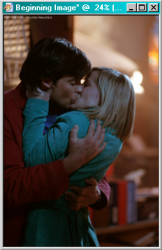
02. Go to Adjust - Brightness and Contrast - Levels - and again play with your settings.
My settings.
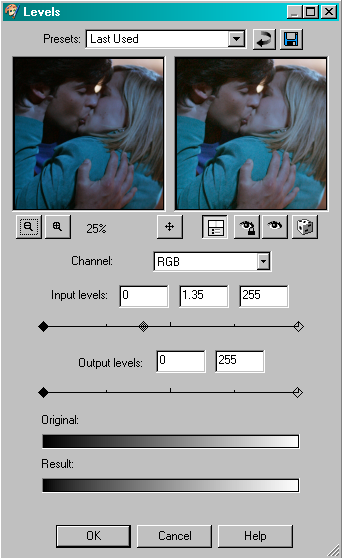
My image now looks like this..
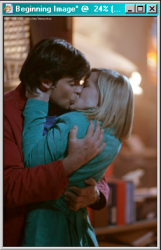
03. Go to Layer - New Adjustment Layer - Hue/Saturation/Lightness - play with your settings..
Mine Are:
Master - 50
Reds - 0
Yellows - 0
Greens - 0
Cyans - 0
Blues - 0
Magentas - 0
(usually you don't want to use your master but for this certain image I had to, nothing else looked right.)
Set the layer to screen. Then Flatten your image (Merge).
My image now looks like this.
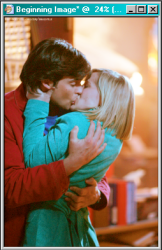
04. Duplicate your now merged image and set it to softlight.
05. Crop & Resize your image to 100x100 or whatever you want it cropped to and your done.!
The Finished Base :
I'd love to know if this has helped you at all.!
Uses Levels & Hue/sat/light adjustment layer.
Go from

to
Keep your picture at full size until the end.
01. Go to Adjust - Automatic Color Balance - and play with your settings. (every image is different)
Here is my settings.

My image now looks like this ..

02. Go to Adjust - Brightness and Contrast - Levels - and again play with your settings.
My settings.

My image now looks like this..

03. Go to Layer - New Adjustment Layer - Hue/Saturation/Lightness - play with your settings..
Mine Are:
Master - 50
Reds - 0
Yellows - 0
Greens - 0
Cyans - 0
Blues - 0
Magentas - 0
(usually you don't want to use your master but for this certain image I had to, nothing else looked right.)
Set the layer to screen. Then Flatten your image (Merge).
My image now looks like this.

04. Duplicate your now merged image and set it to softlight.
05. Crop & Resize your image to 100x100 or whatever you want it cropped to and your done.!
The Finished Base :
I'd love to know if this has helped you at all.!