First Tutorial. (Jac Vanek)
Photoshop Tutorial
Jac Vanek
---
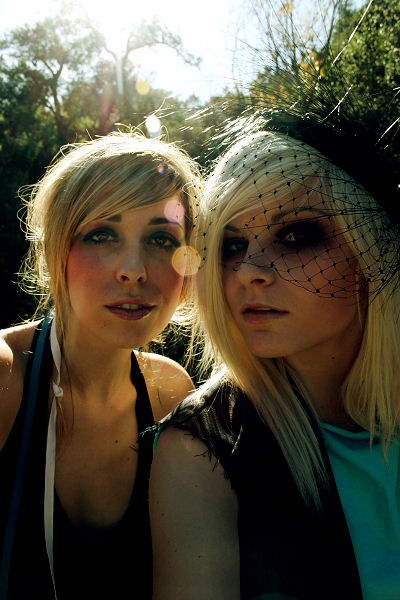
We're going from:

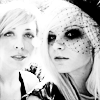
to

Pick out you base, in this case I'm using:

Crop, and resize your base to 100x100 px.

Duplicate base FIVE times and set them all to screen (or until your base is as light as you'd like)

Add a new layer and fill with black (#000000); set to color
(this desaturates your picture)

Merge all of your existing layers; dupilcate your new base and set it to soft light

Duplicate your base again, drag it to the top, and set to screen

Now add a new layer and fill it with white (#FFFFFF); lower the opacity to 50% so you can see what you're doing

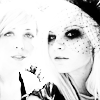
Use a small, soft, brush to erase over the image you want to be on the final icon, like so:

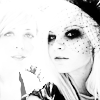
Raise the opacity back up to 100% to eliminate the other figures

Merge all your layers
Adjust the brightness/contrast of the new base (mine is set to: -10, +17)

And your all done!
Now you can add text or other brushes for added effect, play around with it to fit your image best!
I'd love to see what you come up with!
-xo- gina