GIMP Brushes
My very first tutorial! I got jealous of all the great brushes people were making for photoshop, so I decided to learn how to make them for GIMP. After some messing around, this is what I came up with:
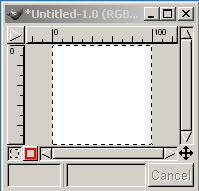
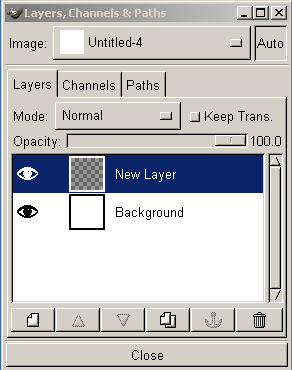
I made a border brush for my first attempt, and it's not hard to do. First, you open a new 100 x 100 image. I used a white background, and put a second, transparent layer over it. The brush is drawn on the transparent layer; the white layer is just there so you can see better what you're doing.

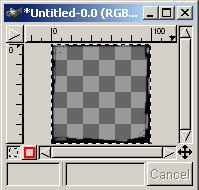
The brush I made appears in the next picture. I made the border, cut pieces out of it with the eraser tool, and added the dots. Then I put 2-pixel featherings on it until it looked as fuzzy as I wanted it. Then I deleted the white layer, leaving me with the brush image on a transparent layer.

When you are finished drawing the brush, you have to save it as a .gih file. For instance, I named mine "fuzzyborder.gih". Then you save it to your brushes folder. I'm using GIMP 1.2.5 and the pathway is C:\Program Files\GIMP\share\gimp\1.2\brushes . It's probably in a very similar place in GIMP 2.0.
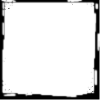
Once your brush is in the folder, if you have GIMP open, close it and reopen. Use your brush selector just like you always would, and the brush you just made will be there. This is how mine finally ended up looking:

I made a border brush for my first attempt, and it's not hard to do. First, you open a new 100 x 100 image. I used a white background, and put a second, transparent layer over it. The brush is drawn on the transparent layer; the white layer is just there so you can see better what you're doing.


The brush I made appears in the next picture. I made the border, cut pieces out of it with the eraser tool, and added the dots. Then I put 2-pixel featherings on it until it looked as fuzzy as I wanted it. Then I deleted the white layer, leaving me with the brush image on a transparent layer.

When you are finished drawing the brush, you have to save it as a .gih file. For instance, I named mine "fuzzyborder.gih". Then you save it to your brushes folder. I'm using GIMP 1.2.5 and the pathway is C:\Program Files\GIMP\share\gimp\1.2\brushes . It's probably in a very similar place in GIMP 2.0.
Once your brush is in the folder, if you have GIMP open, close it and reopen. Use your brush selector just like you always would, and the brush you just made will be there. This is how mine finally ended up looking:
