Luvyuyu 6th tutorial
We are going from
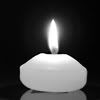
to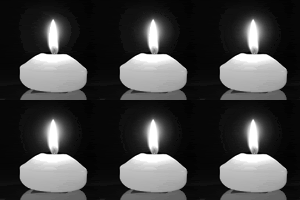
♥ I promised to make this tutorial and I hope I did well.^_^
♥ I used Adope photoshop 7, and image ready 7, but I'm sure it will work with other progrms and versions as well.
♥ Sorry English is not my first language, so I think there is some grammar mistakes or even spelling mistakes ^^;;
♥ Lets start~
- Take any candle pic or light, I dont think you need to sharpen anything.
- Take the eyedropper tool.

- And click right in the middle of the flame.

- You will get this color, now go to the brush tool, and reset your brushes, we need the default ones. we will need to use the soft round ones, I choosed the 45px.
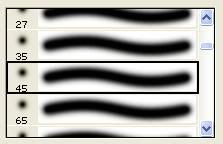
- Make new layer (Layer>New layer) than click in the middle of the flame and we will get something like this.
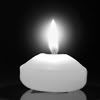
- Set this layer soft light. Now we will work in imageready.

- Hide the layer we made.
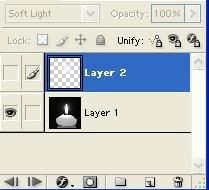
- Than make new layer in the Animated bar like this and set both of them delay 0.2 sec.

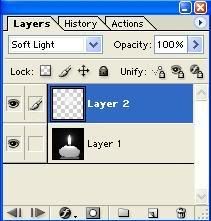
- And than while you are in the 2nd layer in the Animated bar, show the layer we made, Like this.
- Now we will use the tween tool. Make the options like this.
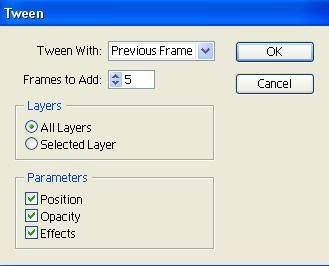
If you look carefully at the layer we made, you will see that the opacity changed for each layer in the animated bar. it goes like this.
Layer2 >17%
Layer3>33%
Layer4>50%
Layer5>67%
Layer6>84%
Layer7>100%
- Now we need to make new layers in the animated bar and it opacity should go like this.
Layer8>84%
Layer9>67%
Layer10>50%
Layer11>33%
Layer12>17%
- We made it! just go to (File> save optimized as) It should be gif.

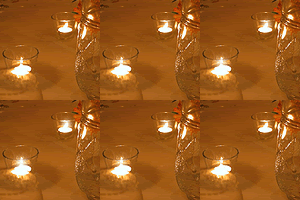
It looks professional while the steps are very easy ^_^ I hope I pleased you guys with this tutorial~ ♥
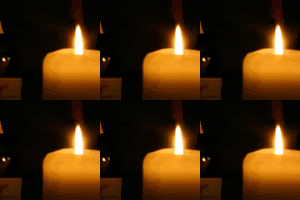
Some other examples:

♥ For more Icons, graphics and tutorials watch my graphic community @ luvyuyu_graphic
♥ Want to request something? you can ask for graphics or even tutorials here
♥ You can find my other tutorials here
♥ Tell me what do you think of this tutorial please ^_^

to

♥ I promised to make this tutorial and I hope I did well.^_^
♥ I used Adope photoshop 7, and image ready 7, but I'm sure it will work with other progrms and versions as well.
♥ Sorry English is not my first language, so I think there is some grammar mistakes or even spelling mistakes ^^;;
♥ Lets start~
- Take any candle pic or light, I dont think you need to sharpen anything.
- Take the eyedropper tool.

- And click right in the middle of the flame.

- You will get this color, now go to the brush tool, and reset your brushes, we need the default ones. we will need to use the soft round ones, I choosed the 45px.

- Make new layer (Layer>New layer) than click in the middle of the flame and we will get something like this.

- Set this layer soft light. Now we will work in imageready.

- Hide the layer we made.

- Than make new layer in the Animated bar like this and set both of them delay 0.2 sec.

- And than while you are in the 2nd layer in the Animated bar, show the layer we made, Like this.

- Now we will use the tween tool. Make the options like this.

If you look carefully at the layer we made, you will see that the opacity changed for each layer in the animated bar. it goes like this.
Layer2 >17%
Layer3>33%
Layer4>50%
Layer5>67%
Layer6>84%
Layer7>100%
- Now we need to make new layers in the animated bar and it opacity should go like this.
Layer8>84%
Layer9>67%
Layer10>50%
Layer11>33%
Layer12>17%
- We made it! just go to (File> save optimized as) It should be gif.

It looks professional while the steps are very easy ^_^ I hope I pleased you guys with this tutorial~ ♥
Some other examples:


♥ For more Icons, graphics and tutorials watch my graphic community @ luvyuyu_graphic
♥ Want to request something? you can ask for graphics or even tutorials here
♥ You can find my other tutorials here
♥ Tell me what do you think of this tutorial please ^_^